Stap 7 vertalen


-
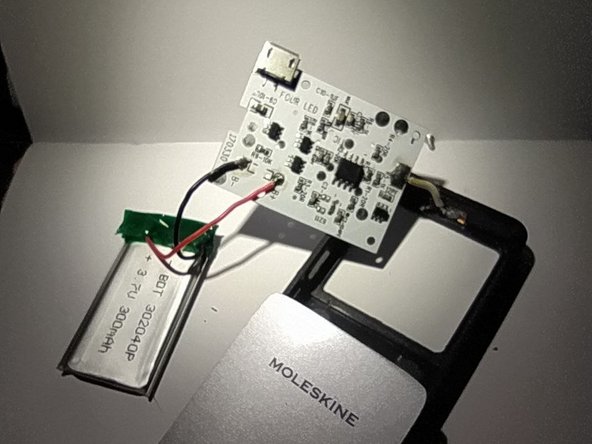
So, the batteries have arrived. Just in case, I have ordered some smaller ones, as well as the mighty 302040.
-
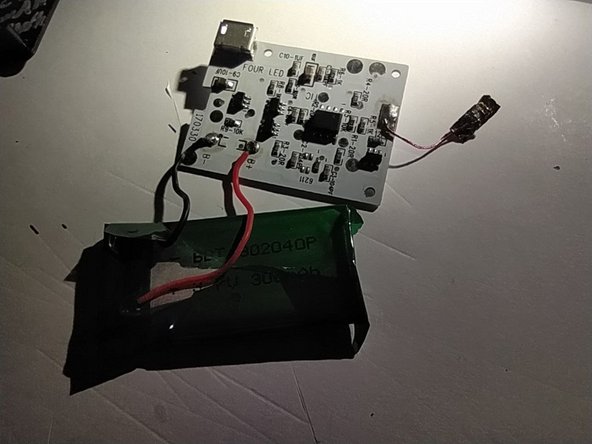
The wires were soldered (bat+ to PCB+, bat- to PCB-), and I tried to put back the device.
-
Here comes the annoying bit: the sensory switch. Or One-Wire Touch Detector to be more precise. The thing consists of some magic on the PCB, a wire, and a copper plate. Touching the wire works, so does touching the PCB. If you mess with it once the good battery is attached, you'll be blinded quite fast.
-
To assemble the device without being blinded, use some electrical tape to cover the LEDs. To make the thing easier to assemble, use an audio wire instead of a stock one for the switch. A touch of CA glue (or epoxy in my case), and the light is as good as new (or even better).
Je bijdragen zijn gelicentieerd onder de open source Creative Commons-licentie.