Waarschuwing: Je bewerkt een vooraf vereiste handleiding. Alle wijzigingen die je hierin maakt, beïnvloeden alle 5 handleidingen die deze stap bevatten.
Stap 6 vertalen
Stap 6

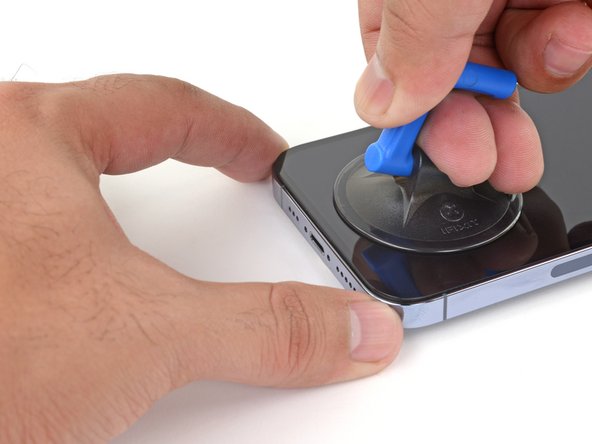


Insert an opening pick
-
Apply a suction handle to the bottom edge of the phone, while avoiding the very edge of the glass.
-
Pull up on the suction cup with firm, constant pressure to create a slight gap between the screen and the frame.
-
Insert an opening pick into the gap under the screen's plastic bezel.
Je bijdragen zijn gelicentieerd onder de open source Creative Commons-licentie.