Stap 6 vertalen


-
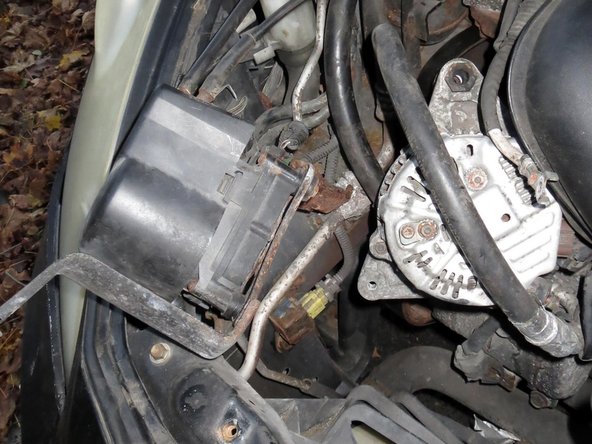
Using a 19mm socket and a long socket wrench, put the socket on the 19mm location on the side of the belt tensioner and push down to compress its piston and slacken the serpentine belt, while the serpentine belt has slack remove it from the alternator's pulley.
-
Optional: I unbolted the cruise control unit, removing three 10mm bolts to give me more room to pull out the old alternator. Also disconnecting the A/C cable will give you more room.
-
Optional: If you have never replaced the serpentine belt you may want to inspect it for wear and damage whilst you have the alternator out.
-
Optional: At this point, you may want to put your battery on charge in a well ventilated dry area, my new battery was fully discharged after one short night trip and a couple of starts with a dead alternator. Leaving a car battery discharged for any period of time can shorten its life.
Je bijdragen zijn gelicentieerd onder de open source Creative Commons-licentie.