Stap 5 vertalen
Stap 5


-
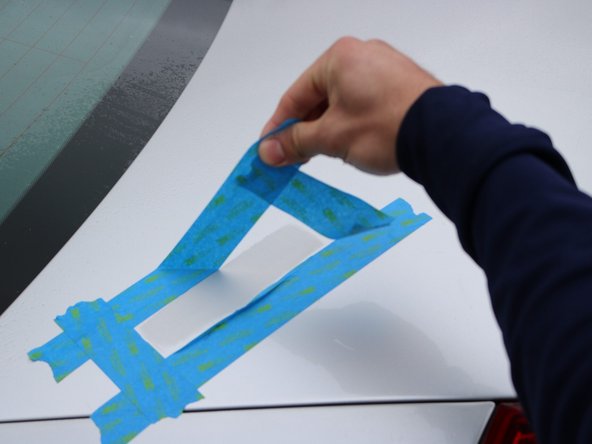
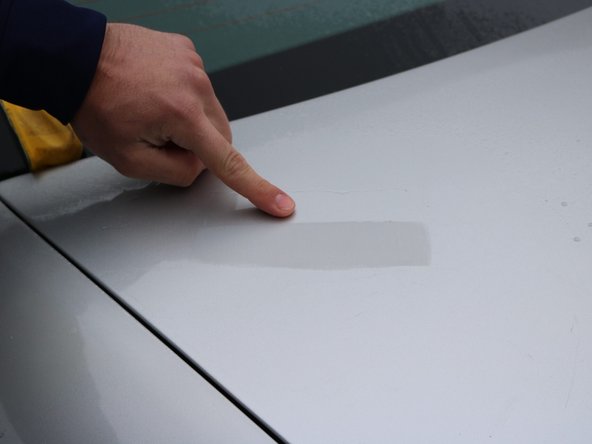
Wipe down the area and remove the tape. The sanded area will be hazed.
-
If the scratch is still visible when fully dry but disappears when wet, move on to the next step.
-
If the scratch is still visible when wet, repeat step 4 as the next stage of sanding will be less aggressive and is to mainly remove the sanding scratches caused by the 3000 grit.
Je bijdragen zijn gelicentieerd onder de open source Creative Commons-licentie.