Waarschuwing: Je bewerkt een vooraf vereiste handleiding. Alle wijzigingen die je hierin maakt, beïnvloeden alle 10 handleidingen die deze stap bevatten.
Stap 5 vertalen
Stap 5

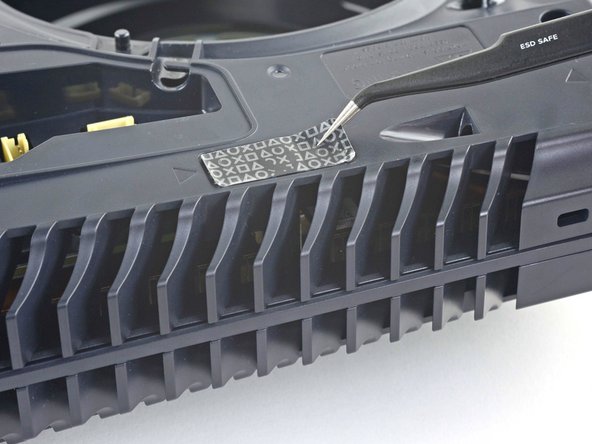
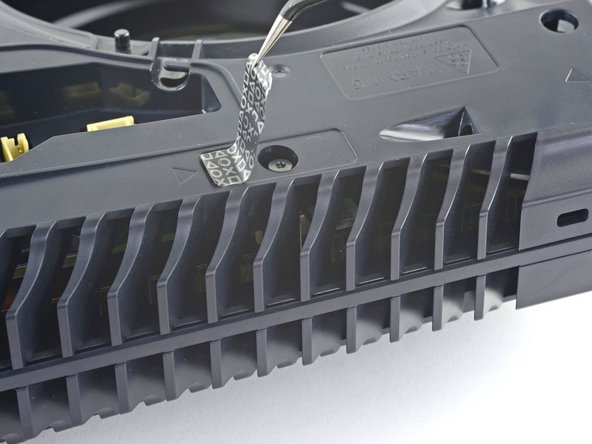


Remove the tamper-evident sticker
-
Use a pair of tweezers to remove the tamper-evident sticker covering the remaining case screw.
Je bijdragen zijn gelicentieerd onder de open source Creative Commons-licentie.