Stap 3 vertalen
Stap 3

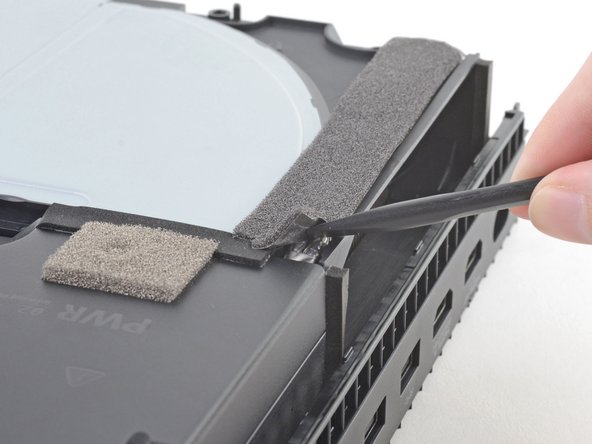


Unstick the foam tape on the power supply
-
Insert the flat end of the spudger underneath the dark grey foam tape starting at the corner closest to the power supply and edge of the console.
-
Lift up the corner.
-
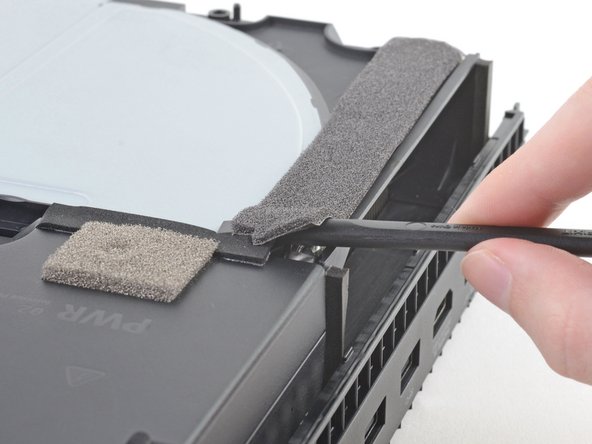
Slowly push the spudger through to the other side of the tape until you can see the flat end emerge.
Je bijdragen zijn gelicentieerd onder de open source Creative Commons-licentie.