Ga door naar hoofdinhoud

MacBook Pro 13インチ Touch Bar 2018 下部ケースの交換

Waarschuwing: Je bewerkt een vooraf vereiste handleiding. Alle wijzigingen die je hierin maakt, beïnvloeden alle 10 handleidingen die deze stap bevatten.

Stap 6
MacBook Pro 13" Touch Bar 2018 Lower Case Replacement: stap 0, afbeelding 1 van 3 MacBook Pro 13" Touch Bar 2018 Lower Case Replacement: stap 0, afbeelding 2 van 3 MacBook Pro 13" Touch Bar 2018 Lower Case Replacement: stap 0, afbeelding 3 van 3
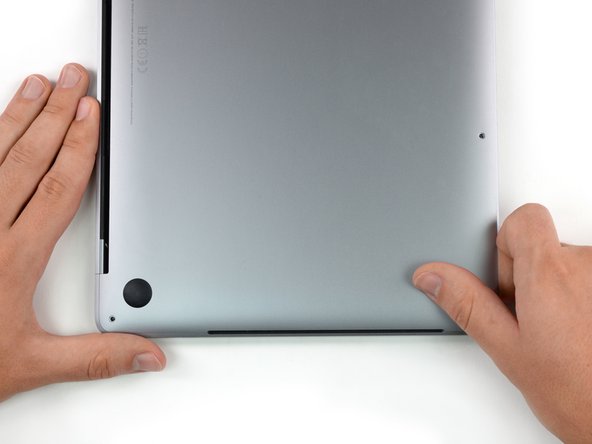
  • Pull the lower case firmly towards the front of the MacBook (away from the hinge area) to separate the last of the clips securing the lower case.

  • Pull first at one corner, then the other.

  • Pull to the side—not up.

  • This can require a lot of force.

MacBookの前面側に向かって、しっかりと下部ケースを引き抜きます。(ヒンジのエリアを外すように)下部ケースを固定している最後のクリップを外します。

最初に片側コーナーから、次に反対側のコーナーを外します。

上に持ち上げるのではなく、横にスライドしてください。

この作業にはかなりの力が必要です。

Je bijdragen zijn gelicentieerd onder de open source Creative Commons-licentie.