Stap 6 vertalen
Stap 6


-
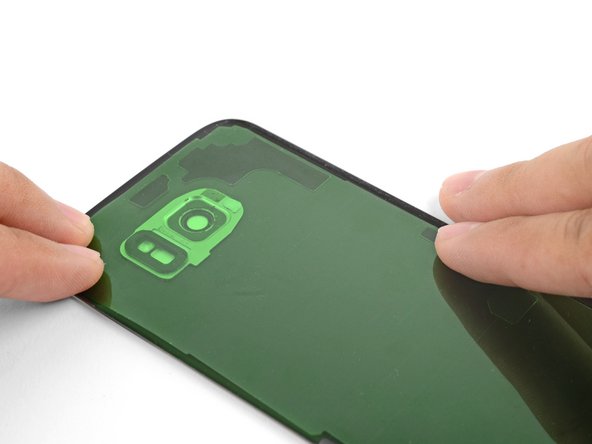
Hold the exposed strip by its tabs and carefully line up a long edge of the adhesive to the edge of the device.
-
Set the adhesive onto the surface and press it firmly onto the surface with your fingers.
-
Peel away the colored liner from the adhesive strip to expose the remaining adhesive side.
| - | [* black] Hold the exposed strip by its tabs and carefully line up a long edge of the adhesive to the edge of the back cover. |
|---|---|
| - | [* icon_note] Be very careful with alignment. Most of the time, you cannot peel and re-apply the adhesive strip if it's misaligned. |
| + | [* black] Hold the exposed strip by its tabs and carefully line up a long edge of the adhesive to the edge of the device. |
| [* black] Set the adhesive onto the surface and press it firmly onto the surface with your fingers. | |
| [* black] Peel away the colored liner from the adhesive strip to expose the remaining adhesive side. |
Je bijdragen zijn gelicentieerd onder de open source Creative Commons-licentie.