Ga door naar hoofdinhoud

Reemplazo de panel frontal iPad Mini CDMA

Waarschuwing: Je bewerkt een vooraf vereiste handleiding. Alle wijzigingen die je hierin maakt, beïnvloeden alle 42 handleidingen die deze stap bevatten.

Stap 6
iPad Mini CDMA Front Panel Replacement: stap 0, afbeelding 1 van 3 iPad Mini CDMA Front Panel Replacement: stap 0, afbeelding 2 van 3 iPad Mini CDMA Front Panel Replacement: stap 0, afbeelding 3 van 3
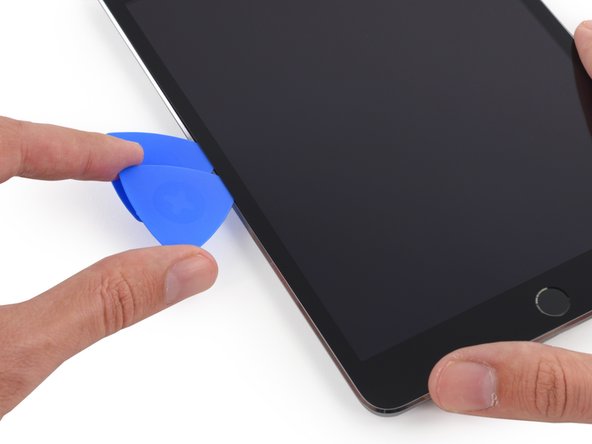
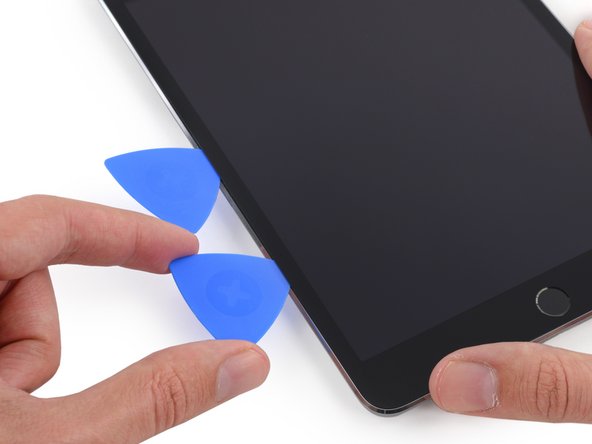
  • Place a second opening pick alongside the first and slide the pick down along the edge of the iPad, releasing the adhesive as you go.

  • Throughout the rest of the procedure, if you encounter significant resistance to sliding picks beneath the glass, stop and reheat the section you're working on. Forcing the picks risks cracking the glass.

Coloque una segunda apertura junto con la primera y deslice la selección hacia abajo a lo largo del borde del iPad, liberando el adhesivo sobre la marcha.

Durante el resto del procedimiento, si encuentra una resistencia significativa a las puntas deslizantes debajo del cristal, deténgase y recaliente la sección en la que está trabajando. Forzar los picos corre el riesgo de romper el cristal.

Je bijdragen zijn gelicentieerd onder de open source Creative Commons-licentie.