Stap 9 vertalen
Stap 9


-
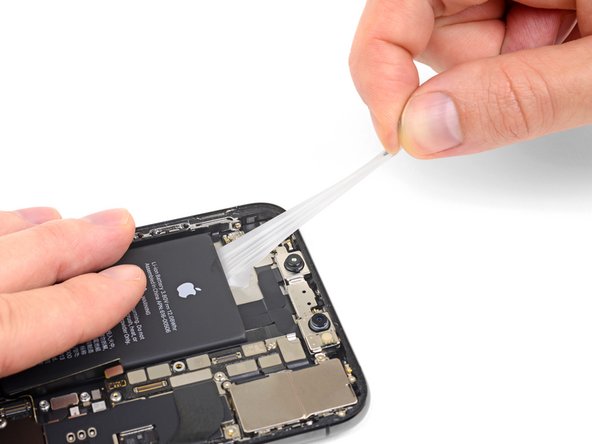
Pull and remove the final adhesive strip.
-
If you removed all four adhesive strips successfully, skip the next step.
-
Wait about one minute for the alcohol solution to weaken the adhesive. Use the flat end of a spudger to gently lift the battery.
| [* black] Pull and remove the final adhesive strip. | |
| [* icon_caution] The strip may fling the battery when it separates from the iPhone, so hold your hand over the battery to secure it—but don't press down on the battery itself, or the added pressure may cause the adhesive strip to break off underneath the battery. | |
| [* black] ***If you removed all four adhesive strips successfully, skip the next step.*** | |
| - | [* black] Otherwise, if any of the adhesive strips broke off underneath the battery and could not be retrieved, ***continue with the next step below.*** |
| + | [* icon_note] If the adhesive breaks off underneath the battery and can't be retrieved, apply a few drops of high concentration (over 90%) isopropyl alcohol under the edge of the battery in the area of the broken adhesive strip(s). |
| + | [* black] Wait about one minute for the alcohol solution to weaken the adhesive. Use the flat end of a spudger to gently lift the battery. |
| + | [* icon_caution] Don't try to forcefully lever the battery out. If needed, apply a few more drops of alcohol to further weaken the adhesive. Never deform or puncture the battery with your pry tool. |
| + | [* icon_caution] Be careful not to damage the ribbon cables or the wireless charging coil directly underneath the battery. |
| + | [* icon_note] For an alternative method to unstick the battery from the case, ***continue with the next step below.*** |
Je bijdragen zijn gelicentieerd onder de open source Creative Commons-licentie.