Ga door naar hoofdinhoud

Rimozione vetro anteriore iPad 3 4G

Waarschuwing: Je bewerkt een vooraf vereiste handleiding. Alle wijzigingen die je hierin maakt, beïnvloeden alle 153 handleidingen die deze stap bevatten.

Stap 21
Removing iPad 3 4G Front Panel: stap 0, afbeelding 1 van 2 Removing iPad 3 4G Front Panel: stap 0, afbeelding 2 van 2
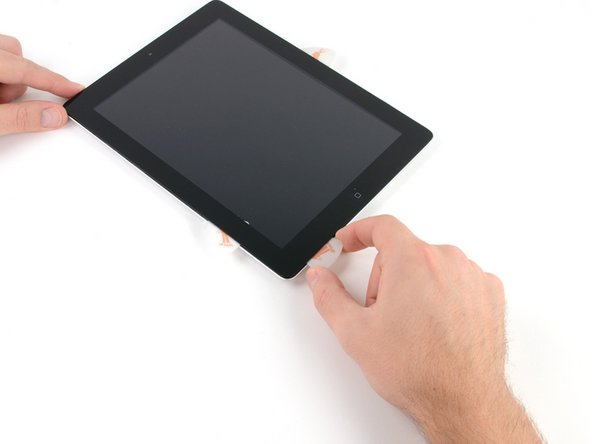
  • Using the opening pick that is still underneath the bottom edge of the iPad, release the adhesive along the bottom left corner.

  • The bottom of the digitizer cable is only ~1" (25 mm) from the bottom of the iPad. Work carefully and slowly, making sure to not sever this cable.

Usando il plettro che è ancora sotto il bordo inferiore dell'iPad, separa l'adesivo sotto l'angolo in basso a sinistra.

La parte inferiore del cavo del digitizer è a solo ~25 mm dal bordo inferiore dell'iPad. Lavora attentamente e lentamente, assicurandoti di non strappare questo cavo.

Je bijdragen zijn gelicentieerd onder de open source Creative Commons-licentie.