Ga door naar hoofdinhoud

Retirer le panneau frontal de l'iPad 3 4G

Waarschuwing: Je bewerkt een vooraf vereiste handleiding. Alle wijzigingen die je hierin maakt, beïnvloeden alle 153 handleidingen die deze stap bevatten.

Stap 18
Removing iPad 3 4G Front Panel: stap 0, afbeelding 1 van 3 Removing iPad 3 4G Front Panel: stap 0, afbeelding 2 van 3 Removing iPad 3 4G Front Panel: stap 0, afbeelding 3 van 3
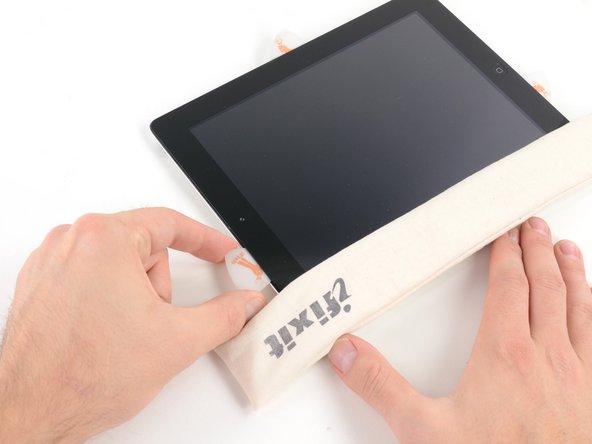
  • Slide the opening pick along the top edge of the iPad, pulling it out slightly to go around the front-facing camera bracket.

  • The adhesive along this section is very thick, and a fair amount of force may be required. Work carefully and slowly, making sure to not slip and damage yourself or your iPad.

  • If the adhesive has cooled too much, replace the iOpener along the top edge and continue working. If the iOpener has cooled too much, reheat it.

  • If the opening pick is getting stuck in the adhesive, "roll" the pick as shown in step 9.

Faites glisser le médiator le long du bord supérieur de l'iPad en le tirant légèrement vers l'extérieur pour contourner le support de la caméra avant.

L'adhésif est très épais cet endroit et vous devrez forcer un peu. Progressez soigneusement et lentement en veillant à ni glisser, ni vous blesser, ni endommager votre iPad.

Si l'adhésif a trop refroidi, reposez l'iOpener le long du bord supérieur et continuez votre travail. Si l'iOpener a trop refroidi, faites-le à nouveau chauffer.

Si le médiator reste coincé dans l'adhésif, faites-le "pivoter" comme expliqué dans l'étape 9.

Je bijdragen zijn gelicentieerd onder de open source Creative Commons-licentie.