Ga door naar hoofdinhoud

iPad 3 4G版 前面板的移除

Waarschuwing: Je bewerkt een vooraf vereiste handleiding. Alle wijzigingen die je hierin maakt, beïnvloeden alle 153 handleidingen die deze stap bevatten.

Stap 9
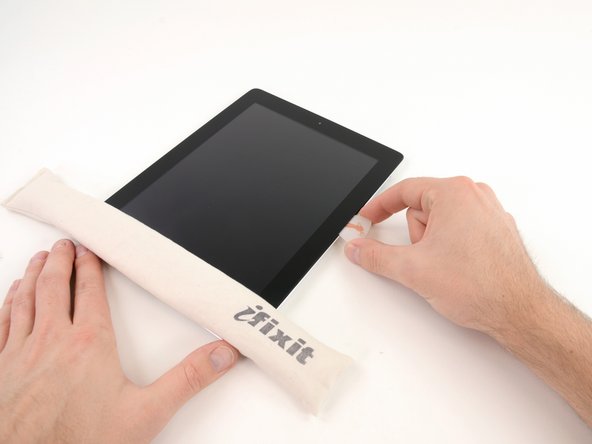
Removing iPad 3 4G Front Panel: stap 0, afbeelding 1 van 3 Removing iPad 3 4G Front Panel: stap 0, afbeelding 2 van 3 Removing iPad 3 4G Front Panel: stap 0, afbeelding 3 van 3
  • It may be necessary to move the heated iOpener back onto the right edge of the iPad as you release the adhesive. This depends on how long the iPad has been able to cool while you were working on it.

  • If the opening pick gets stuck in the adhesive, "roll" the pick along the side of the iPad, continuing to release the adhesive.

Vertaling hier toevoegen

Vertaling hier toevoegen

Je bijdragen zijn gelicentieerd onder de open source Creative Commons-licentie.