Deze handleiding heeft recentere wijzigingen. Schakel over naar de nieuwste niet-geverifieerde versie.
Inleiding
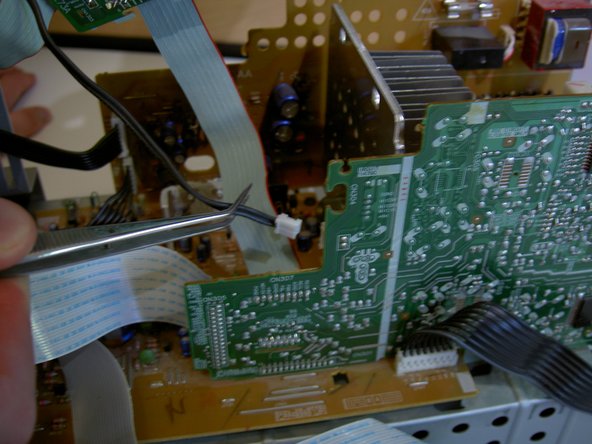
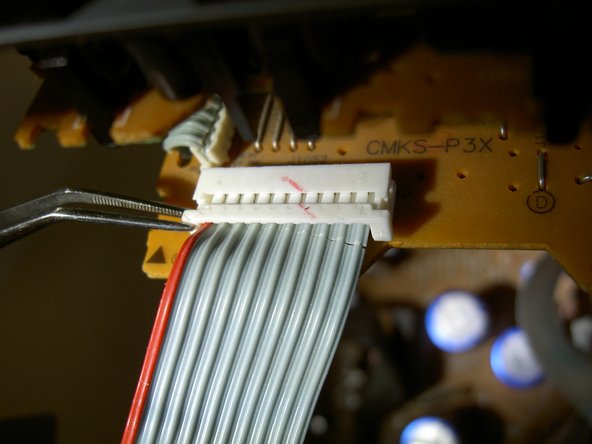
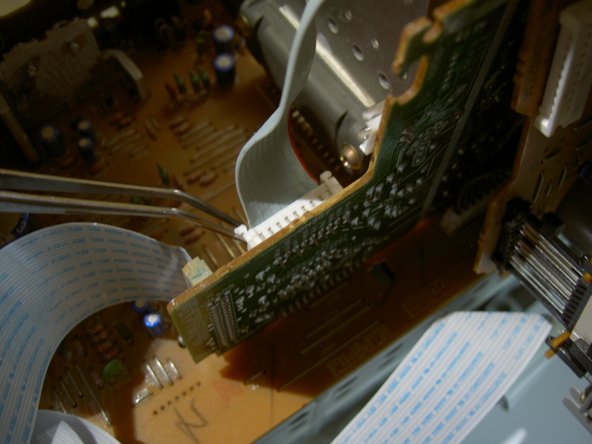
This repair guide will show you how to replace the Tape Player Unit by tearing down the device to the point where you can take the unit out and put a new one in.
Wat je nodig hebt
-
-
Using a philips screwdriver, remove these eight 9.5 mm screws on the left and right sides of the device and place aside.
-
-


To reassemble your device, follow these instructions in reverse order.
To reassemble your device, follow these instructions in reverse order.
Annuleren: ik heb deze handleiding niet afgemaakt.
2 andere personen hebben deze handleiding voltooid.
Team

Cal Poly, Team 4-1, Regan Spring 2011 Lid van Cal Poly, Team 4-1, Regan Spring 2011
CPSU-REGAN-S11S4G1
3 Leden
5 handleidingen geschreven
2 opmerkingen
The problem with my micro system pm17 is that the tape drive's head does not work. I noticed that it is a gear that has the function to trigger,The gearbox has probably moved out of its original position and is now not turning the read head.How do I return the gear to the original position so that it re-engages the bedhead?
Add a comment
The problem with my micro system pm17 is that the tape drive's head does not work. I noticed that it is a gear that has the function to trigger,The gearbox has probably moved out of its original position and is now not turning the read head.How do I return the gear to the original position so that it re-engages the bedhead?