Inleiding
The Brush motor is what keeps your cleaning machine cleaning! These steps take some time, so patience is key in order for your device to work properly. You’ll need to know how to solder to complete this guide.
Wat je nodig hebt
-
-
Flip the device over onto its back.
-
Find the side brush, and unscrew the single screw that connects to brush motor by using the Phillips head #2 screwdriver.
-
-
-
Using a Phillips #1 screwdriver, remove the four screws on the back panel.
-
Once the screws are loose gently pry the back plate away from the body by using the spudger tool.
-
-
-
Grab the two pieces of green tape with your thumb and index finger
-
Pull up on the battery in an upwards direction to remove it
-
-
-
-
These are the contact points on the Roomba for the battery
-
These are the contact points on the battery
-
-
-
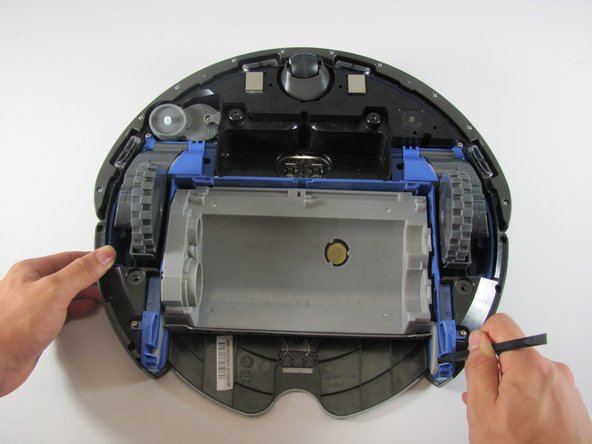
Insert a spudger into the side to pop out one side of the brush holder.
-
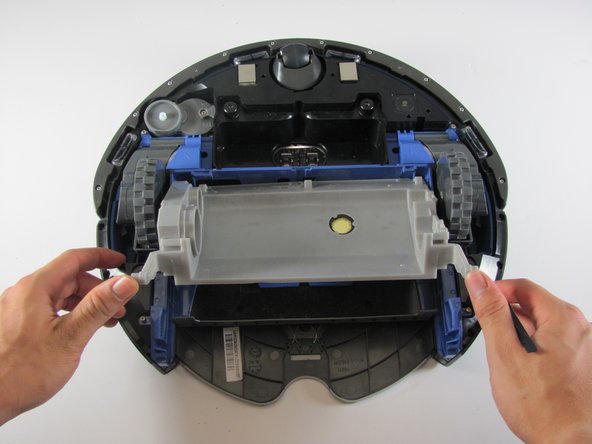
Repeat the same step, but now on the other side of the brush holder.
-
Lift the gray plastic piece up carefully to expose the motor.
-
-
-
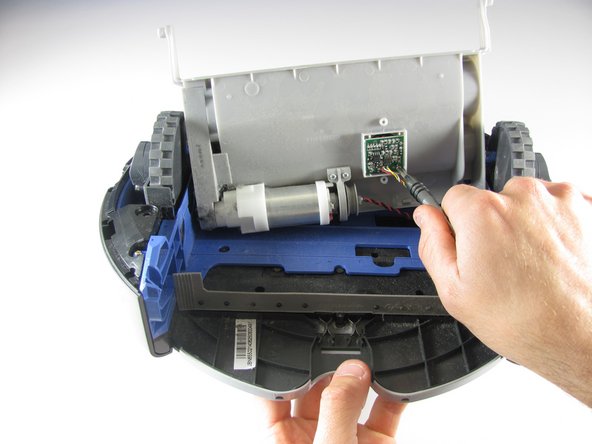
To remove the motor, simply pull it out gently from the plastic brush holder.
-
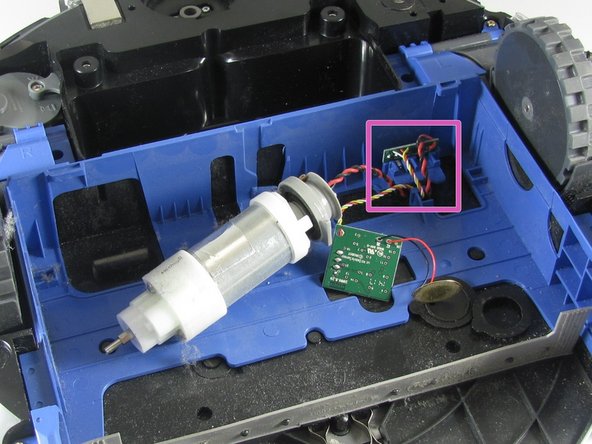
These parts are soldered onto the blue frame. Use our How to Solder and Desolder Connections guide for more information on soldering.
-
-
-
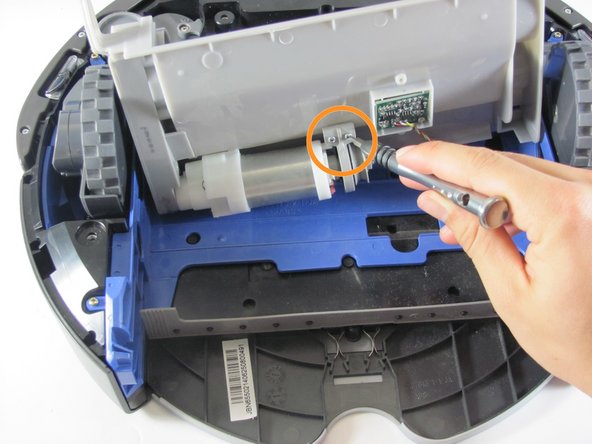
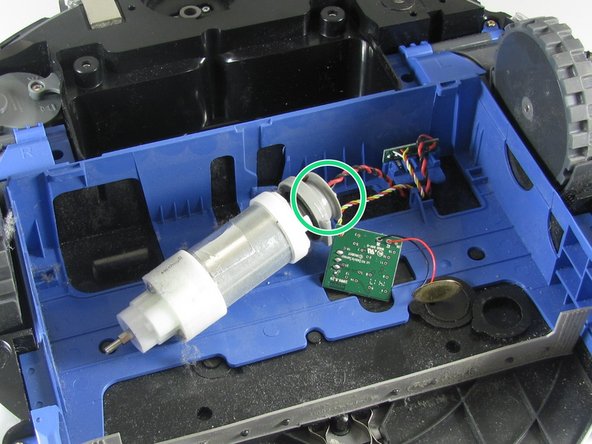
Option A: Some motors can unclip from the wiring harness. Use the spudger to pry the white colored base of the motor from the gray piece on the end.
-
Clip the new motor into the gray plastic in the same configuration you removed the original motor.
-
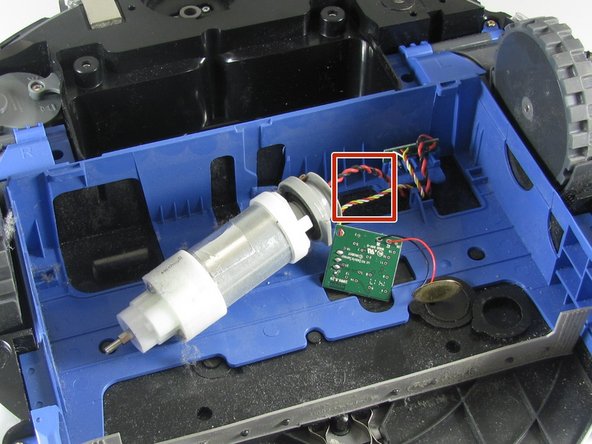
Option B: If your replacement motor does not have wires pre-attached, snip the existing wires near the base of the motor.
-
Solder the snipped wires to the base of the new motor in the same configuration they were with the original motor.
-
Option C: If your new motor has wires pre-attached, splice the original wires with the respective wires from the original motor.
-


To reassemble your device, follow these instructions in reverse order.
To reassemble your device, follow these instructions in reverse order.
Annuleren: ik heb deze handleiding niet afgemaakt.
Één andere persoon heeft deze handleiding voltooid.

Team

Cal Poly, Team 21-20, Maness Winter 2015 Lid van Cal Poly, Team 21-20, Maness Winter 2015
CPSU-MANESS-W15S21G20
4 Leden
14 handleidingen geschreven