Deze versie kan foutieve bewerkingen bevatten. Schakel over naar de recentste gecontroleerde momentopname.
Wat je nodig hebt
-
Deze stap is niet vertaald. Help het te vertalen
-
While holding the side brush in place, use a Phillips #1 screwdriver to remove the 4.5mm screw from the center of the brush.
-
-
Deze stap is niet vertaald. Help het te vertalen
-
Rotate the Roomba upside-down so the bottom is facing towards you.
-
-
Deze stap is niet vertaald. Help het te vertalen
-
Using a Phillips #2 screwdriver, remove the captive screws that hold the bottom plate in place.
-
-
-
Deze stap is niet vertaald. Help het te vertalen
-
Push on the dirt bin release button, and pull gently.
-
-
Deze stap is niet vertaald. Help het te vertalen
-
Use a Phillips #1 screwdriver to loosen the 4 captive screws around the case .
-
-
Deze stap is niet vertaald. Help het te vertalen
-
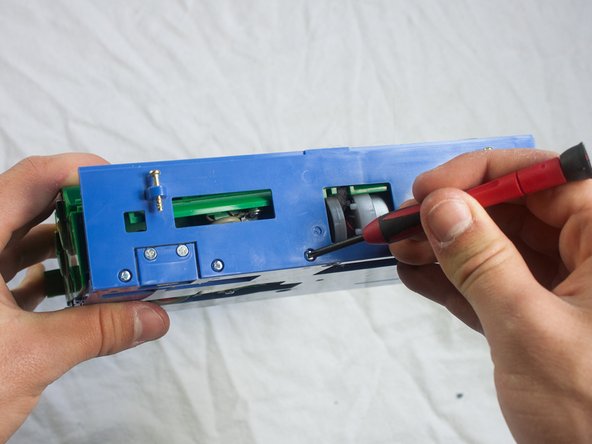
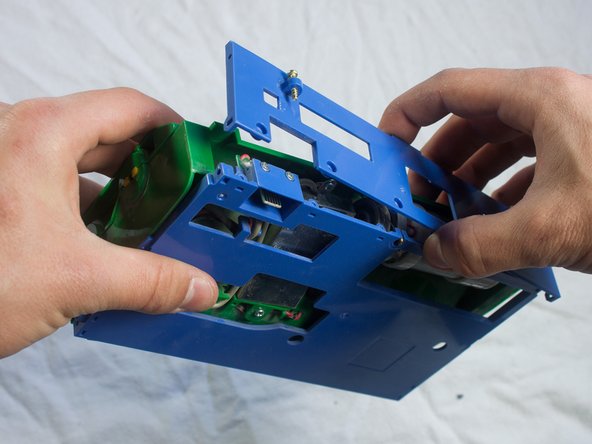
Use a Phillips #1 screwdriver to remove the 9.5mm screws from the side of the brush case, and pull to detach.
-
Repeat for the opposite side of the brush case.
-
-
Deze stap is niet vertaald. Help het te vertalen
-
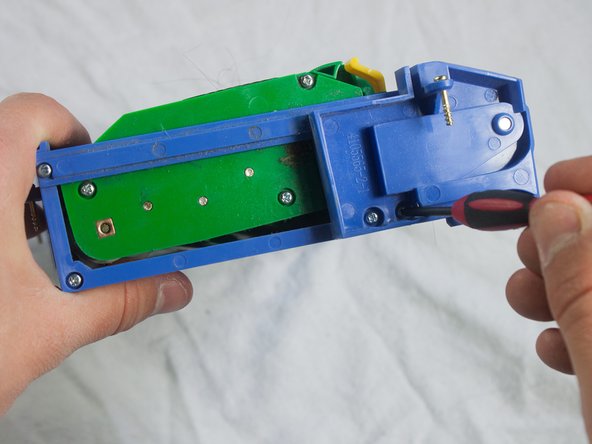
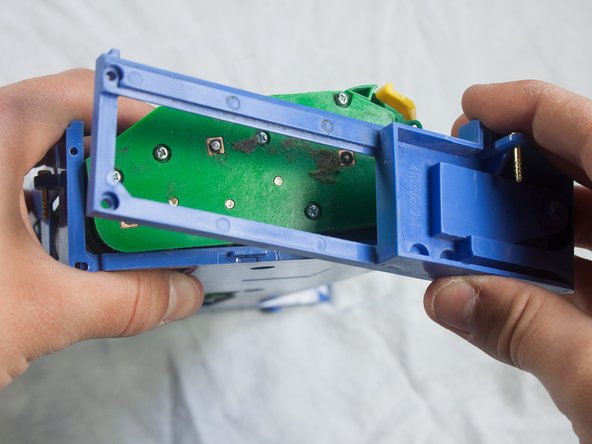
Use a Phillips #1 screwdriver to remove the three 5.0mm screws from the back of the brush case.
-
Pull off the back of the brush case.
-
-
Deze stap is niet vertaald. Help het te vertalen
-
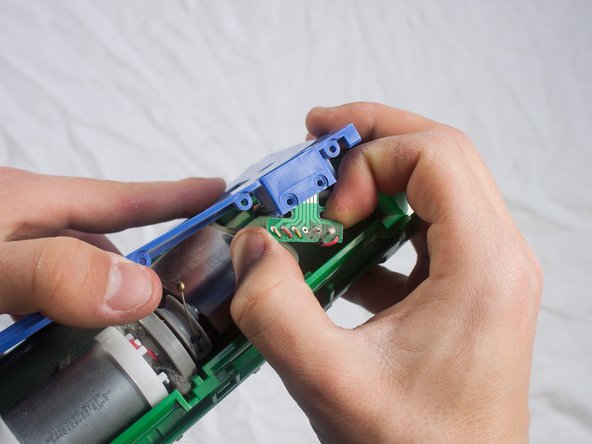
Use a Phillips #1 screwdriver to remove the two 1.5mm screws securing the chip in place.
-
Remove the chip from its housing in the blue brush case.
-
-
Deze stap is niet vertaald. Help het te vertalen
-
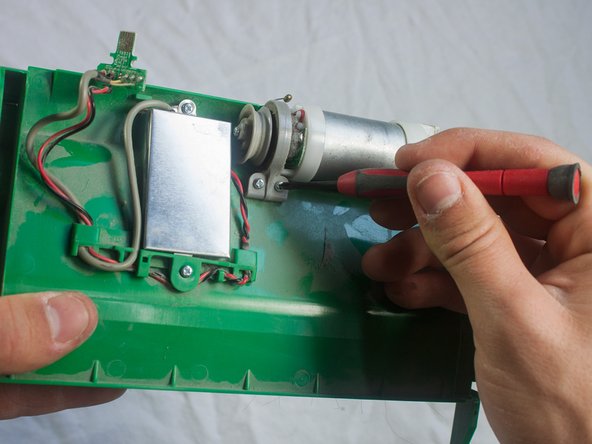
Use a Phillips #1 screwdriver to remove the two 5.5mm screws securing the motor in place.
-
-
Deze stap is niet vertaald. Help het te vertalen
-
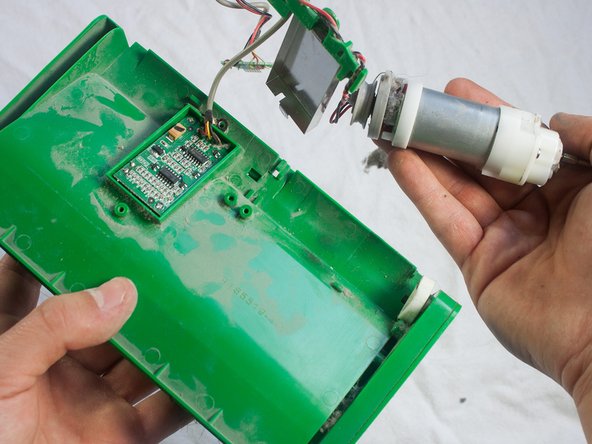
Use a Phillips #1 screwdriver to remove the two 4.5mm screws on the top and bottom of the metal plate.
-
Pull out the motor and metal covering.
-
-
Deze stap is niet vertaald. Help het te vertalen
-
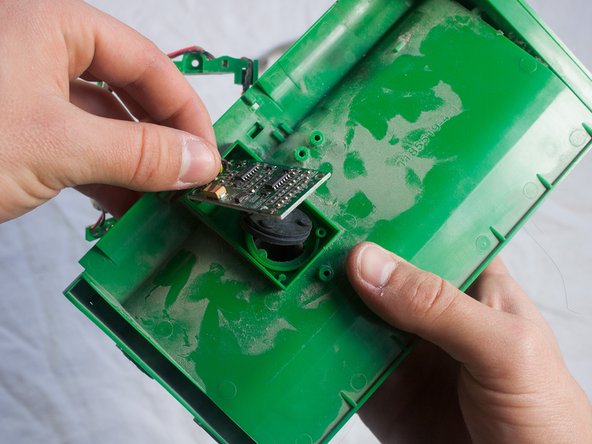
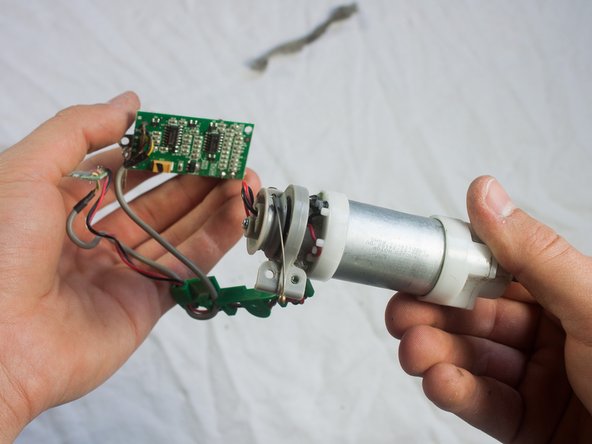
Use a Phillips #1 screwdriver to remove the two 3.5mm screws on the corners of the circuit board.
-
Gently pull out the circuit board.
-
Annuleren: ik heb deze handleiding niet afgemaakt.
2 andere personen hebben deze handleiding voltooid.


