Ga door naar hoofdinhoud

Deze versie kan foutieve bewerkingen bevatten. Schakel over naar de recentste gecontroleerde momentopname.

Wat je nodig hebt

  1. Deze stap is niet vertaald. Help het te vertalen

    : stap 1, afbeelding 1 van 1
    • Place your Roomba upside-down on a hard surface.

  2. Deze stap is niet vertaald. Help het te vertalen

    : stap 2, afbeelding 1 van 1
    • While holding the side brush in place, use a Phillips #1 screwdriver to remove the 4.5mm screw from the center of the brush.

  3. Deze stap is niet vertaald. Help het te vertalen

    : stap 3, afbeelding 1 van 1
    • Gently pull upwards on the brush to remove it.

  4. Deze stap is niet vertaald. Help het te vertalen

    : stap 4, afbeelding 1 van 1
    • Rotate the Roomba upside-down so the bottom is facing towards you.

  5. Deze stap is niet vertaald. Help het te vertalen

    : stap 5, afbeelding 1 van 2 : stap 5, afbeelding 2 van 2
    • Using a Phillips #2 screwdriver, remove the captive screws that hold the bottom plate in place.

  6. Deze stap is niet vertaald. Help het te vertalen

    : stap 6, afbeelding 1 van 1
    • Carefully lift the bottom plate.

    • The battery is only secured in place by the bottom plate, and may fall out once the bottom plate is removed.

  7. Deze stap is niet vertaald. Help het te vertalen

    : stap 7, afbeelding 1 van 3 : stap 7, afbeelding 2 van 3 : stap 7, afbeelding 3 van 3
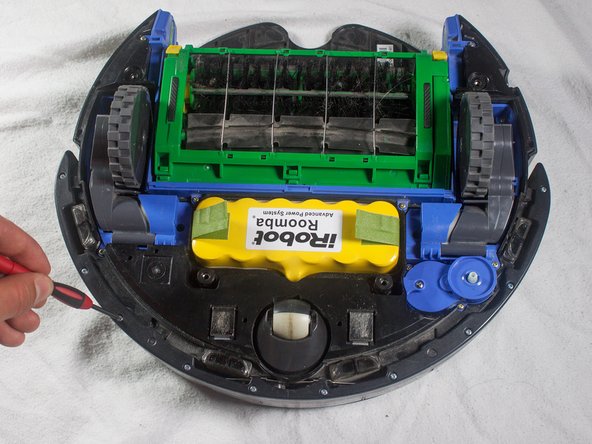
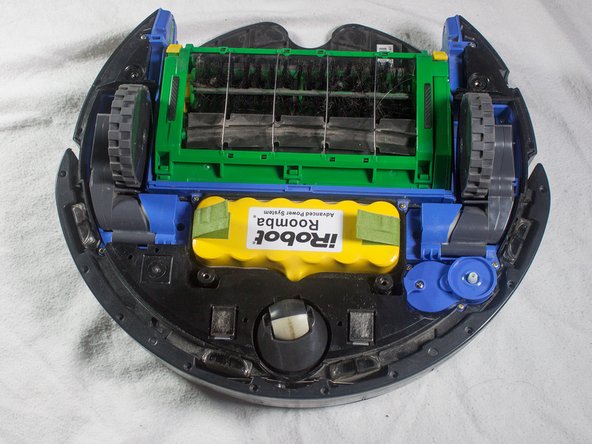
    • With a Phillips #1 screwdriver, remove the ten 12mm screws located along the bottom of the bumper.

  8. Deze stap is niet vertaald. Help het te vertalen

    : stap 8, afbeelding 1 van 1
    • Lift the bottom cover and set it to the side.

  9. Deze stap is niet vertaald. Help het te vertalen

    : stap 9, afbeelding 1 van 2 : stap 9, afbeelding 2 van 2
    • Flip the Roomba over, grasp the bumper, and gently lift to remove.

    • The battery is not secured in place once the bottom plate has been removed, and may fall out when the Roomba is turned right-side up.

  10. Deze stap is niet vertaald. Help het te vertalen

    : stap 10, afbeelding 1 van 1
    • Flip the Roomba so that the bottom is facing you.

  11. Deze stap is niet vertaald. Help het te vertalen

    : stap 11, afbeelding 1 van 2 : stap 11, afbeelding 2 van 2
    • Remove the two 5mm screws located near the center of the bumper using a Phillips #1 screwdriver.

  12. Deze stap is niet vertaald. Help het te vertalen

    : stap 12, afbeelding 1 van 1
    • Pull gently on the bottom of the sensor to remove.

  13. Deze stap is niet vertaald. Help het te vertalen

    : stap 13, afbeelding 1 van 3 : stap 13, afbeelding 2 van 3 : stap 13, afbeelding 3 van 3
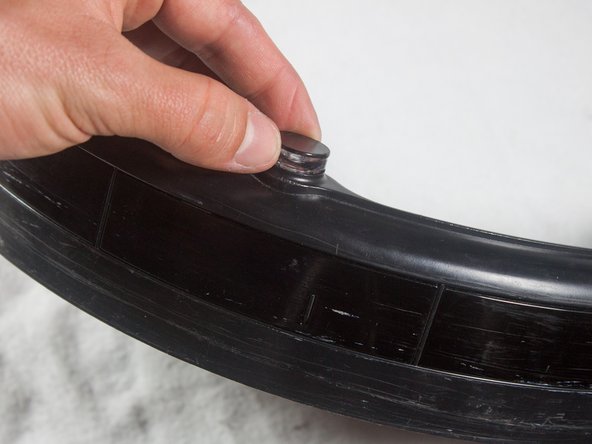
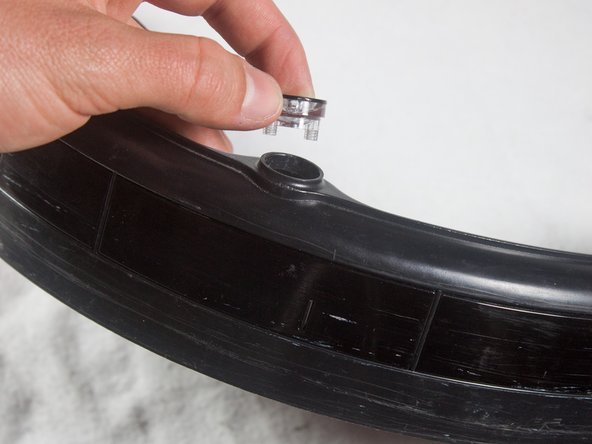
    • Flip the bumper over and lift the sensor from its compartment.

    • You are now free to replace the bumper sensor.

Eindstreep

4 andere personen hebben deze handleiding voltooid.

Cody Rhoads

Lid sinds: 01/16/14

348 Reputatie

2 handleidingen geschreven

Team

Cal Poly, Team 13-14, Regan Winter 2014 Lid van Cal Poly, Team 13-14, Regan Winter 2014

CPSU-REGAN-W14S13G14

4 Leden

19 handleidingen geschreven

0 opmerkingen

Voeg opmerking toe

Weergavestatistieken:

Afgelopen 24 uren: 0

Afgelopen 7 dagen: 3

Afgelopen 30 dagen: 16

Altijd: 4,668