Inleiding
Use this guide to correctly apply replacement battery adhesive strips for "L-shaped" iPhone batteries, including the dual-cell batteries in the iPhone X and XS Max, and the single-cell battery in the iPhone XS. Use the list below to check if your phone is compatible.
If your replacement battery doesn't come with adhesive strips pre-installed, or you're reusing your existing battery, these strips must be replaced. The strips are easily damaged if not applied correctly, so you may want to have a spare set of strips on hand when following this guide for the first time.
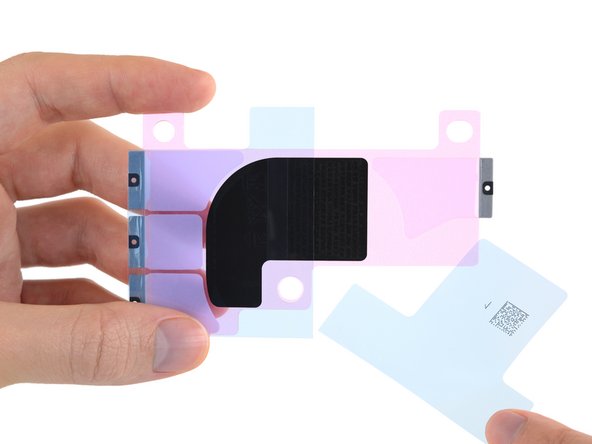
These adhesive strips are different from those in prior-generation iPhones due to the presence of the wireless charging coil. The coil lies directly underneath the battery, which is secured with four adhesive strips that are contoured around the coil to avoid damaging it.
Before you begin, you should have removed the battery by following a guide like the ones linked below:
- iPhone X Battery Replacement
- iPhone XS Battery Replacement
- iPhone XS Max Battery Replacement
- iPhone 11 Pro Battery Replacement
- iPhone 11 Pro Max Battery Replacement
- iPhone 12 Pro Max Battery Replacement
- iPhone 13 Pro Battery Replacement
- iPhone 13 Pro Max Battery Replacement
- iPhone 14 Pro Battery Replacement
- iPhone 14 Pro Max Battery Replacement
To replace the battery adhesive strips in a different model iPhone, use one of the following guides:
Wat je nodig hebt
-
-
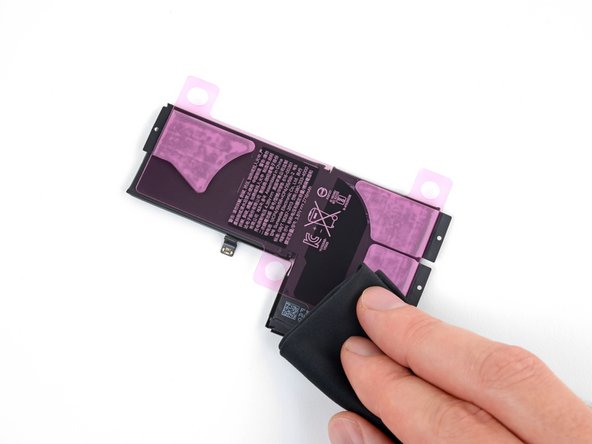
Before you begin, it's a good idea to test-fit your new battery in the iPhone.
-
-


To reassemble your iPhone, return to the guide you used to remove the battery and follow the remaining steps in reverse order.
- iPhone X Battery Replacement
- iPhone XS Battery Replacement
- iPhone XS Max Battery Replacement
- iPhone 11 Pro Battery Replacement
- iPhone 11 Pro Max Battery Replacement
- iPhone 12 Pro Max Battery Replacement
- iPhone 13 Pro Battery Replacement
- iPhone 13 Pro Max Battery Replacement
- iPhone 14 Pro Battery Replacement
- iPhone 14 Pro Max Battery Replacement
Remember to take your old battery to an R2 or e-Stewards certified recycler.
Annuleren: ik heb deze handleiding niet afgemaakt.
23 andere personen hebben deze handleiding voltooid.

