This guide shows how to apply display assembly adhesive to an opened iPad. Use it to prepare your display assembly before resealing your device during a repair.
Before installing new adhesive, thoroughly clean the display assembly and the frame of all residue.
Use tweezers to pull up sections of tape residue.
Use an opening tool or a spudger to scrape residue off. You can use high concentration (over 90%) isopropyl alcohol to soften the adhesive.
Remove the residue by wiping in one direction to prevent smearing.
Do not scrape with a metal tool, or you will scratch the display assembly's surface.
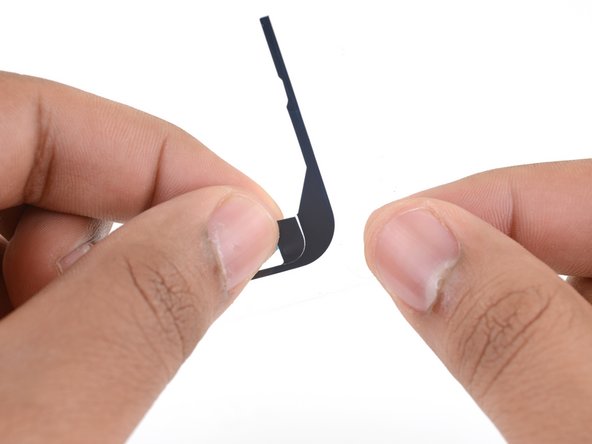
Each adhesive strip is encased in four layers of plastic—three on top and one on the bottom.
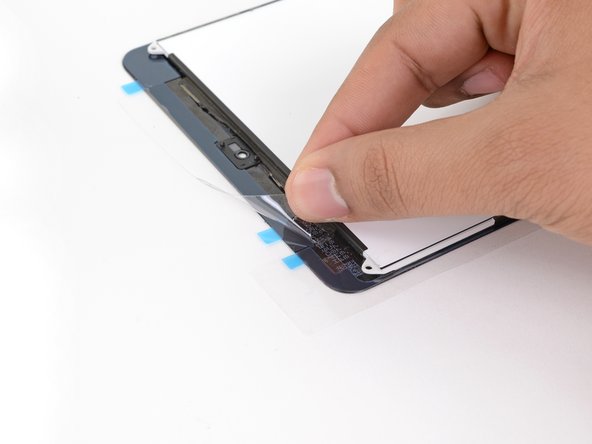
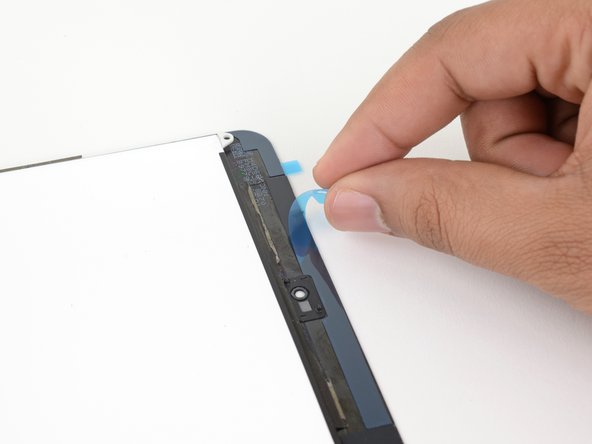
Peel and remove the topmost plastic cling layer from the left adhesive strip.
Peel and remove the bottom plastic liner from the strip.
The top of the adhesive strip should still be covered by a colored plastic layer as well as a clear plastic stiffening layer.
The bottom of the adhesive strip should now be exposed and sticky.
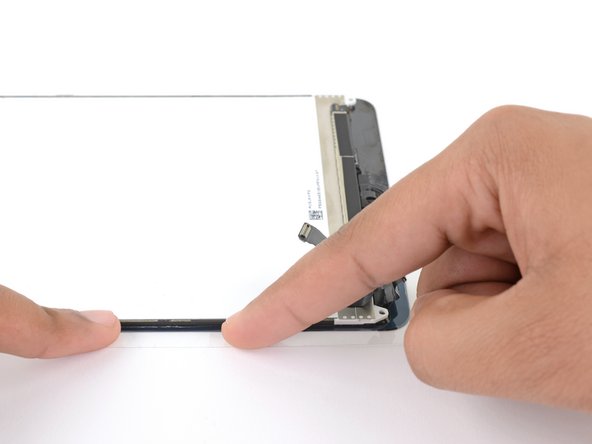
Align the left adhesive strip to the left edge of the display assembly.
Beginning from one corner, lay the adhesive strip onto the display assembly and press the strip into place.
If necessary, use a spudger to press down the narrow parts of the adhesive strip.
Repeat the process with the right adhesive strip.
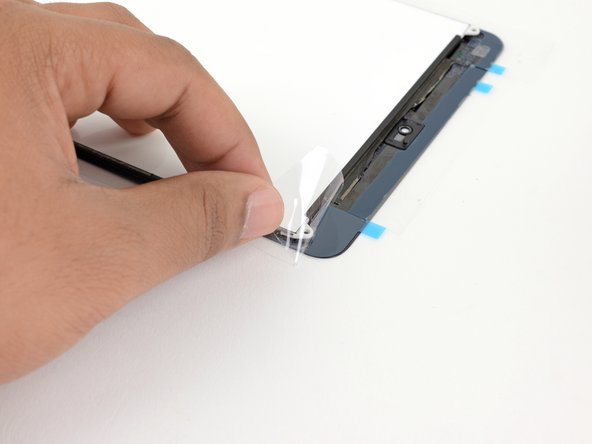
Peel and remove the topmost cling layer from the strip.
Peel and remove the bottom liner layer from the strip.
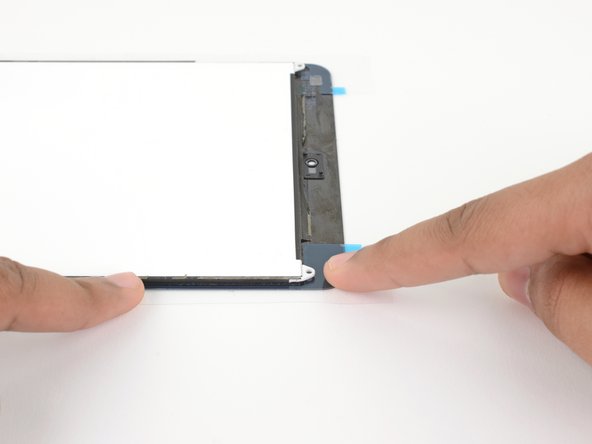
Align the adhesive strip to the right edge of the display assembly.
Starting from one corner, lay the adhesive strip onto the display assembly and press in place.
Repeat the process for the top adhesive strip.
Peel and remove the topmost cling layer from the strip.
Peel and remove the bottom liner from the strip.
Align the strip to the top of the display assembly such that the straight adhesive line bridges the gap between the left and right strips.
Press the strip in place.
Repeat the process for the bottom adhesive strip.
Peel and remove the topmost cling layer from the strip.
Peel and remove the bottom liner from the strip.
Align the strip to the bottom of the display assembly such that the straight adhesive line bridges the gap between the left and right strips.
Press the strip in place.
Peel and remove the four colored plastic liners to expose the adhesive.
Close the device and place something heavy, such as a stack of large books, on top for thirty minutes to help the new adhesive bond.
Alternatively, you can use screen vice clamps around the perimeter of your device to set the new adhesive.
Repair didn’t go as planned? Check out our Answers Community for troubleshooting help.
Repair didn’t go as planned? Check out our Answers Community for troubleshooting help.
Deze handleiding insluiten
Kies een formaat en kopieer de code hieronder om deze handleiding als een kleine widget op je website of forum in te sluiten.
Enkele stap
Volledige handleiding
Klein - 600px
Middelgroot - 800px
Groot - 1200px
Voorbeeld