Inleiding
The 24-inch 2007 and 2008 iMac's have four diagnostic LEDs on the logic board that can help troubleshoot the computer. A little disassembly is required to locate and observe the LED's. This guide is based on information sourced from the applicable Apple service manual.
**LED interpretation is also applicable to the iMac Intel 20" EMC 2133 and 2210**
Wat je nodig hebt
-
-
Loosen the single Phillips screw in the center of the access door.
-
Remove the access door from your iMac.
-
-
-
Stick two suction cups to opposing corners of the glass panel.
-
-
-
-
Remove the following 12 screws securing the front bezel to the rear case:
-
Eight 13 mm T8 Torx screws
-
Four 25 mm T8 Torx screws
-
Six 13 mm T8 Torx screws
-
Four 25 mm T8 Torx screws
-
Two 35 mm T8 Torx screws
-
-
-
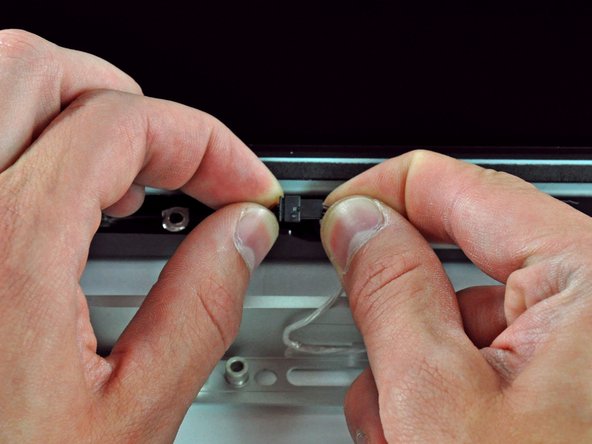
Locate the Diagnostic LED's between the RAM slots and the SATA connector.
-
LED 1 - Indicates that the trickle voltage from the power supply is detected by the main logic board. This LED will remain ON while the iMac is connected to the AC power. The LED will remain on even when the computer has been shut down or put to sleep. The LED will turn off only if the AC power is disconnected or the power supply is faulty.
-
LED 2 - Indicates that the main logic board has detected proper power from the power supply when the computer is turned on. This LED will be ON when the computer is turned on and the power supply is working correctly.
-
LED 3 - Indicates that the computer and the video card are communicating. This LED will be ON when the computer is communicating properly with the video card. If LEDs 1 and 2 are ON and you heard the startup sound, but LED 3 is OFF, then the video card might be installed incorrectly or need replacement.
-
LED 4 - Indicates that the computer and the LCD display panel are communicating. This LED will be ON when the computer is turned on and video signal is being generated. If the LED is ON and there is no image on the LCD display panel, the LCD display panel or inverter might be installed incorrectly or need replacement.
-


To reassemble your device, follow these instructions in reverse order.
To reassemble your device, follow these instructions in reverse order.
Annuleren: ik heb deze handleiding niet afgemaakt.
66 andere personen hebben deze handleiding voltooid.

Team

11 opmerkingen
Hello,
I have iMac 2008 24" When I turn on the computer no startup sound but DVD / Motherboard / CPU Fan is still on. also two green LED is static on, anyone help me....
Raza
Does anybody know where I can buy the thermopads for the 4 chips on the video card. The ones it already had were all melted and can't reuse them. I appreciate your time and help. Thank you.
Does anybody know where I can buy the thermal pads to put on the 4 chips on the video card? Any help is very appreciated. Thank you.
Imac would not boot up (LED #1 lit only) about 9 months ago so I replaced PSU at that time. iMac was working fine until recently when it would not boot up again. Only LED #1 lit so I replaced the PSU again thinking this would solve problem……it did not. Only #1 stays lit and SuperDrive starts to spin yet no fans or chime or screen.
Question: Any other checks before logic board needs to be looked at or replaced. Is it worth replacing logic board on 10 year old iMac? How long and any special tricks?
Thanks from Florida.
Imac 24 2008 3.06ghz when turn on hear the chime screen on trying to boot up the bar under Apple logo starts moves about quarter way and stops
and would not move any further ,tried holding down all suggested sorts of key combinations no success .I also tried replacing new HDD ,after replacing and switch on screen comes on and display ? at this stage I loaded the Mac OS X Snow Leopard disc in the optical drive ,it starts spinning
the Apple Logo appears and below the logo a buffering circle starts spinning and carries on and on ,nothing else happens ,tried tuning computer on and off no success ,any suggestions what could be the fault.
Jim—07/11/2019