Deze versie kan foutieve bewerkingen bevatten. Schakel over naar de recentste gecontroleerde momentopname.
Wat je nodig hebt
-
Deze stap is niet vertaald. Help het te vertalen
-
Loosen the two Phillips screws securing the access door to your iMac.
-
Remove the access door.
-
-
Deze stap is niet vertaald. Help het te vertalen
-
Remove the following screws along the lower edge of your iMac:
-
Three 6 mm T8 Torx screws
-
One 8 mm T8 Torx screw
-
-
Deze stap is niet vertaald. Help het te vertalen
-
To lift the front bezel off the iMac, simultaneously:
-
Use your thumbs to press in the RAM arms and hold the iMac down.
-
Use your index fingers to pull the small bridge of material on the front bezel toward yourself.
-
Pull the front bezel up with your index fingers.
-
Once the small bridge of material has cleared the RAM arms, lift the front bezel by its lower edge just enough to clear the bottom edge of the rear case.
-
-
Deze stap is niet vertaald. Help het te vertalen
-
Lift the front bezel off the rear case and rotate it away from the bottom edge of the iMac, minding the camera and microphone cables still attached to its upper edge.
-
-
-
Deze stap is niet vertaald. Help het te vertalen
-
Disconnect the microphone cable.
-
Disconnect the camera cable by pulling its connector away from the socket on the camera board.
-
-
Deze stap is niet vertaald. Help het te vertalen
-
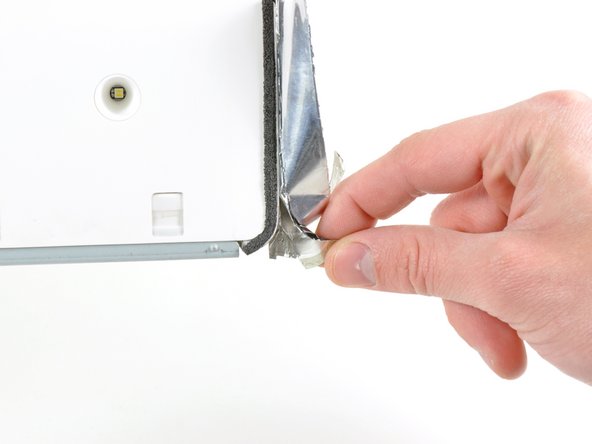
Peel back the piece of EMI tape connecting the bottom edge of the right speaker to the metal frame of the iMac.
-
Peel the tape away from the lower corner of the right speaker.
-
-
Deze stap is niet vertaald. Help het te vertalen
-
Remove the 26 mm T10 Torx screw securing the right speaker to the iMac.
-
-
Deze stap is niet vertaald. Help het te vertalen
-
Pull the right speaker away from the logic board and let it hang down from the iMac.
-
-
Deze stap is niet vertaald. Help het te vertalen
-
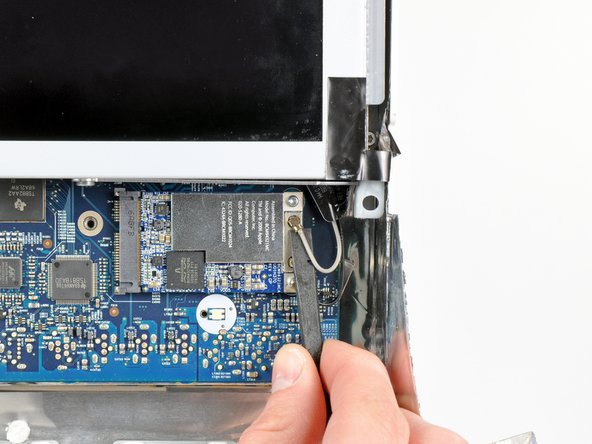
Use the flat end of a spudger to pry both antenna connectors off their sockets on the AirPort board.
-
-
Deze stap is niet vertaald. Help het te vertalen
-
Remove the two 5 mm T6 Torx screws securing the AirPort board to the logic board.
-
-
Deze stap is niet vertaald. Help het te vertalen
-
Pull the AirPort board out of its socket and remove it from the iMac.
-