Inleiding
Unimac Version 2 Kit available from
Most likely reason for this product is to replace your LCD that has been plagued with the all too common vertical line issue.
This is a pretty easy install, but it is very important that you follow some safety guidelines.
First and foremost DO NOT work on the iMac if it is plugged in. The power supply is exposed and extremely dangerous. Wait a minimum of 30 minutes after unplugging it to give the power supply enough time to discharge.
Wat je nodig hebt
-
-
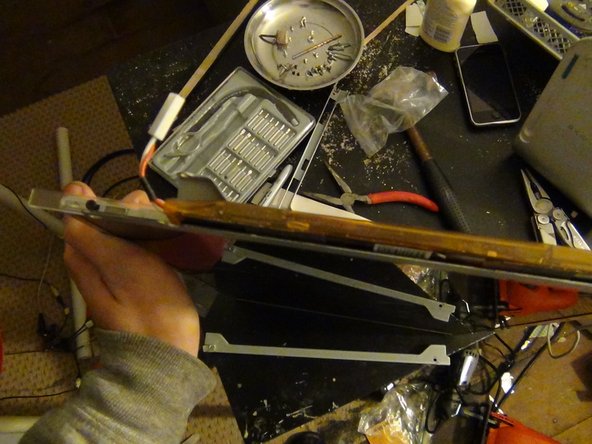
Step one is disassembly, i am not going to go into that in this guide. It is very easily available elsewhere on the internet. That being said, dissassemble to the point where the screen is removed. be sure to remove the lvds cable as well
-
-
-
-
New screen assembly
-
In your Unimac Version 2 kit, you will find 2 plastic spacers, one is much larger then the other. The thinner one will go on the "inverter side" of the screen, the other will go on the opposite side.
-
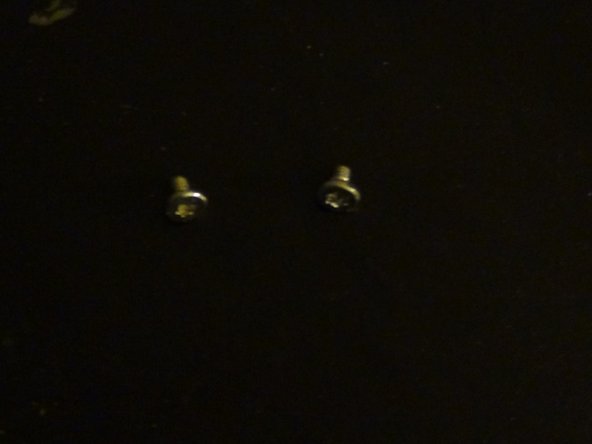
You will also find 4 small black screws.
-
Use the small screws to attach the non inverter spacer as shown in the picture.It has slots to allow for height adjustment, no matter how you mount it, its going to be close to centered, but later in the guide we will get it perfect. Attach the metal bracket to the spacer with the torx screws as shown.
-
Take the inverter (metal) bracket, and remove the inverter, but dont pull out the cable.(you will just have to put it back in place anyway) It is held in with some adhesive and should come out easily, just dont break it.
-
Slide the metal bracket in place, and secure the spacer as shown. Put the inverter back in its orignal place.
-
-
-
Adapter Installation:
-
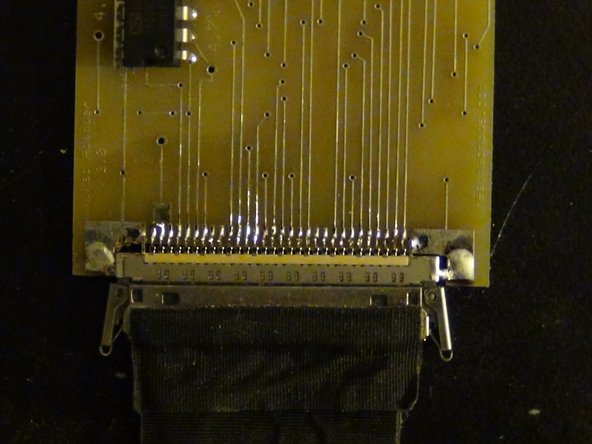
Install the pre-folded(dont unfold it) FFC Cable into the replacement LCD screen as shown. If you happen to have a non-locking style screen connector, you must cut off the lock tabs on the FFC cable. I highly recommend getting a screen with a locking connector.
-
Install the UniMac Adapter as shown. The FFC cable will slide into the recepticle, it is a standard "slide lock" style recepticle.
-
Use the double sided adhesive on the underside of the adapter to attach it to the back of the lcd screen.
-
Install the lvds cable into the adapter. You will feel it lock into place. Be sure not to attempt to install the cable upside down. The contacts are on the bottom, install the cable as such.
-
Cover all connections with clear plastic tape, to ensure nothing can possibly short anything else out. DO NOT IGNORE THIS STEP.
-
-
-
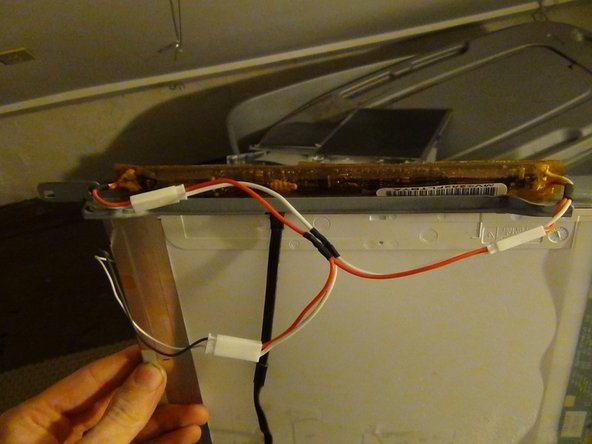
Attach the included Y-Cable as shown
-
Install the now assembled screen, just as the old one came out. It should line up with the plastic screw holes in the iMac.
-
Install the LVDS cable to the board, just as it came off. Plug in the inverter cable.
-
Put the front of the iMac back on. Take note of any height adjustments need to be made to center the display area. You may not need to make any. If necessary remove the screen and make your adjustments by loosening the small black screws, moving the spacer, and tightening the screws. Test and repeat as necessary.
-
-
-
Check, double check, and triple check everything.Finish reassembly. Plug it in and hit the power button. If you did everything correctly you will be greated with that wonderful Apple, and best of all, no vertical lines on your screen.
-
If not review the guide and see where you may have gone wrong.
-


To reassemble your device, follow these instructions in reverse order.
To reassemble your device, follow these instructions in reverse order.
Één opmerking
Hei, where can I buy this adapter? Whats the ideal screen for ir? Thanks