Ga door naar hoofdinhoud

iHome iPL8 Buttons Replacement

Wat je nodig hebt

  1. iHome iPL8  Buttons Replacement, Battery: stap 1, afbeelding 1 van 1
    • Turn the device over to access the bottom panel.

    • Locate the 6mm Phillips #2 screw under the label "unscrew to open door."

  2. iHome iPL8  Buttons Replacement: stap 2, afbeelding 1 van 1
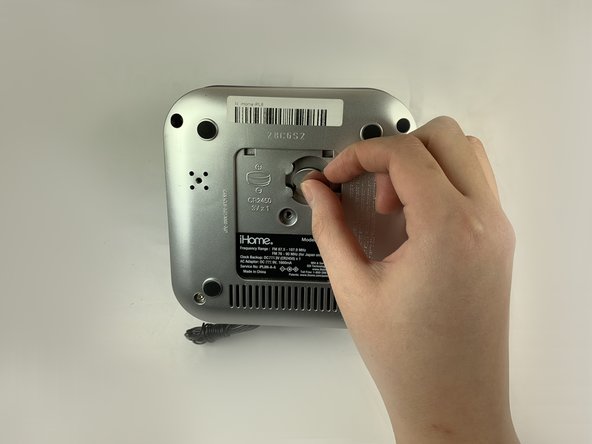
    • Using a Phillips #2 screwdriver, unscrew the captive screw.

    • Keep turning until the screw and the door are loose.

  3. iHome iPL8  Buttons Replacement: stap 3, afbeelding 1 van 1
    • Lift and remove the battery access panel.

    • The captive screw will remain attached to the panel.

  4. iHome iPL8  Buttons Replacement: stap 4, afbeelding 1 van 2 iHome iPL8  Buttons Replacement: stap 4, afbeelding 2 van 2
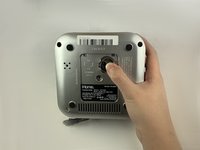
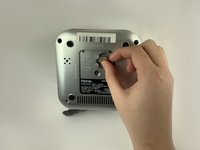
    • Gently press on the rim of the 3V battery.

    • Remove the 3V battery.

  5. iHome iPL8  Buttons Replacement, Lightning Connector: stap 5, afbeelding 1 van 1
    • Keeping your device upside-down, locate the four 6mm Phillips #2 screws near each corner.

    • Remove the four 6mm Phillips #2 screws.

  6. iHome iPL8  Buttons Replacement: stap 6, afbeelding 1 van 1
    • Remove the four round pads from the bottom of the device.

    • There are two additional 6mm Phillips #2 screws under the pads.

    • Using a Phillips #2 screwdriver, remove the two remaining screws.

    • Put your hand on the silver bottom case and gently pull it outward.

  7. iHome iPL8  Buttons Replacement: stap 7, afbeelding 1 van 2 iHome iPL8  Buttons Replacement: stap 7, afbeelding 2 van 2
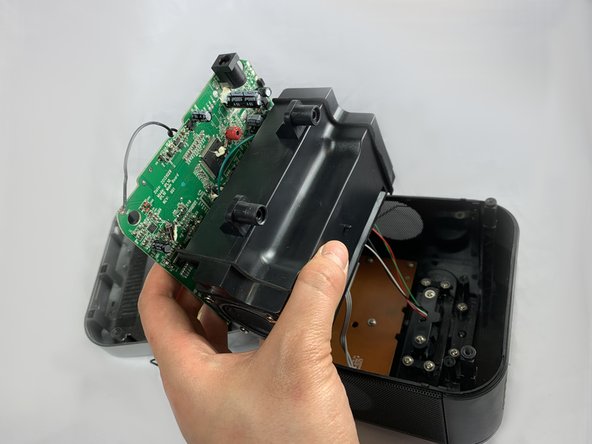
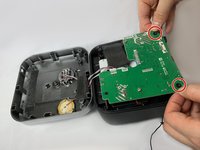
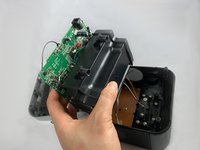
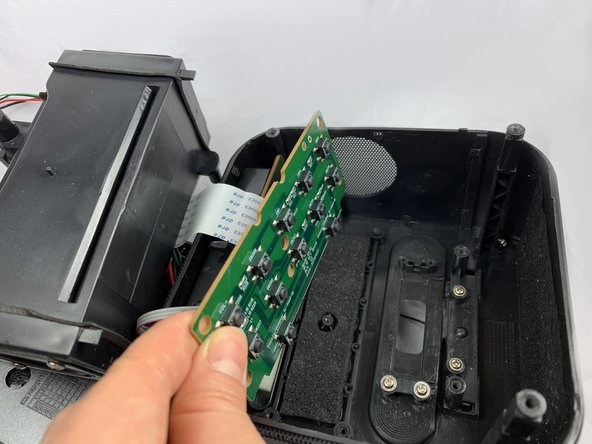
    • Locate the green circuit board. This panel is clipped onto two black, circular-shaped columns at two corners.

    • Pull out the green circuit board on the two corners.

    • The green circuit board is attached to a black box at the bottom. Flip the panel and the black box together to open the device.

  8. iHome iPL8  Buttons Replacement: stap 8, afbeelding 1 van 2 iHome iPL8  Buttons Replacement: stap 8, afbeelding 2 van 2
    • Remove the two 2.5 mm Phillips #1 screws securing the lightning dock assembly to the device.

    • Remove the two screws and the black cover.

    • Gently remove the lightning dock assembly.

    • The lightning dock assembly is connected to wires.

  9. iHome iPL8  Buttons Replacement: stap 9, afbeelding 1 van 3 iHome iPL8  Buttons Replacement: stap 9, afbeelding 2 van 3 iHome iPL8  Buttons Replacement: stap 9, afbeelding 3 van 3
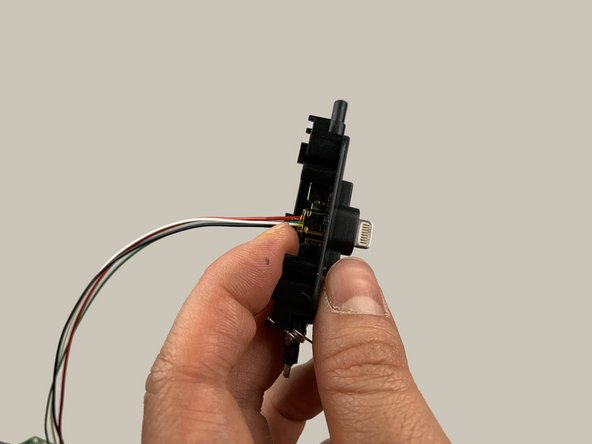
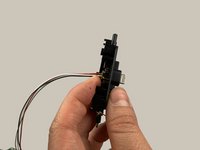
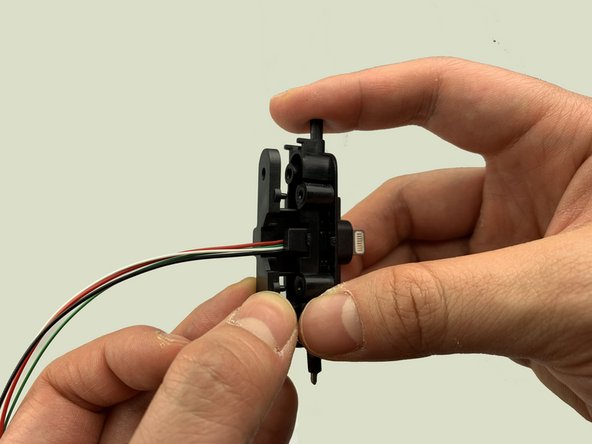
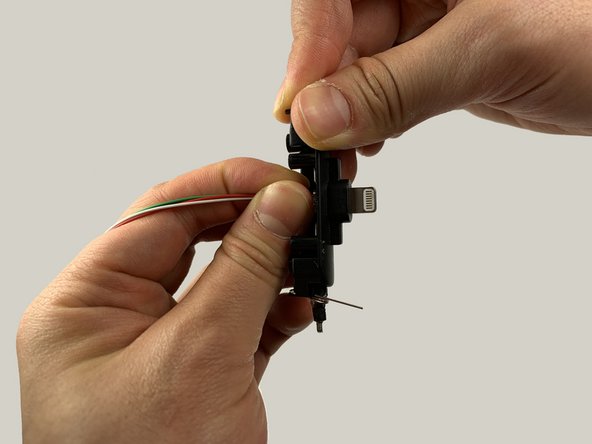
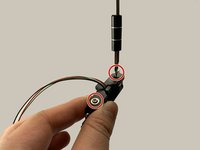
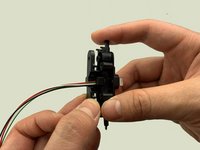
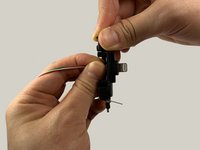
    • Remove the two 2.5mm screws using a Phillips #1 screwdriver.

    • Remove the back cover.

    • Use your fingers to reposition the lightning connector.

    • Make sure ALL of the lightning connector is exposed.

  10. iHome iPL8  Buttons Replacement, Buttons: stap 10, afbeelding 1 van 3 iHome iPL8  Buttons Replacement, Buttons: stap 10, afbeelding 2 van 3 iHome iPL8  Buttons Replacement, Buttons: stap 10, afbeelding 3 van 3
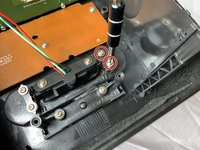
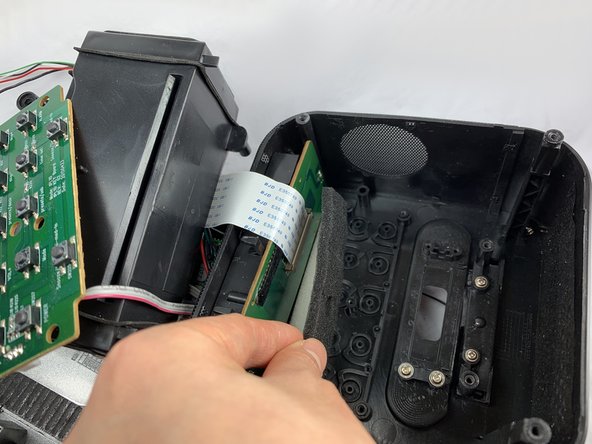
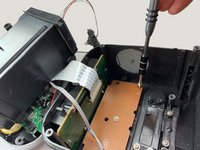
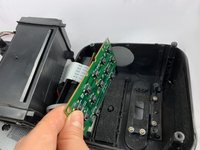
    • Locate the light brown, rectangular button board. Remove the five 2.5 mm Phillips #1 screws, four along the perimeter and one in the center.

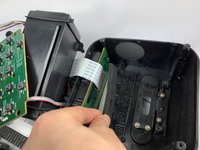
    • Remove the brown button board.

    • There is a foam sheet underneath the button board. Use your hand to take it off and put it aside.

  11. iHome iPL8  Buttons Replacement: stap 11, afbeelding 1 van 2 iHome iPL8  Buttons Replacement: stap 11, afbeelding 2 van 2
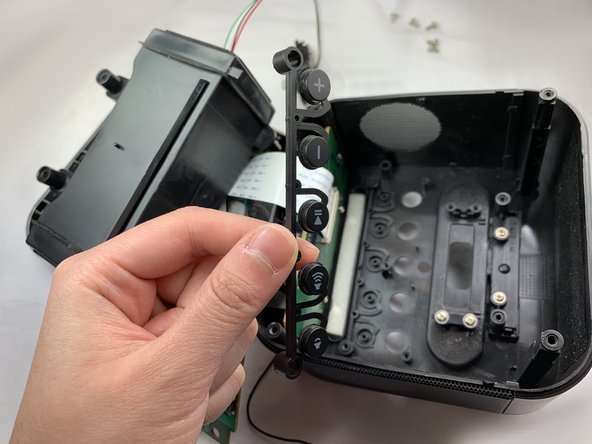
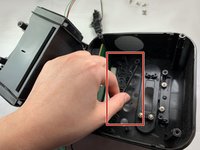
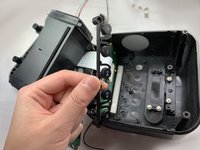
    • There are two rows of buttons clipped on to the small, circular, black columns.

    • Gently unclip the two rows of buttons and remove them.

Conclusie

To reassemble your device, follow these instructions in reverse order.

Één andere persoon heeft deze handleiding voltooid.

Chen Zhong

Lid sinds: 02/05/19

569 Reputatie

4 handleidingen geschreven

Team

UC Davis, Team S18-G5, Lore Winter 2019 Lid van UC Davis, Team S18-G5, Lore Winter 2019

UCD-LORE-W19S18G5

3 Leden

4 handleidingen geschreven

0 opmerkingen

Voeg opmerking toe

Weergavestatistieken:

Afgelopen 24 uren: 0

Afgelopen 7 dagen: 0

Afgelopen 30 dagen: 5

Altijd: 243