Stap 5 vertalen
Stap 5


-
Next, remove these two Phillips #1 screws to allow the release of the actual handle from the frame.
-
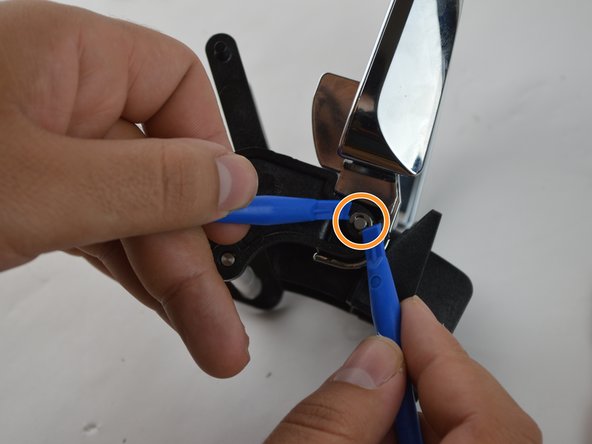
For the O rings, we used the plastic prying tools. Just keep in mind that you might want to hold one side of the O ring down while trying to pry off the other side with the other.
-
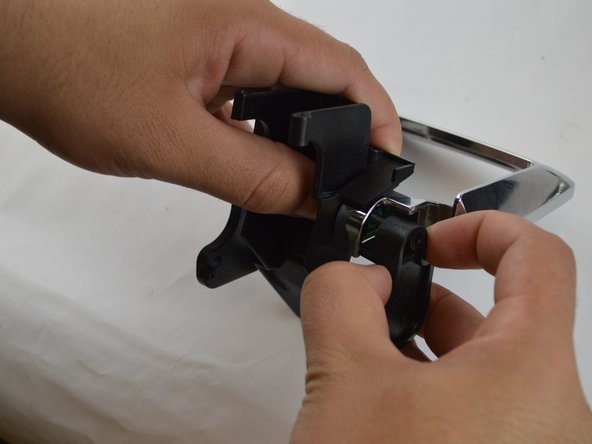
Once you get the O rings on both sides out, you can pull the handle by pulling on each side.
Je bijdragen zijn gelicentieerd onder de open source Creative Commons-licentie.