Stap 2 vertalen
Stap 2


-
Remove the clear plastic piece by alternatingly prying on the two ends of it little by little.
-
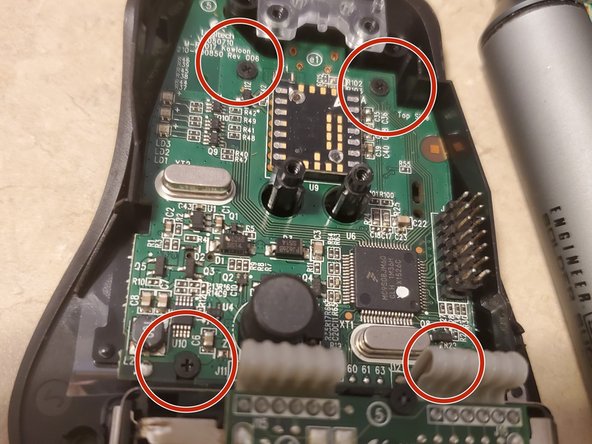
Remove the 4 philips head screws securing the bottom PCB assembly to the bottom case.
-
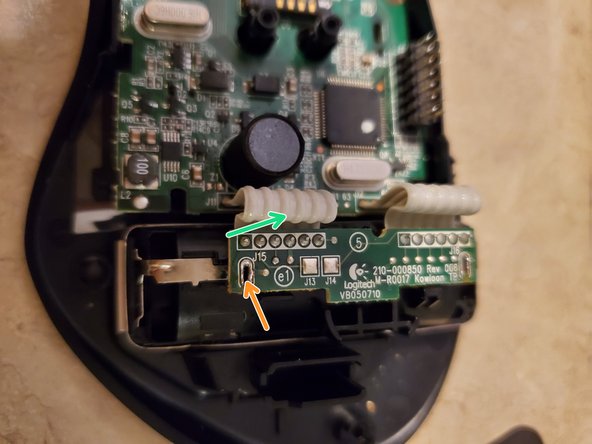
Remove the bottom PCB assembly together with the daughterboard. If solder is still catching, try making at least one terminal free, then heat the remaining terminal and simultaneusly pull it free.
Je bijdragen zijn gelicentieerd onder de open source Creative Commons-licentie.