Deze versie kan foutieve bewerkingen bevatten. Schakel over naar de recentste gecontroleerde momentopname.
Wat je nodig hebt
-
Deze stap is niet vertaald. Help het te vertalen
-
Prior to disassembly, verify the hold switch is engaged to ensure the device will not turn on during the procedure.
-
If the device turns on while it is being disassembled it could cause irreversible damage to the device.
-
-
Deze stap is niet vertaald. Help het te vertalen
-
Remove the top metal clip by inserting a Zune opening tool in between the faceplate and back cover and pulling gently back as shown in the images.
-
You should hear a 'click' as the clip detaches from the device.
-
-
Deze stap is niet vertaald. Help het te vertalen
-
Remove the two screws shown using a Y00 Tri-Wing screwdriver.
-
-
Deze stap is niet vertaald. Help het te vertalen
-
Insert the Zune opening tool between the faceplate and the back cover, starting from the top and slowly work your way around the device.
-
-
-
Deze stap is niet vertaald. Help het te vertalen
-
Work your way around the Zune until the back cover comes free. Remove the back plate and set it aside.
-
-
Deze stap is niet vertaald. Help het te vertalen
-
Remove the three screws (5.5mm by 3mm) from the backside of the Zune using a small Tri-Wing screwdriver.
-
-
Deze stap is niet vertaald. Help het te vertalen
-
Use your finger to pry back the two clear flaps.
-
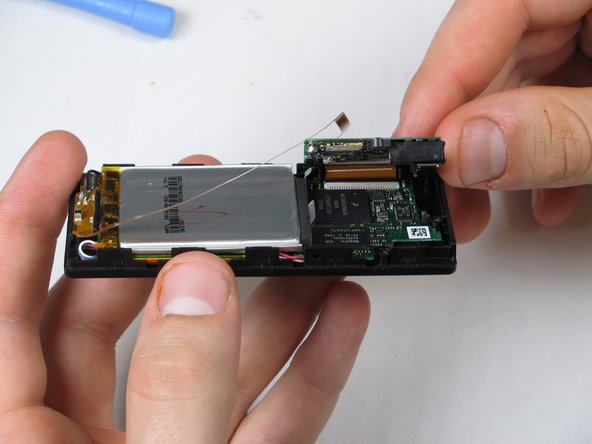
Slowly lift the communications board that was held down by the clear flaps.
-
-
Deze stap is niet vertaald. Help het te vertalen
-
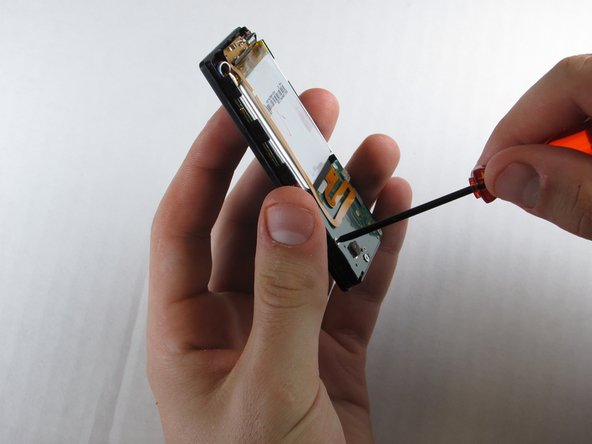
Disconnect the ribbon cable with the Zune opening tool by flipping up the black plastic flap where the ribbon cable connects to the memory board.
-
Pull the ribbon cable out of the memory board.
-
-
Deze stap is niet vertaald. Help het te vertalen
-
Peal the slim ribbon cable off the communications board using your fingers.
-
-
Deze stap is niet vertaald. Help het te vertalen
-
Pull the cable connector straight up using your fingers.
-
Communications board remains.
-
Annuleren: ik heb deze handleiding niet afgemaakt.
3 andere personen hebben deze handleiding voltooid.


