Ga door naar hoofdinhoud
Word lid van de reparatiegemeenschap - Account aanmaken

Xerox B201 Toner Roller Replacement

Wat je nodig hebt

    1. Xerox B201 Toner Roller Replacement, Xerox B201 Toner Roller: stap 1, afbeelding 1 van 3 Xerox B201 Toner Roller Replacement, Xerox B201 Toner Roller: stap 1, afbeelding 2 van 3 Xerox B201 Toner Roller Replacement, Xerox B201 Toner Roller: stap 1, afbeelding 3 van 3
      • Start by pressing the rectangular button on the top-front side of your printer.

      • A door will open, exposing two parts on top of each other, the toner cartridge on top and the toner drum on the bottom.

      • Use the handle of toner cartridge to slide it out towards you.

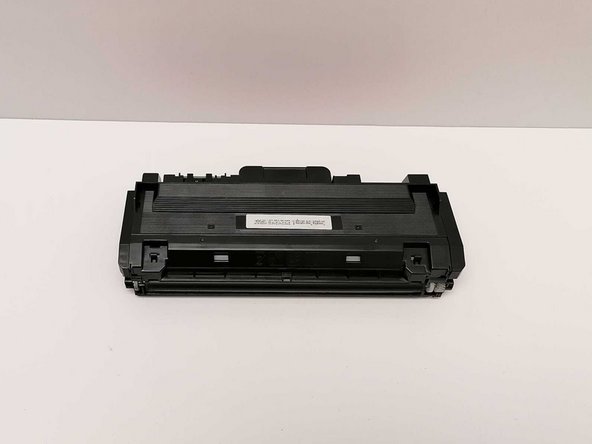
      • You will be working on this particular part.

      Vraag FixBot

      Voeg opmerking toe

    2. Xerox B201 Toner Roller Replacement: stap 2, afbeelding 1 van 3 Xerox B201 Toner Roller Replacement: stap 2, afbeelding 2 van 3 Xerox B201 Toner Roller Replacement: stap 2, afbeelding 3 van 3
      • Rotate the toner cartridge so that the handle is facing away from you and the ink roller is facing you.

      • Use the Phillips #0 screwdriver to remove the two 6.5 mm screws on each side of the toner cartridge.

      Vraag FixBot

      Voeg opmerking toe

    3. Xerox B201 Toner Roller Replacement: stap 3, afbeelding 1 van 3 Xerox B201 Toner Roller Replacement: stap 3, afbeelding 2 van 3 Xerox B201 Toner Roller Replacement: stap 3, afbeelding 3 van 3
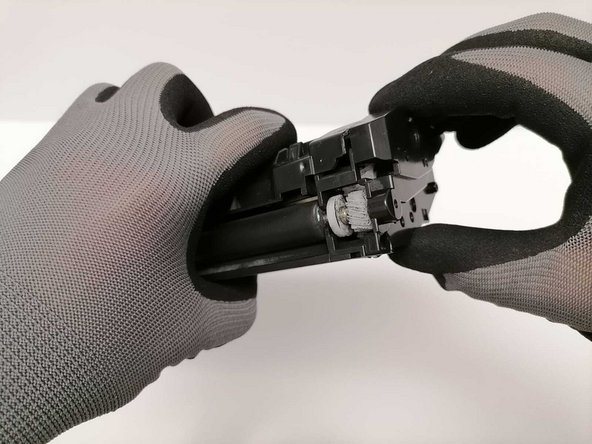
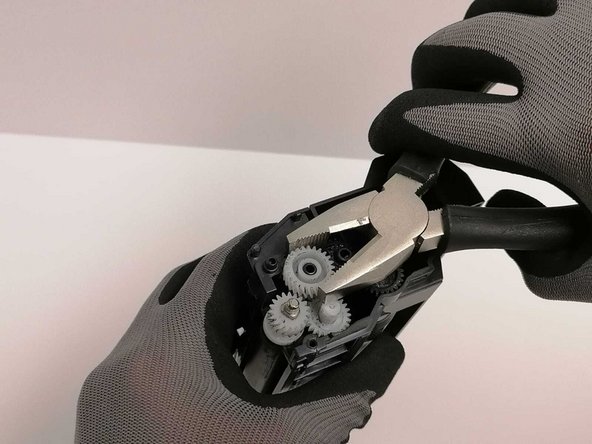
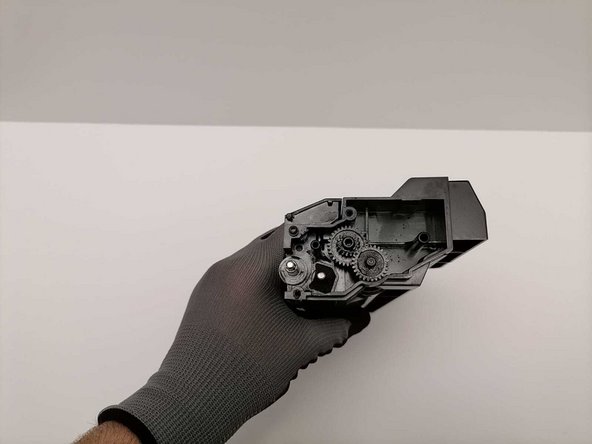
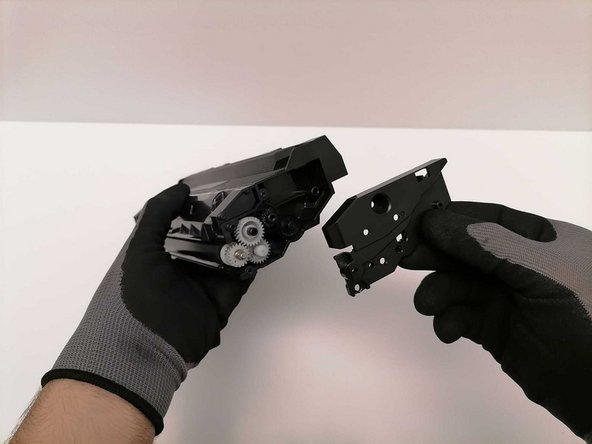
      • On the right side, hold the toner cartridge firmly with one hand, and use your fingers to remove the plastic casing which covers the gearbox.

      • Use a small plier to remove the three white gears from the toner cartridge.

      • Don't remove the two black gears.

      Vraag FixBot

      Voeg opmerking toe

    4. Xerox B201 Toner Roller Replacement: stap 4, afbeelding 1 van 2 Xerox B201 Toner Roller Replacement: stap 4, afbeelding 2 van 2
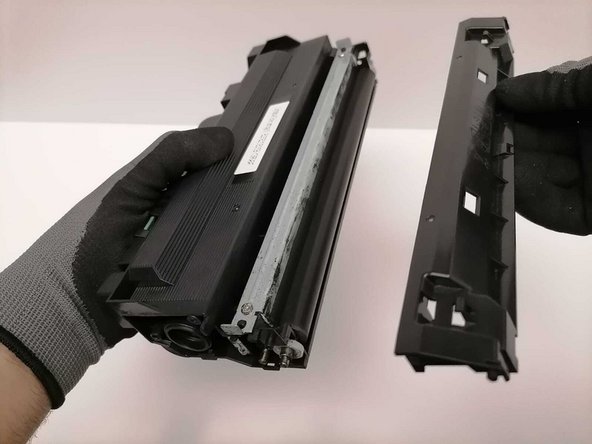
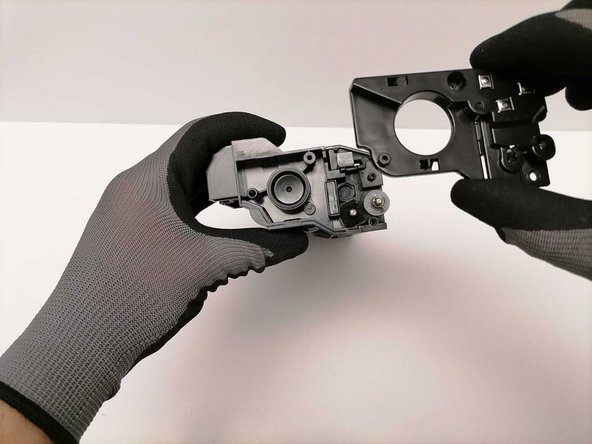
      • Remove the plastic casing on the other side of the toner cartridge.

      • Remove the rectangular plastic case, (that protects the toner roller), in the center of the toner cartridge.

      Vraag FixBot

      Voeg opmerking toe

    5. Xerox B201 Toner Roller Replacement: stap 5, afbeelding 1 van 3 Xerox B201 Toner Roller Replacement: stap 5, afbeelding 2 van 3 Xerox B201 Toner Roller Replacement: stap 5, afbeelding 3 van 3
      • Rotate the toner cartridge so that the metal line is facing you.

      • The black cylinder is the toner roller.

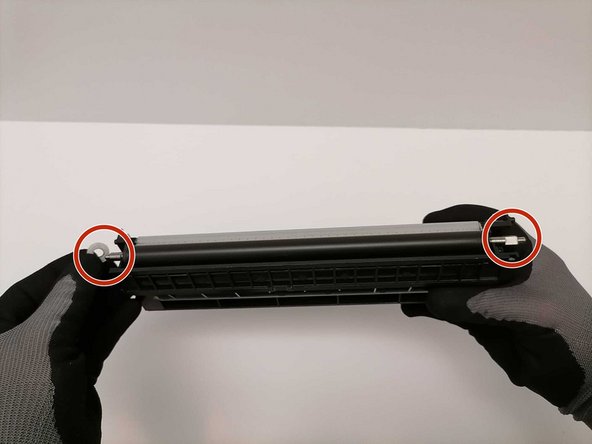
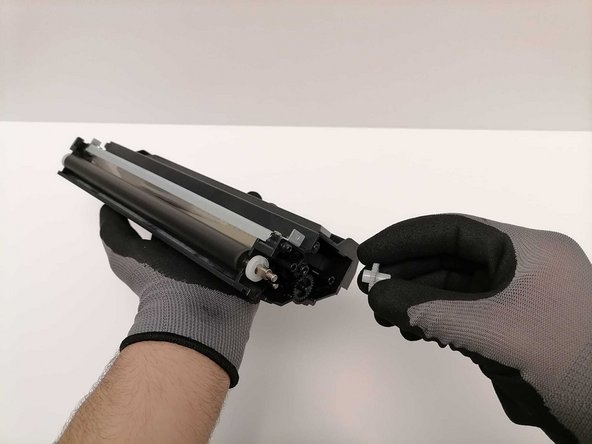
      • Remove the two white circular spacers on both sides of the toner cartridge.

      • Use pliers to remove them if they are difficult to remove by hand.

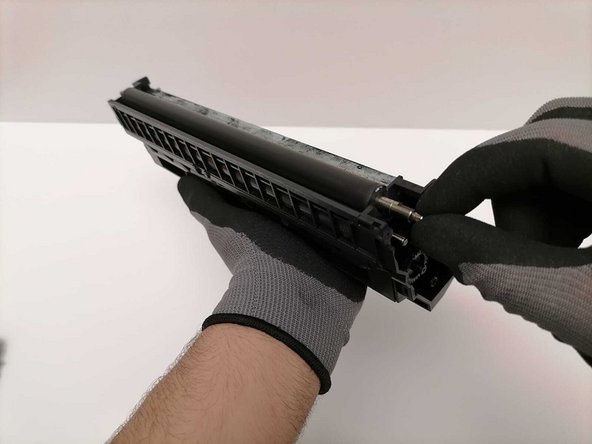
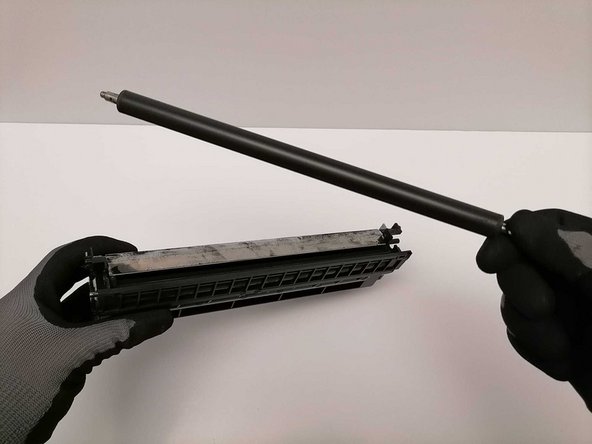
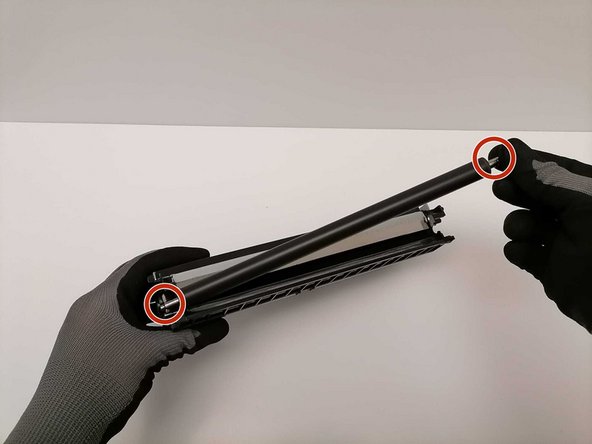
      • Hold the end of the right side of the toner roller by the metal rod.

      • Hold the toner cartridge firmly with your other hand and remove the toner roller.

      Vraag FixBot

      Voeg opmerking toe

    6. Xerox B201 Toner Roller Replacement: stap 6, afbeelding 1 van 2 Xerox B201 Toner Roller Replacement: stap 6, afbeelding 2 van 2
      • Use a clean and dry, lint-free cloth to remove any spilled ink on the outsides of the hopper.

      • Do NOT touch the inside of the toner cartridge with your hand or cloth.

      • Hold the metal ends of the new toner roller and carefully put it back in place.

      • Do NOT touch the toner roller with your hands or a cloth. Use the metal ends on each side of the toner roller.

      Vraag FixBot

      Voeg opmerking toe

    7. Xerox B201 Toner Roller Replacement: stap 7, afbeelding 1 van 2 Xerox B201 Toner Roller Replacement: stap 7, afbeelding 2 van 2
      • Place the two white circular spacers back on both sides of the toner roller.

      • Place the three white gears back on the right side of the toner roller.

      • Make sure the three white gears are in place, and that they all rotate synchronously.

      Vraag FixBot

      Voeg opmerking toe

    8. Xerox B201 Toner Roller Replacement: stap 8, afbeelding 1 van 3 Xerox B201 Toner Roller Replacement: stap 8, afbeelding 2 van 3 Xerox B201 Toner Roller Replacement: stap 8, afbeelding 3 van 3
      • Place the plastic case back on the toner cartridge.

      Vraag FixBot

      Voeg opmerking toe

    9. Xerox B201 Toner Roller Replacement: stap 9, afbeelding 1 van 2 Xerox B201 Toner Roller Replacement: stap 9, afbeelding 2 van 2
      • Use a Phillips #0 screwdriver to put the four 6.5 mm Phillips #0 screws back in place.

      • Place the toner cartridge back in your printer. You are done!

      Vraag FixBot

      Voeg opmerking toe

Conclusie

To reassemble your device, follow these instructions in reverse order.

Annuleren: ik heb deze handleiding niet afgemaakt.

2 andere personen hebben deze handleiding voltooid.

Rami Yamout

Lid sinds: 06/30/22

224 Reputatie

1 Handleiding geschreven

Team

York University, Team M-29, Allen Summer 2022 Lid van York University, Team M-29, Allen Summer 2022

YORK-ALLEN-SU22SMG29

1 Lid

12 handleidingen geschreven

1Gids Commentaar

Nice work! I like that you used a clear and a free from distraction background on your photos. Your guide is concise and easy to follow (thanks to your choice of simple words!) Keep up the good work.

LOU ERIKA U MUEGA - Antwoord Deel

Voeg opmerking toe

Weergavestatistieken:

Afgelopen 24 uren: 3

Afgelopen 7 dagen: 18

Afgelopen 30 dagen: 65

Altijd: 1,672