Inleiding
This guide explains how to replace the Xbox One's optical drive laser. Replacing the optical drive laser serves as a simpler solution for problems with the optical drive without the need to replace the console’s paired motherboard and optical drive daughterboard.
Wat je nodig hebt
-
-
Unscrew the four Phillips #1 screws on the top of the optical drive.
-
-
-
Lift the lid off of the optical drive case, this should require little to no force.
-
-
-
Slide the remaining optical drive case off of the internal components.
-
Internal components often snag on these points when removing the optical drive case.
-
-
-
-
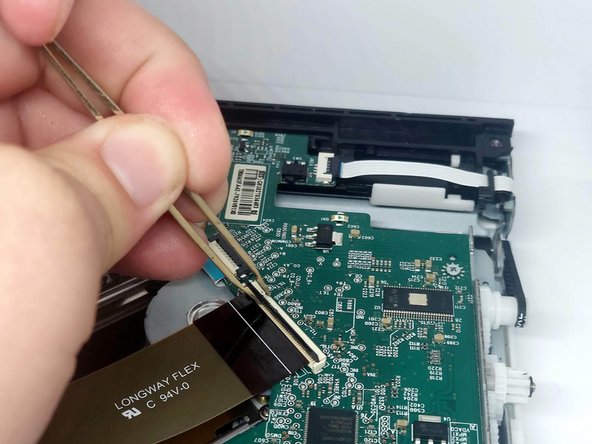
Locate the three ZIF connectors on the optical drive PCB.
-
Using tweezers, gently lift the tab on each ZIF connector to release the ribbon cables.
-
Remove the ribbon cable from each ZIF connector.
-
-
-
Unscrew the three Phillips #0 screws mounting the optical drive laser.
-
-
-
Lift the old optical drive laser from the unit and place in the new optical drive laser.
-


To reassemble your device, follow these instructions in reverse order.
To reassemble your device, follow these instructions in reverse order.
Annuleren: ik heb deze handleiding niet afgemaakt.
6 andere personen hebben deze handleiding voltooid.
Team

University of North Texas, Team S1-G17, Raign Spring 2021 Lid van University of North Texas, Team S1-G17, Raign Spring 2021
UNT-RAIGN-S21S1G17
2 Leden
2 handleidingen geschreven