Inleiding
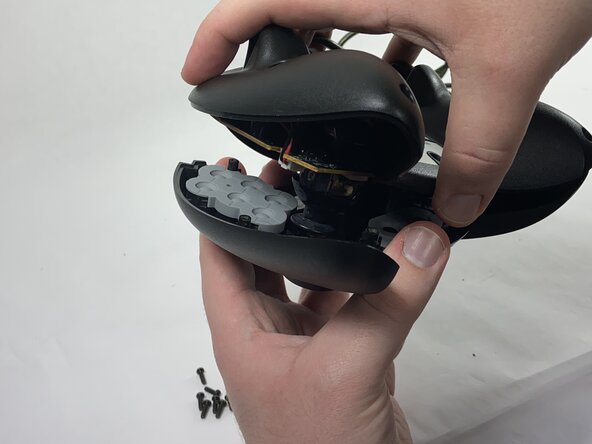
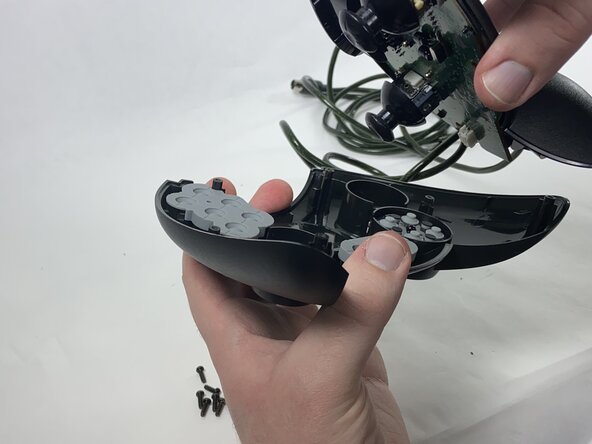
To remove the faceplate of your Xbox Duke controller and access the internal hardware, follow this guide. This guide is a prerequisite to all other Xbox Duke repair guides that require accessing internal components like the buttons, the potentiometers, motherboard, etc.
Wat je nodig hebt
-
-
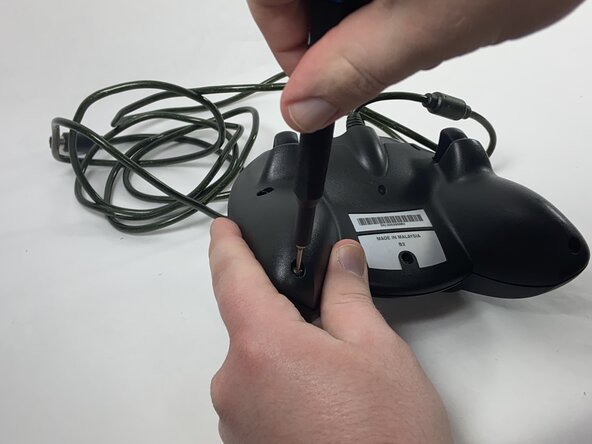
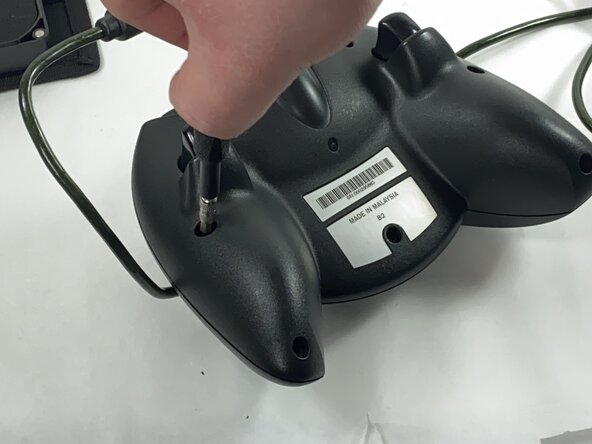
Remove the seven black 8 mm screws holding the two halves of the Duke together using a Phillips #1 screwdriver.
-
-


Conclusie
To reassemble your device, follow these instructions in reverse order.

Team

UMass Dartmouth, Team 1-1, Gulbrandsen Spring 2025 Lid van UMass Dartmouth, Team 1-1, Gulbrandsen Spring 2025
UMASSD-GULBRANDSEN-S25S1G1
1 Lid
4 handleidingen geschreven