Inleiding
Make your Xbox look shiny and new by replacing the outer panels.
Wat je nodig hebt
-
-
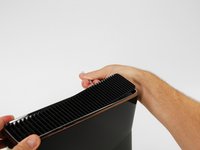
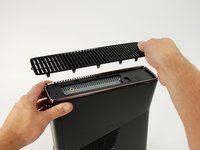
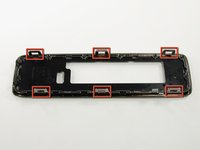
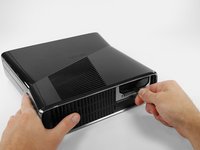
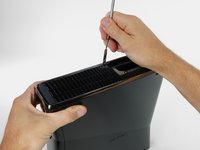
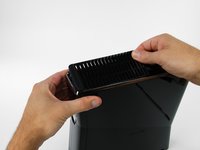
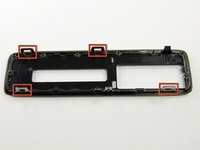
In the following steps, you will remove the top vent, secured to the top panel by the thirteen clips shown.
-
-
-
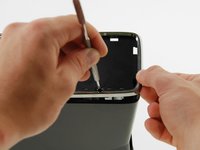
Orient the console so that the words "XBOX 360" on the sides are right-side up, and the faceplate is facing to the left.
-
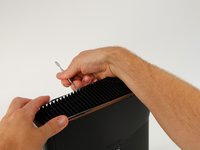
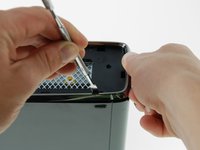
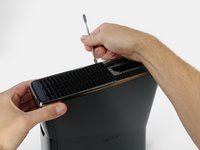
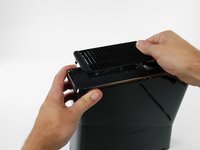
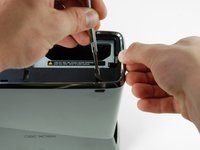
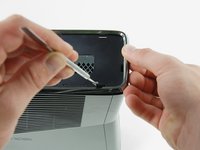
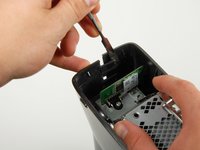
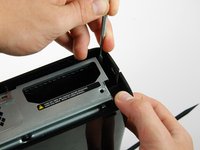
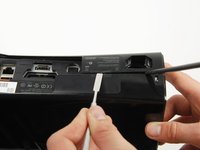
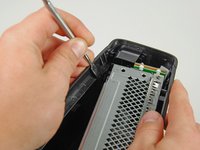
Insert a metal spudger between the top vent and the top bezel near the rear of the Xbox.
-
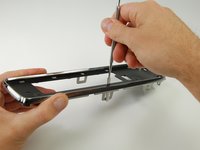
Rotate the spudger away from the console, prying the edge of the fan vent up until the two plastic clips come free.
-
-
-
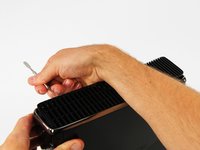
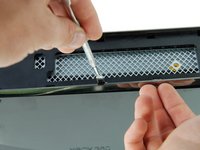
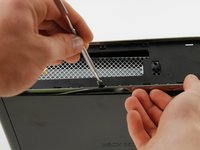
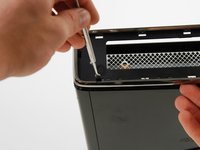
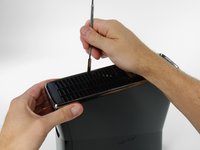
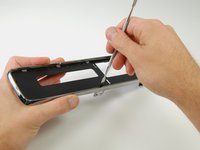
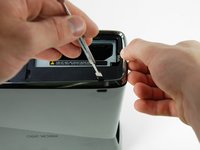
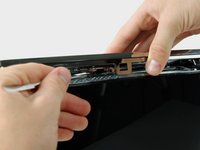
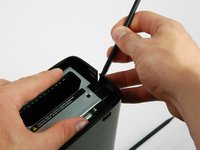
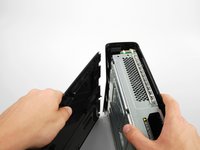
Insert a metal spudger between the fan vent and top bezel along the left side of the console.
-
In the same manner described above, begin prying the left side of the top vent away from the top bezel.
-
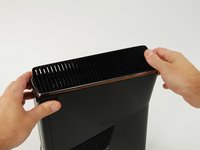
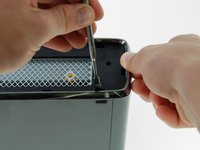
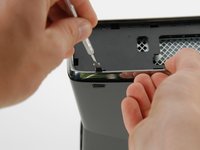
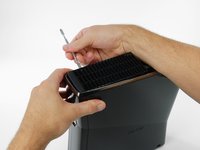
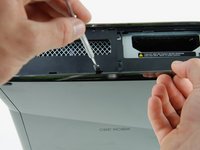
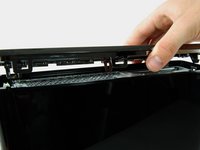
Continue prying along the left side of the device, freeing all the clips on that side.
-
-
-
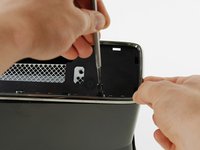
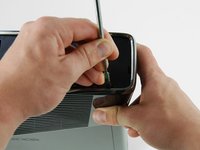
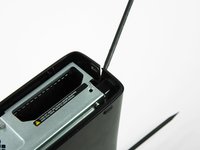
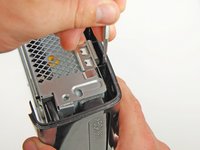
Rotate the console so that the rear of the Xbox 360 S is facing to the right, and the right case is facing you.
-
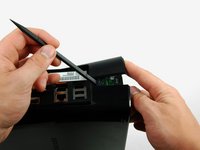
Insert a metal spudger through the rear-most slit on the right edge of the top bezel and between the bottom edge of the clip and the right case.
-
While lifting up on the top bezel with your fingers, rotate the spudger away from the console to free the clip.
-
-
-
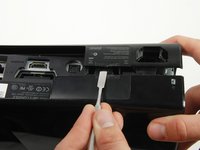
Push the latch holding down the hard drive cover to the left.
-
Pull the hard drive cover away from the console.
-
-
-
-
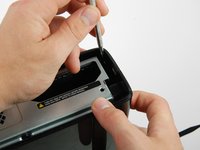
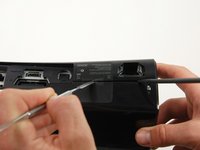
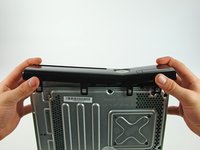
Insert a metal spudger through the left middle slit of the bottom bezel, and between the bottom edge of the clip and the left case.
-
Simultaneously pull the bottom bezel up and rotate the spudger away from the console to free the clip.
-
In a similar fashion, free the clip at the front of the bottom bezel's left edge.
-
-
-
Release the clip near the front right corner of the top edge securing the right case to the faceplate.
-
-
-
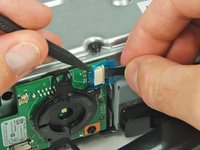
Using a spudger or fingernail, lift the clear blue tab away from the connector.
-
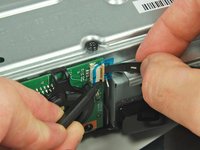
Slide the locking tab on the power switch board cable connector toward the top of the console.
-
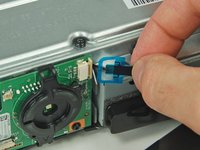
Pull the power switch cable straight out of the connector.
-
The faceplate is now free of the rest of the console.
-
-
-
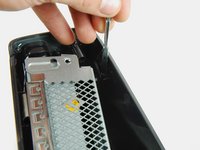
Remove the two 5.6 mm T8 Torx screws securing the RF module to the metal case.
-
-
-
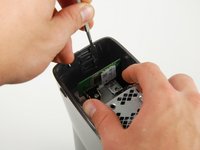
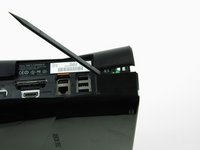
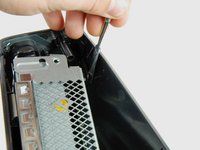
Remove the single T10 Torx screw holding in the wireless card.
-
Pull the Wi-Fi Board out of the console.
-


To reassemble your device, follow these instructions in reverse order.
To reassemble your device, follow these instructions in reverse order.
Annuleren: ik heb deze handleiding niet afgemaakt.
27 andere personen hebben deze handleiding voltooid.

2 opmerkingen
Is the metal framework a necessity or can I remove it?
The Xbox can be without ut.