Ga door naar hoofdinhoud

Deze versie kan foutieve bewerkingen bevatten. Schakel over naar de recentste gecontroleerde momentopname.

Medische apparatuur
Noch iFixit, noch deze reparatiehandleiding worden onderschreven door of zijn gelieerd aan de fabrikant van de desbetreffende medische apparatuur.

Wat je nodig hebt

  1. Deze stap is niet vertaald. Help het te vertalen

    : stap 1, afbeelding 1 van 2 : stap 1, afbeelding 2 van 2
    • Unplug the AC power connection cable.

  2. Deze stap is niet vertaald. Help het te vertalen

    : stap 2, afbeelding 1 van 3 : stap 2, afbeelding 2 van 3 : stap 2, afbeelding 3 van 3
    • Place your thumb and forefinger on the blood pressure (NIBP) hose connector. Squeeze the side tabs until the connector releases.

    • Always grasp the hose by the connector. Do not pull on the hose itself.

    • Pull the connector away from the connector port.

  3. Deze stap is niet vertaald. Help het te vertalen

    : stap 3, afbeelding 1 van 3 : stap 3, afbeelding 2 van 3 : stap 3, afbeelding 3 van 3
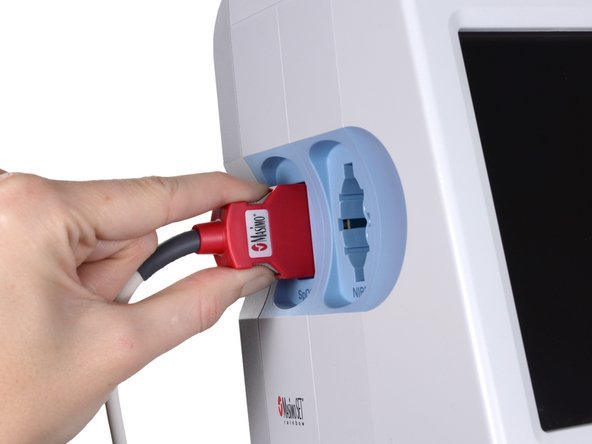
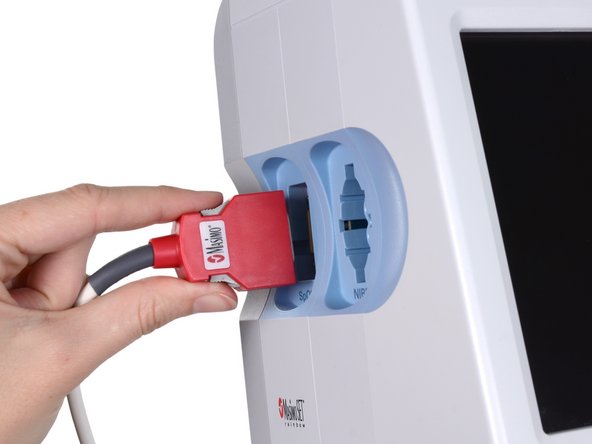
    • Place your thumb and forefinger on the Pulse oximetry (SpO2 or combined SpO2/SpHb) cable connector. Squeeze the side tabs until the connector releases.

    • Always grasp the cable by the connector. Do not pull on the cable itself.

    • Pull the connector away from the connector port.

  4. Deze stap is niet vertaald. Help het te vertalen

    : stap 4, afbeelding 1 van 2 : stap 4, afbeelding 2 van 2
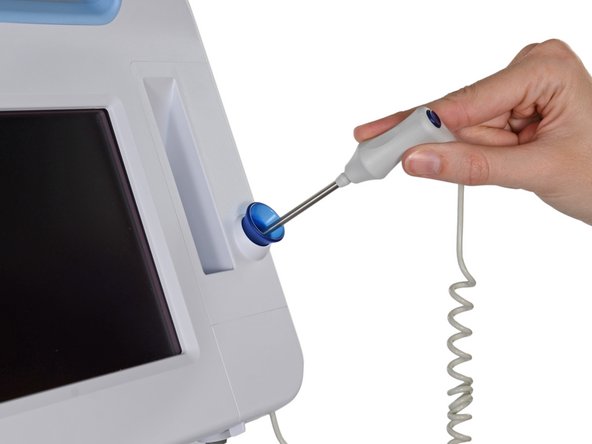
    • Grasp the temperature probe and pull it up to remove it from the monitor.

  5. Deze stap is niet vertaald. Help het te vertalen

    : stap 5, afbeelding 1 van 3 : stap 5, afbeelding 2 van 3 : stap 5, afbeelding 3 van 3
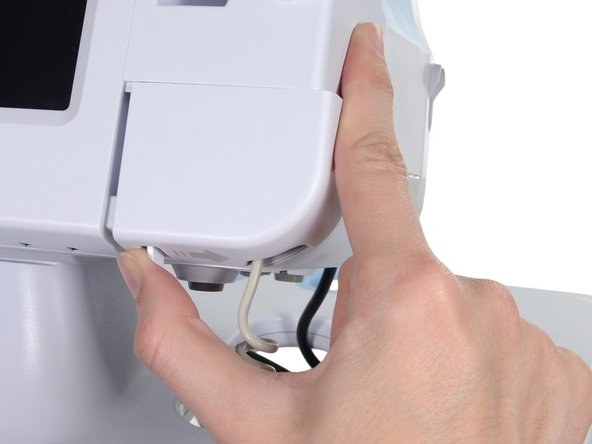
    • Remove the cover of the temperature module by pressing the tab and sliding the cover to the right.

  6. Deze stap is niet vertaald. Help het te vertalen

    : stap 6, afbeelding 1 van 3 : stap 6, afbeelding 2 van 3 : stap 6, afbeelding 3 van 3
    • Depress the spring tab on the temperature probe cable connector and withdraw it from the probe port.

  7. Deze stap is niet vertaald. Help het te vertalen

    : stap 7, afbeelding 1 van 1
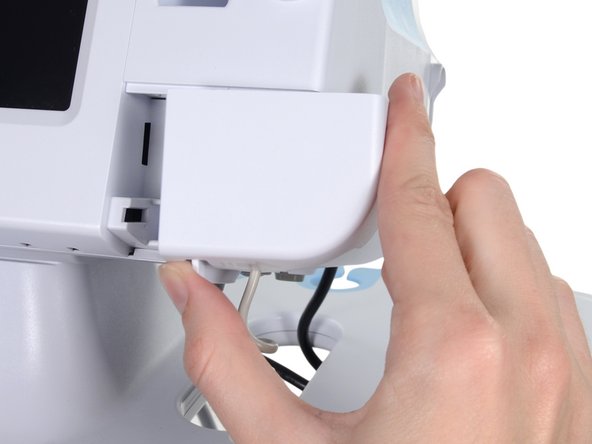
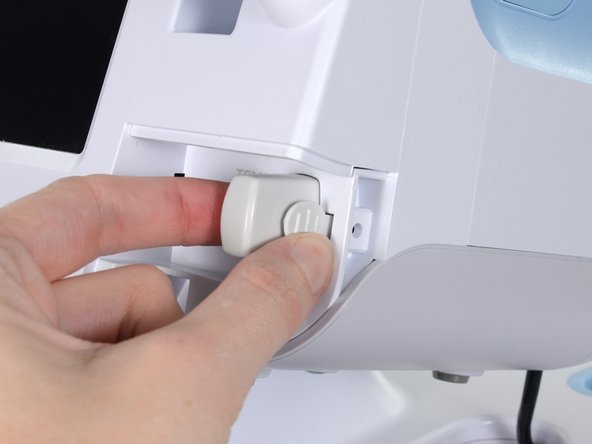
    • Remove the flathead screw on the USB networking door.

    • Loosen the captive Phillips #2 screw securing the monitor to the stand.

  8. Deze stap is niet vertaald. Help het te vertalen

    : stap 8, afbeelding 1 van 1
    • Holding the monitor securely, open the USB networking door.

    • You may have to lift the monitor slightly to allow the door to swing out from the stand mount.

  9. Deze stap is niet vertaald. Help het te vertalen

    : stap 9, afbeelding 1 van 2 : stap 9, afbeelding 2 van 2
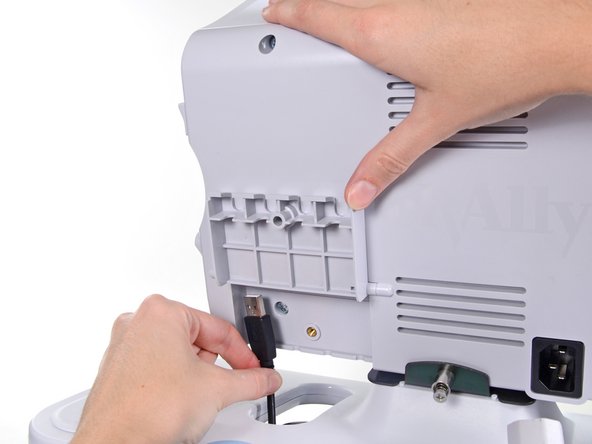
    • Detach any accessory USB cables from USB ports on the monitor.

  10. Deze stap is niet vertaald. Help het te vertalen

    : stap 10, afbeelding 1 van 3 : stap 10, afbeelding 2 van 3 : stap 10, afbeelding 3 van 3
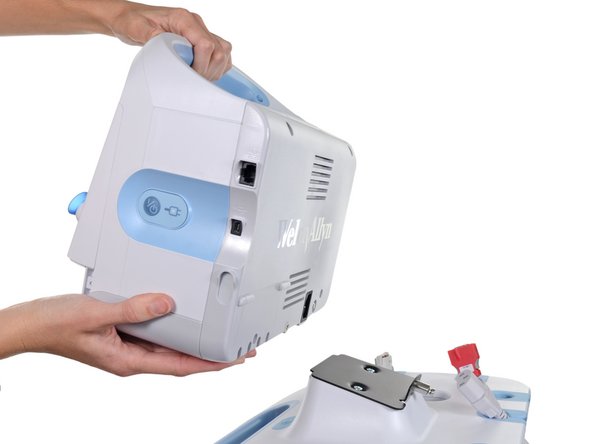
    • Slide the monitor off of the stand tray.

  11. Deze stap is niet vertaald. Help het te vertalen

    : stap 11, afbeelding 1 van 3 : stap 11, afbeelding 2 van 3 : stap 11, afbeelding 3 van 3
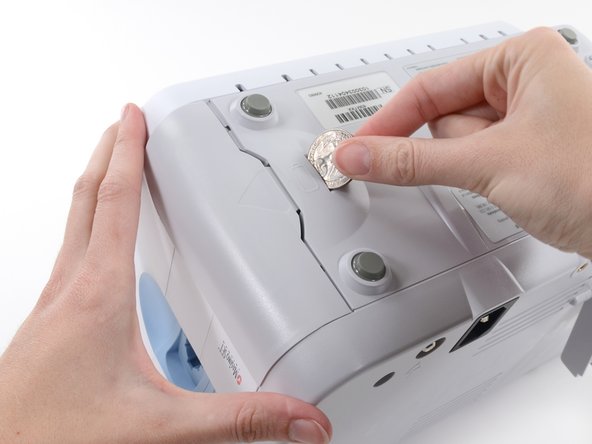
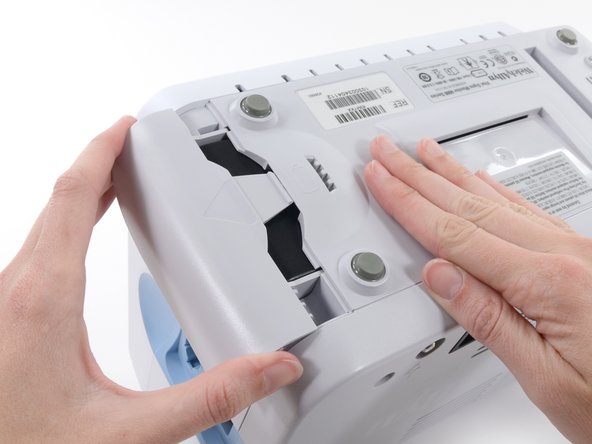
    • Place the monitor upside down on a clean surface.

    • Insert a coin into the slot and push to open.

    • Choose a coin that fits comfortably into the slot.

    • Remove the battery cover.

  12. Deze stap is niet vertaald. Help het te vertalen

    : stap 12, afbeelding 1 van 3 : stap 12, afbeelding 2 van 3 : stap 12, afbeelding 3 van 3
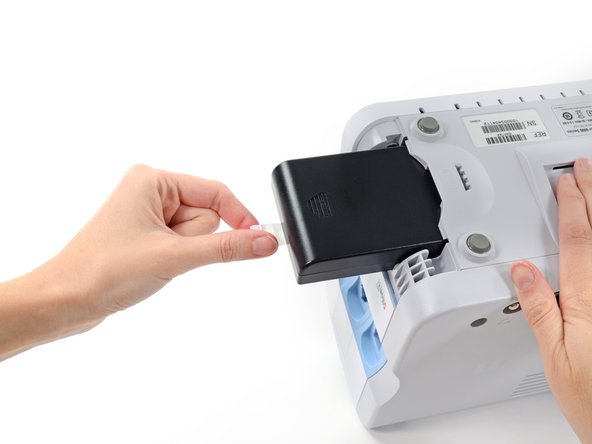
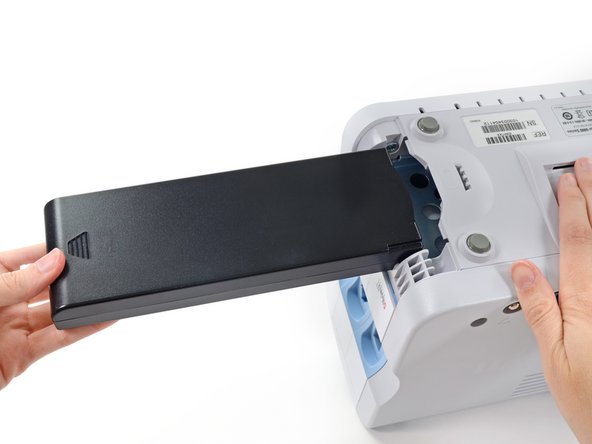
    • Use the plastic label to remove the battery from its recess.

Eindstreep

4 andere personen hebben deze handleiding voltooid.

kyle2

Lid sinds: 06/03/10

101 Reputatie

1 Handleiding geschreven

Team

Team Freedom Lid van Team Freedom

Community

1 Lid

3 handleidingen geschreven

0 opmerkingen

Voeg opmerking toe

Weergavestatistieken:

Afgelopen 24 uren: 1

Afgelopen 7 dagen: 13

Afgelopen 30 dagen: 38

Altijd: 2,782