Ga door naar hoofdinhoud

Vizio VTAB1008 Wi-Fi Antenna Replacement

Wat je nodig hebt

  1. Vizio VTAB1008 Wi-Fi Antenna Replacement, Vizio VTAB1008 Back Cover Removal: stap 1, afbeelding 1 van 2 Vizio VTAB1008 Wi-Fi Antenna Replacement, Vizio VTAB1008 Back Cover Removal: stap 1, afbeelding 2 van 2
    • Carefully slide the heavy duty opening tool between the gap on the side of the device with no buttons.

    • Do not insert the opening tool too far into the tablet as this can damage connectors close to edges of the cover.

    • The angled tip of the opening tool can be wedged into the device by pressing on the back of the opening tool with the thumb. Move the opening tool in a sliding motion to ensure all tabs separate.

    • Corner tabs may require a more forceful prying tool. If needed, carefully insert the metal prying tool into corners to separate the tabs.

  2. Vizio VTAB1008 Wi-Fi Antenna Replacement: stap 2, afbeelding 1 van 1
    • Look into the tablet for loose connectors.

    • There are three loose connectors: one for the screen, one for the digitizer, and one for the motherboard. They are held in place by the pressure of the backing and screen assemblies.

    • Flip the backing from the button-less side over, being careful not to separate the ribbon connector from the display screen.

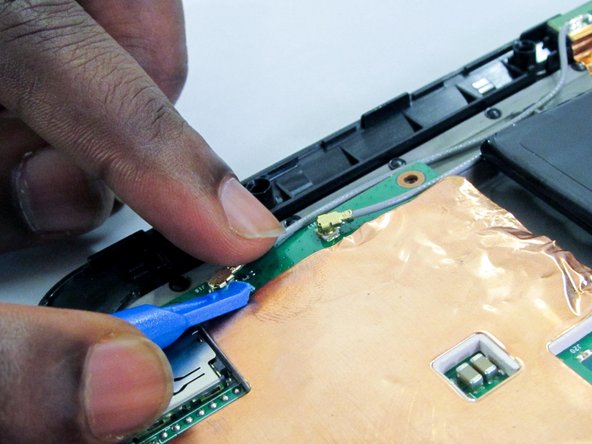
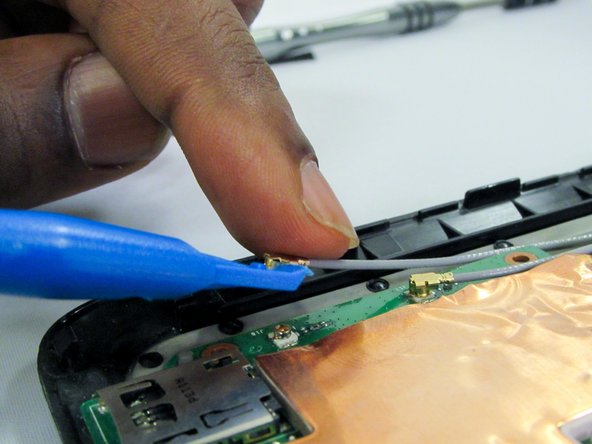
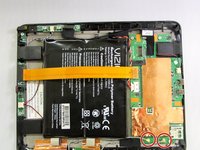
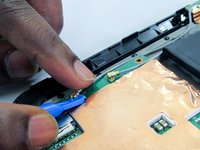
  3. Vizio VTAB1008 Wi-Fi Antenna Replacement, Wi-Fi Antenna: stap 3, afbeelding 1 van 3 Vizio VTAB1008 Wi-Fi Antenna Replacement, Wi-Fi Antenna: stap 3, afbeelding 2 van 3 Vizio VTAB1008 Wi-Fi Antenna Replacement, Wi-Fi Antenna: stap 3, afbeelding 3 van 3
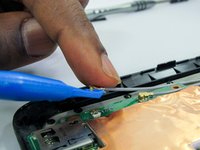
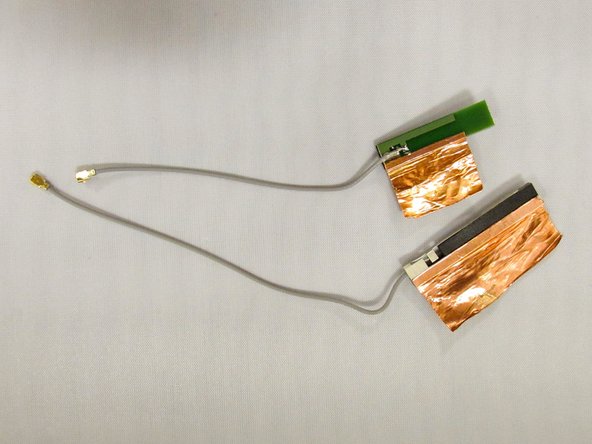
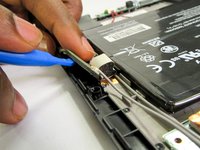
    • Using the blue spudger/prying tool remove antenna connectors by prying them up from the motherboard.

  4. Vizio VTAB1008 Wi-Fi Antenna Replacement: stap 4, afbeelding 1 van 3 Vizio VTAB1008 Wi-Fi Antenna Replacement: stap 4, afbeelding 2 van 3 Vizio VTAB1008 Wi-Fi Antenna Replacement: stap 4, afbeelding 3 van 3
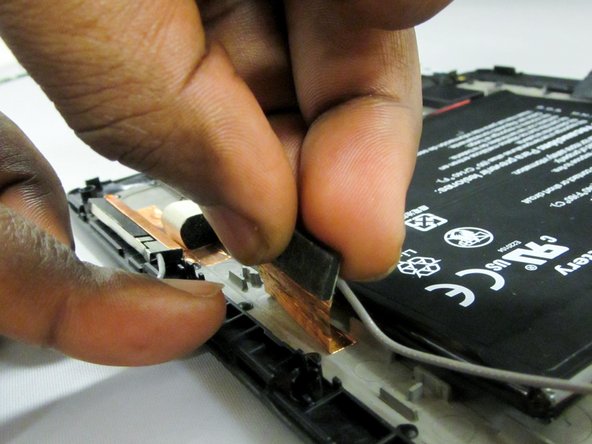
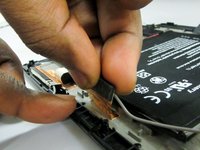
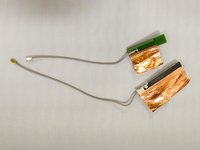
    • Remove connectors from the back cover by gently prying.

    • Connectors are glued down, but copper can be removed from the backing with light pulling.

Conclusie

To reassemble your device, follow these instructions in reverse order.

0 opmerkingen

Voeg opmerking toe

Weergavestatistieken:

Afgelopen 24 uren: 0

Afgelopen 7 dagen: 1

Afgelopen 30 dagen: 1

Altijd: 208