Inleiding
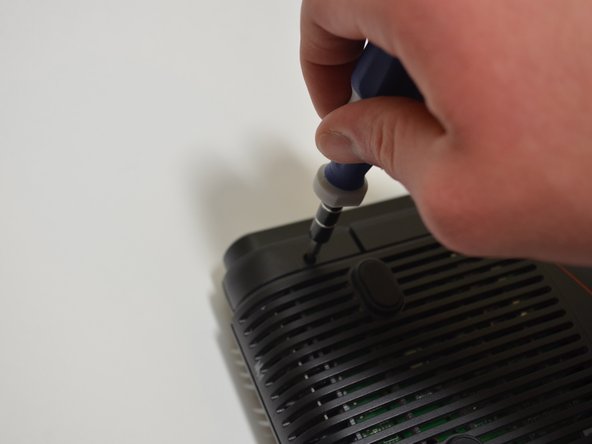
To replace the refresh button, you will need to open the router's outer casings. This replacement is simple and will not take much time to complete.
Wat je nodig hebt


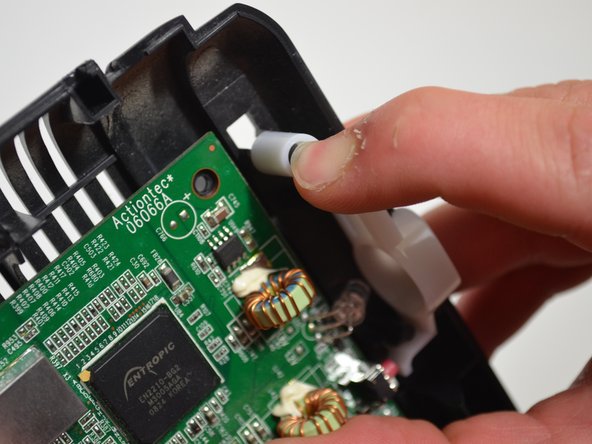
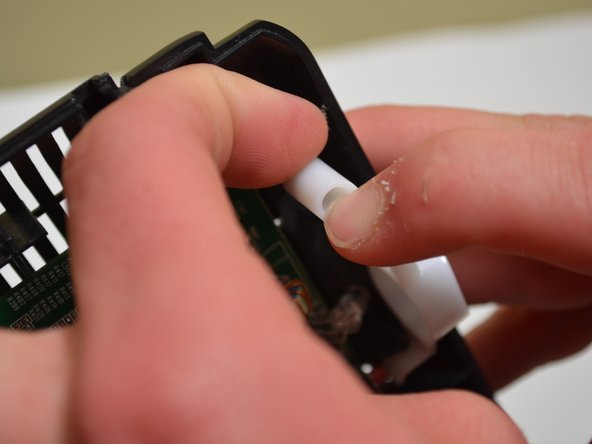
Bijna klaar!
To reassemble your device, follow these instructions in reverse order.
Conclusie
To reassemble your device, follow these instructions in reverse order.
Team

University of Kentucky Louisville, Team 1-3, Mathis Fall 2014 Lid van University of Kentucky Louisville, Team 1-3, Mathis Fall 2014
LOUISVILLE-MATHIS-F14S1G3
3 Leden
8 handleidingen geschreven