Ga door naar hoofdinhoud

Vacuum Bissell 2610E Brush Roll Replacement.

Wat je nodig hebt

  1. Vacuum Bissell 2610E Brush Roll Replacement., Brush Roll: stap 1, afbeelding 1 van 1
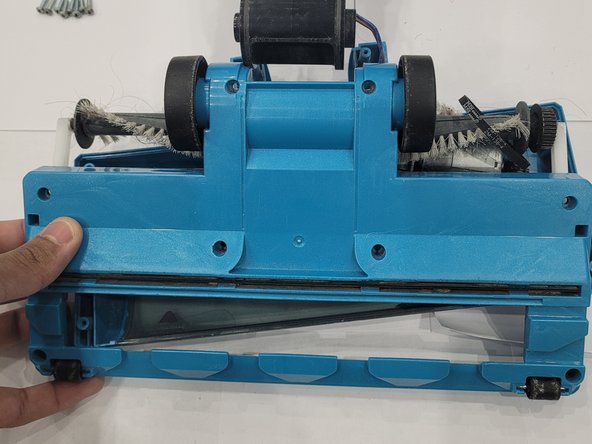
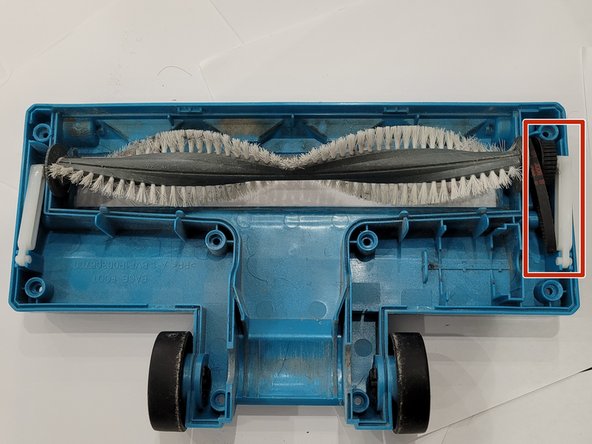
    • Lay the vacuum flat on the ground, then use a sturdy object to prop up the bottom.

  2. Vacuum Bissell 2610E Brush Roll Replacement.: stap 2, afbeelding 1 van 1
    • Use a Phillips #0 screwdriver to remove the eight screws securing the brush housing.

  3. Vacuum Bissell 2610E Brush Roll Replacement.: stap 3, afbeelding 1 van 3 Vacuum Bissell 2610E Brush Roll Replacement.: stap 3, afbeelding 2 van 3 Vacuum Bissell 2610E Brush Roll Replacement.: stap 3, afbeelding 3 van 3
    • Gently pull at each corner of the brush housing until it releases from the chassis.

    • Remove the brush housing.

  4. Vacuum Bissell 2610E Brush Roll Replacement.: stap 4, afbeelding 1 van 2 Vacuum Bissell 2610E Brush Roll Replacement.: stap 4, afbeelding 2 van 2
    • Unlatch the two white plastic hooks securing the brush.

  5. Vacuum Bissell 2610E Brush Roll Replacement.: stap 5, afbeelding 1 van 3 Vacuum Bissell 2610E Brush Roll Replacement.: stap 5, afbeelding 2 van 3 Vacuum Bissell 2610E Brush Roll Replacement.: stap 5, afbeelding 3 van 3
    • Lift the brush up and out of its housing.

    • Keep and reuse the black rubber belt if it's not damaged.

  6. Vacuum Bissell 2610E Brush Roll Replacement.: stap 6, afbeelding 1 van 3 Vacuum Bissell 2610E Brush Roll Replacement.: stap 6, afbeelding 2 van 3 Vacuum Bissell 2610E Brush Roll Replacement.: stap 6, afbeelding 3 van 3
    • Loop the black rubber belt around the notched wheel on the right side of the brush, then place the brush roll back in its housing and lock the white plastic latch.

    • Lock the white plastic latch on the left side of the brush.

  7. Vacuum Bissell 2610E Brush Roll Replacement.: stap 7, afbeelding 1 van 1
    • Before replacing the top of the brush housing, make sure the black rubber belt is secured around the black notched wheel on the right side of the brush, as well as the notched wheel on the motor.

Conclusie

To reassemble your device, follow these instructions in reverse order.

Één andere persoon heeft deze handleiding voltooid.

Faizan Shaikh

Lid sinds: 01/17/22

169 Reputatie

1 Handleiding geschreven

Team

0 opmerkingen

Voeg opmerking toe

Weergavestatistieken:

Afgelopen 24 uren: 1

Afgelopen 7 dagen: 13

Afgelopen 30 dagen: 68

Altijd: 1,264