Deze versie kan foutieve bewerkingen bevatten. Schakel over naar de recentste gecontroleerde momentopname.
Wat je nodig hebt
-
Deze stap is niet vertaald. Help het te vertalen
-
Place the drone on its back, with the runners facing upward.
-
Using the Phillips #00 screwdriver, unscrew the single 2mm screw located on the drone body which connects the headlamp and wiring to the center of the drone frame.
-
-
Deze stap is niet vertaald. Help het te vertalen
-
Grasp one of the propeller arms with the fingers of one hand while holding the drone frame with the other hand.
-
Firmly pull the propeller arm upward to separate it from the drone body.
-
Repeat this process to remove the three other propeller arms.
-
-
-
Deze stap is niet vertaald. Help het te vertalen
-
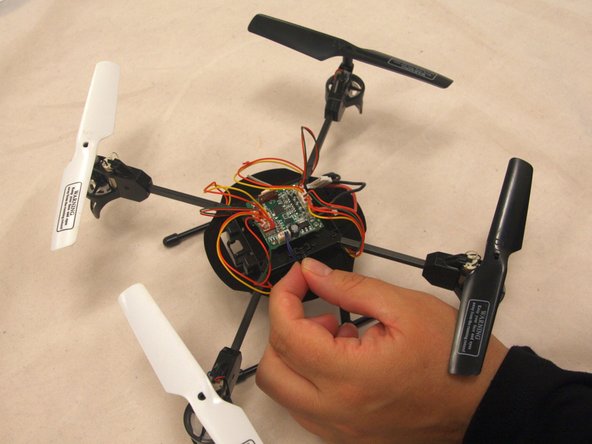
Flip the drone body onto the runners so the wires and motherboard are facing upward.
-
Disconnect the black and blue camera wires from the motherboard.
-


Team

Eastern Washington University, Team S4-G2, Crane Fall 2018 Lid van Eastern Washington University, Team S4-G2, Crane Fall 2018
EWU-CRANE-F18S4G2
2 Leden
4 handleidingen geschreven