Ga door naar hoofdinhoud

UTStarcom XV6700 Camera Replacement

Wat je nodig hebt

  1. UTStarcom XV6700 Camera Replacement, Battery: stap 1, afbeelding 1 van 1
    • Press the on/off button on the top to power the phone off.

  2. UTStarcom XV6700 Camera Replacement: stap 2, afbeelding 1 van 1
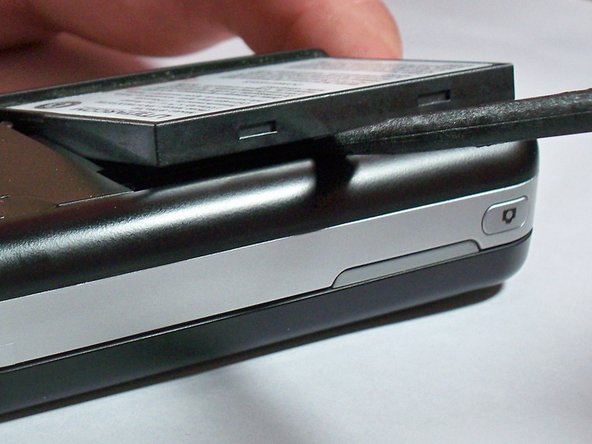
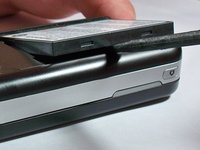
    • Remove the battery cover by pressing and sliding the cover down and off of the phone.

  3. UTStarcom XV6700 Camera Replacement: stap 3, afbeelding 1 van 3 UTStarcom XV6700 Camera Replacement: stap 3, afbeelding 2 van 3 UTStarcom XV6700 Camera Replacement: stap 3, afbeelding 3 van 3
    • Pull the battery removal tab and lift the battery out of the phone.

    • If the battery removal tab is missing, place a spudger on the opposite side of the highlighted connector and pry the battery up.

  4. UTStarcom XV6700 Camera Replacement, Camera: stap 4, afbeelding 1 van 1
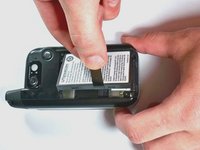
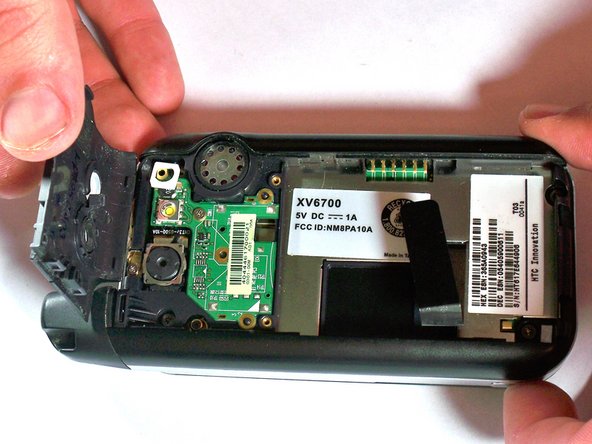
    • Remove the two 4.0-mm #000 Phillips screws at the top of the battery compartment. Tweezers may be useful to remove the screws.

  5. UTStarcom XV6700 Camera Replacement: stap 5, afbeelding 1 van 2 UTStarcom XV6700 Camera Replacement: stap 5, afbeelding 2 van 2
    • Use firm pressure to carefully pry off the cover with your fingers.

  6. UTStarcom XV6700 Camera Replacement: stap 6, afbeelding 1 van 1
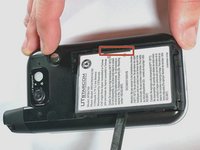
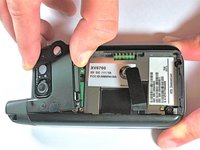
    • Remove the 4.0-mm #00 Phillips screw securing the camera flash circuit board. The board is still connected by a connector on the bottom of the board.

  7. UTStarcom XV6700 Camera Replacement: stap 7, afbeelding 1 van 1
    • Gently pry off the camera flash circuit board with the spudger.

  8. UTStarcom XV6700 Camera Replacement: stap 8, afbeelding 1 van 1
    • Gently pry off the camera with the spudger.

Conclusie

To reassemble your device, follow these instructions in reverse order.

Jesse Walker

Lid sinds: 06/04/13

201 Reputatie

2 handleidingen geschreven

0 opmerkingen

Voeg opmerking toe

Weergavestatistieken:

Afgelopen 24 uren: 0

Afgelopen 7 dagen: 4

Afgelopen 30 dagen: 10

Altijd: 185