Deze handleiding heeft recentere wijzigingen. Schakel over naar de nieuwste niet-geverifieerde versie.
Inleiding
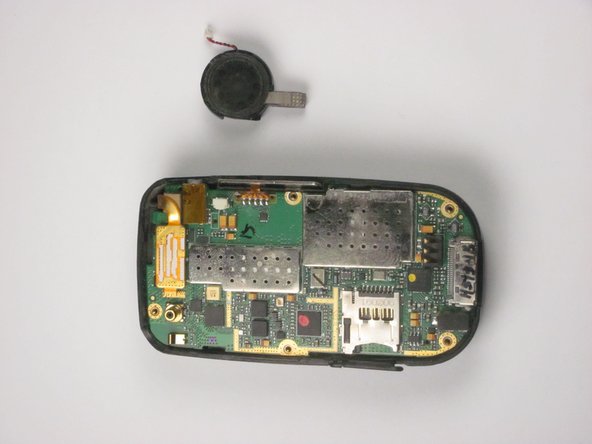
Follow this guide to properly replace the speaker.
Wat je nodig hebt
-
-
Push the highlighted button in the direction in which the antenna is pointing. The battery will release and pop up.
-
-


Bijna klaar!
To reassemble your device, follow these instructions in reverse order.
Conclusie
To reassemble your device, follow these instructions in reverse order.
Team

Cal Poly, Team 24-26, Regan Fall 2012 Lid van Cal Poly, Team 24-26, Regan Fall 2012
CPSU-REGAN-F12S24G26
4 Leden
10 handleidingen geschreven