Ga door naar hoofdinhoud

Trio Stealth G2 Hype Back Panel Replacement

Wat je nodig hebt

  1. Trio Stealth G2 Hype Back Panel Replacement, Back Panel: stap 1, afbeelding 1 van 2 Trio Stealth G2 Hype Back Panel Replacement, Back Panel: stap 1, afbeelding 2 van 2
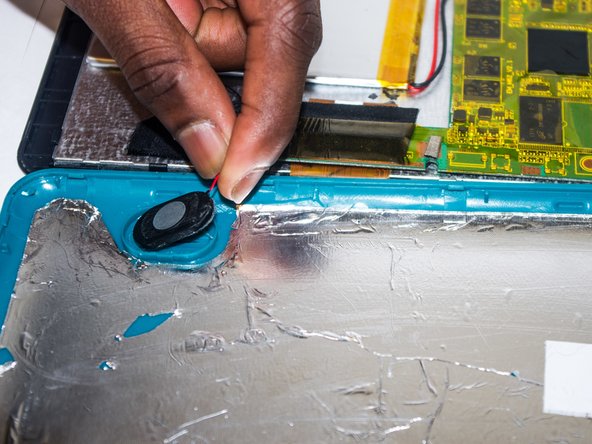
    • Remove the two 1.2 mm Phillips #0 screws found at the side by the power button.

  2. Trio Stealth G2 Hype Back Panel Replacement: stap 2, afbeelding 1 van 1
    • Using the plastic opening tool, insert it between the back panel and screen starting on the corner to the right of the power button side and begin separating the back cover.

    • Be cautious when opening the back cover as it is connected through fragile wires to the speaker.

  3. Trio Stealth G2 Hype Back Panel Replacement: stap 3, afbeelding 1 van 3 Trio Stealth G2 Hype Back Panel Replacement: stap 3, afbeelding 2 van 3 Trio Stealth G2 Hype Back Panel Replacement: stap 3, afbeelding 3 van 3
    • Remove the speakers by using your hand to entirely disconnect the back cover.

Conclusie

To reassemble your device, follow these instructions in reverse order.

Thomas Lichtenberger

Lid sinds: 01/21/15

459 Reputatie

3 handleidingen geschreven

Team

USF Tampa, Team 4-4, Brown Winter 2015 Lid van USF Tampa, Team 4-4, Brown Winter 2015

USFT-BROWN-W15S4G4

3 Leden

3 handleidingen geschreven

0 opmerkingen

Voeg opmerking toe

Weergavestatistieken:

Afgelopen 24 uren: 0

Afgelopen 7 dagen: 0

Afgelopen 30 dagen: 1

Altijd: 667