Deze versie kan foutieve bewerkingen bevatten. Schakel over naar de recentste gecontroleerde momentopname.
Wat je nodig hebt
-
Deze stap is niet vertaald. Help het te vertalen
-
Power down the TiVo and detach the power cable from the rear of the unit.
-
-
Deze stap is niet vertaald. Help het te vertalen
-
Remove the five T10 screws from the rear of the case using the Torx screwdriver.
-
-
-
Deze stap is niet vertaald. Help het te vertalen
-
Lift up and pull back the outer casing towards the rear of the unit.
-
-
Deze stap is niet vertaald. Help het te vertalen
-
The fan is held in by four T15 screws on the rear of the device.
-
-
Deze stap is niet vertaald. Help het te vertalen
-
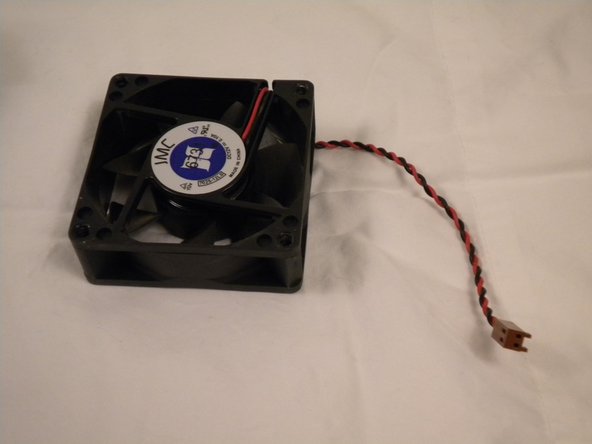
Take the wound red and black wires coming from the fan and follow them back to the logic board.
-
Unplug the connector from the motherboard.
-
-
Deze stap is niet vertaald. Help het te vertalen
-
Pull the fan towards the front and out of the TiVo unit.
-


Team

Cal Poly, Team 33-79, Johann Spring 2010 Lid van Cal Poly, Team 33-79, Johann Spring 2010
CPSU-JOHANN-S10S33G79
4 Leden
5 handleidingen geschreven