Inleiding
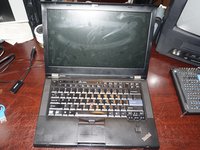
If your Lenovo T420 is running slowly, complaining about memory usage or does not boot up correctly, the problem may be related to a faulty memory module. This guide will show you how to replace both memory modules in your system.
Note: If you need to access the factory memory module, the keyboard has to be removed. Keyboard removal is not required for the bottom module.
Guide notes
- Use of a matched pair of memory modules is recommended. Mixing and matching modules works, but may cause system instability. My mixed pair seems to work, but I've had two blue screens and I suspect this isn't the last time it'll happen (errors are not related to memory, but memory is suspect). If you mix and match modules, run Memtest 86+ for ~8 hours and test for stability.
- It is important that you do not lose the silver keyboard screw. The RAM door screw also holds the keyboard in, so this isn't the end of the world. However, your keyboard be noticeably loose.
Wat je nodig hebt
-
-
Unlock the latch locking the battery in the laptop.
-
NOTE: To remove the battery, the tab must be held in to avoid having the lock reinitiate inside the laptop.
-
-
-
After unlocking the battery, remove the battery from the reverse way it is installed to remove it from the laptop.
-
-
-
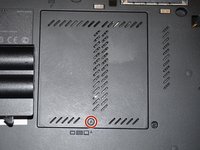
Loosen the screw in red (Phillips #2). This screw stays captive in the bottom RAM door cover, and does not need to be removed.
-
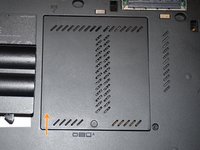
Pull the cover up with a fingernail or a nonmarring pry tool.
-
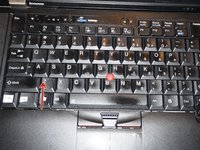
Remove the screw retaining the keyboard.
-
-
-
-
Open the laptop.
-
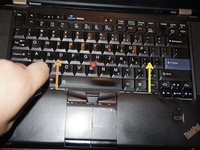
To remove the keyboard, release the keyboard hooks using a plastic pry tool.
-
Once the keyboard is loose, remove it from the chassis.
-
-
-
Disconnect the keyboard from the motherboard. Use a plastic pry tool for this step.
-
-
-
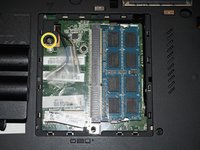
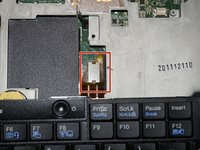
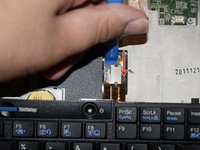
Unclip the RAM module by pulling the memory retention tabs back.
-
Remove the existing module by pulling the module from the side, at a 90 degree angle.
-
-
-
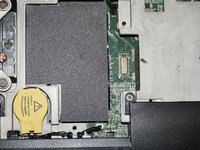
Lift the plastic cover hiding the RAM module.
-
Unlatch the tabs retaining the memory module.
-
Pull the module out from a 90 degree angle.
-
To reassemble your device, follow these instructions in reverse order.
To reassemble your device, follow these instructions in reverse order.
Annuleren: ik heb deze handleiding niet afgemaakt.
15 andere personen hebben deze handleiding voltooid.


