Ga door naar hoofdinhoud

Tech21 NYC MIDI Mouse Tactile Switch Replacement

Wat je nodig hebt

  1. Tech21 NYC MIDI Mouse Tactile Switch Replacement, Open the enclosure: stap 1, afbeelding 1 van 1
    • Open the back of the case by undoing the 4 screws with a regular philips screwdriver.

  2. Tech21 NYC MIDI Mouse Tactile Switch Replacement, Detaching the circuit board: stap 2, afbeelding 1 van 2 Tech21 NYC MIDI Mouse Tactile Switch Replacement, Detaching the circuit board: stap 2, afbeelding 2 van 2
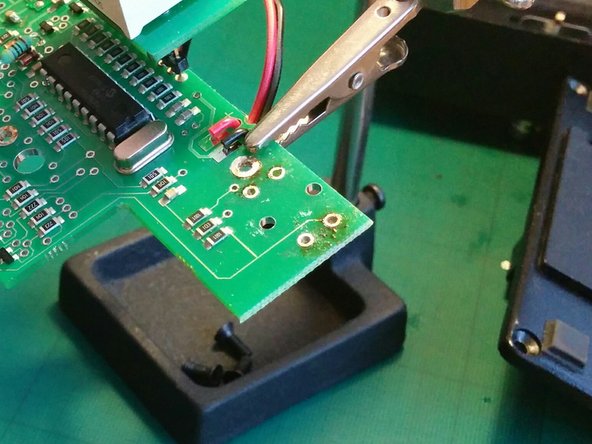
    • The PCB is attached to the main enclosure by three solder points. These are fairly big and easy to desolder with some wick.

    • This step might be optional. If your desoldering is good enough to leave the pins completely free, you might be able to desolder the switch from here and remove the part at the other side of the board with your hand.

  3. Tech21 NYC MIDI Mouse Tactile Switch Replacement, Desolder the tactile switch: stap 3, afbeelding 1 van 2 Tech21 NYC MIDI Mouse Tactile Switch Replacement, Desolder the tactile switch: stap 3, afbeelding 2 van 2
    • Small joints, so a bit trickier to desolder.

  4. Tech21 NYC MIDI Mouse Tactile Switch Replacement, Replace the switch: stap 4, afbeelding 1 van 2 Tech21 NYC MIDI Mouse Tactile Switch Replacement, Replace the switch: stap 4, afbeelding 2 van 2
    • I wrote the guys at Tech21 to ask for the exact part number and they were kind enough to send me two of them. Thanks!

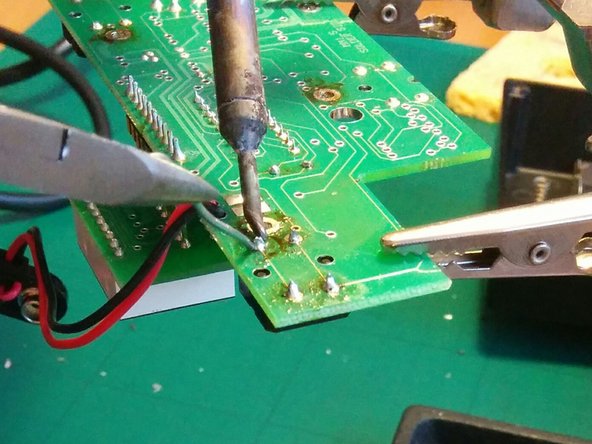
    • Soldering the component is very straight forward.

    • Once the replacement is in place, this is a good moment to connect a DC adapter of 9V battery and check that the new switch works correctly.

  5. Tech21 NYC MIDI Mouse Tactile Switch Replacement, Reattach the board to the case: stap 5, afbeelding 1 van 1
    • Fit the board to the mount points and apply generous solder. Make sure to check that the display fits and it's correctly aligned with the case before soldering.

  6. Tech21 NYC MIDI Mouse Tactile Switch Replacement: stap 6, afbeelding 1 van 1
    • The obvious last step is to screw again the for screws holding the back of the case.

Eindstreep

4 andere personen hebben deze handleiding voltooid.

palako

Lid sinds: 02/01/15

962 Reputatie

7 handleidingen geschreven

0 opmerkingen

Voeg opmerking toe

Weergavestatistieken:

Afgelopen 24 uren: 0

Afgelopen 7 dagen: 0

Afgelopen 30 dagen: 3

Altijd: 465