Inleiding
This guide will show you how to replace the Hall effect gimbals in a Taranis X9D & X9D Plus. The original gimbals use potentiometers; the replacements from Frsky, who manufacture the Taranis, opted for Hall effect sensors in their replacement parts. Hall effect gimbals use non-contact devices that measure magnetic fields. Based on the change in magnetic field, the Hall effect sensor acts just like a potentiometer. Still, it eliminates the degradation of the element because there is no need for physical contact.
The stock gimbals wear out extremely quickly: the poor design of the original gimbals lets in a lot of dust, and the potentiometer requires physical contact to measure the resistance, which is relative to the distance traveled. The hall-effect sensors are designed to seal out elements such as dust, dirt, or other particles. They also do not require any physical contact to operate since magnets perpendicular to the sensor measure the resistance, leaving nearly no wear. So, you will likely never replace/service the hall-effect gimbals again in contrast to the regular gimbals, which require regular service and replacement.
Before you begin, remove any accessories from the Taranis for easier installation, such as long-range modules.
Wat je nodig hebt
-
-
Place the device so that the bottom is facing up.
-
Slide the battery compartment open.
-
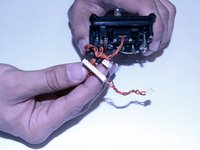
Pull the battery by the plastic connector (not the wires) and shim left and right until the cable disconnects.
-
-
-
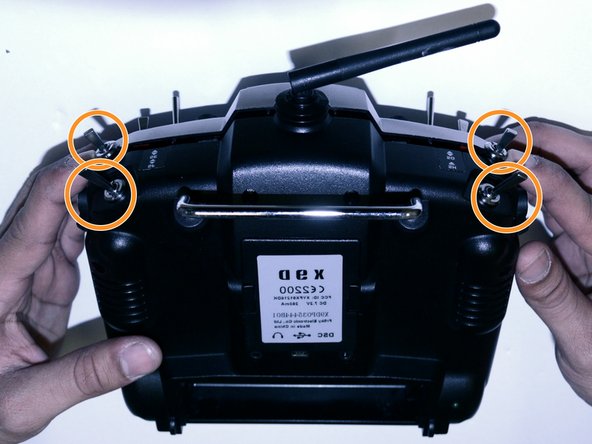
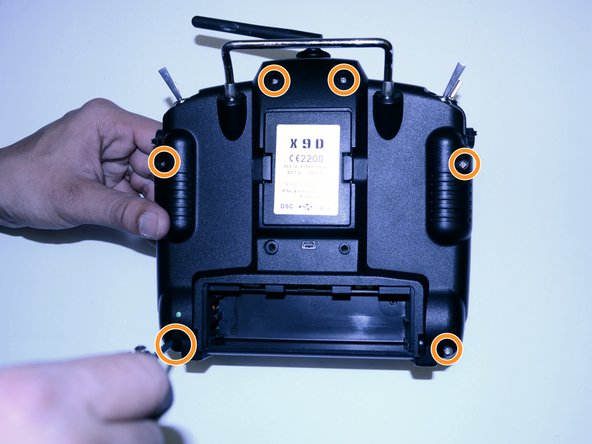
Remove six screws from the back of the device using a Phillips #0 screwdriver.
-
Ensure the switches are in the position from the previous step, as they are not held in place and can reverse direction.
-
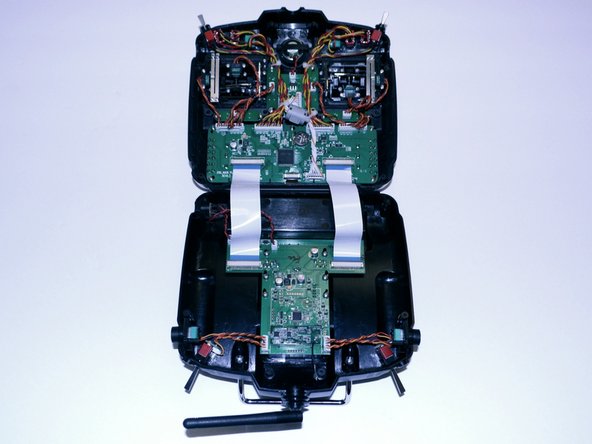
Gently pull the back up and open the radio in the form of a book, with the battery compartment being the spine.
-
Lay the controller on its front so that as the last screw is removed, the two halves don't fall apart.
-
-


Team

CSU Los Angeles, Team 13-2, Ribeiro Fall 2023 Lid van CSU Los Angeles, Team 13-2, Ribeiro Fall 2023
CSULA-RIBEIRO-F23S13G2
3 Leden
1 handleiding geschreven