Ga door naar hoofdinhoud

Stove Element Receptacle Replacement

Wat je nodig hebt

  1. Stove Element Receptacle Replacement, Stove Element Receptacle: stap 1, afbeelding 1 van 3 Stove Element Receptacle Replacement, Stove Element Receptacle: stap 1, afbeelding 2 van 3 Stove Element Receptacle Replacement, Stove Element Receptacle: stap 1, afbeelding 3 van 3
    • First, locate the the gas safety shut-off valve and turn off the power supply.

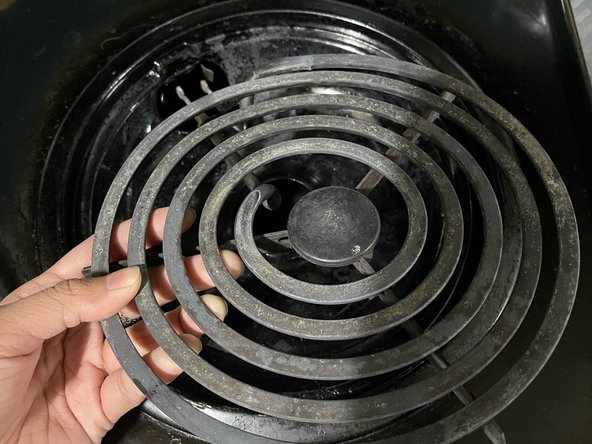
    • Remove the pitted scorched burner.

    • Remove the drip tray after removing the pitted scorched burner.

  2. Stove Element Receptacle Replacement: stap 2, afbeelding 1 van 3 Stove Element Receptacle Replacement: stap 2, afbeelding 2 van 3 Stove Element Receptacle Replacement: stap 2, afbeelding 3 van 3
    • Look for the receptacle mounting screw and loosen it with a screwdriver.

  3. Stove Element Receptacle Replacement: stap 3, afbeelding 1 van 3 Stove Element Receptacle Replacement: stap 3, afbeelding 2 van 3 Stove Element Receptacle Replacement: stap 3, afbeelding 3 van 3
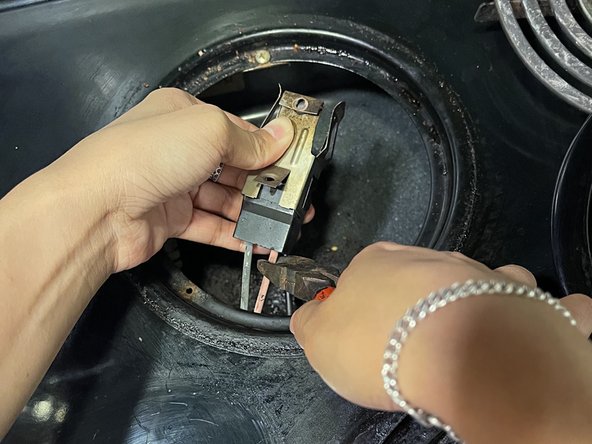
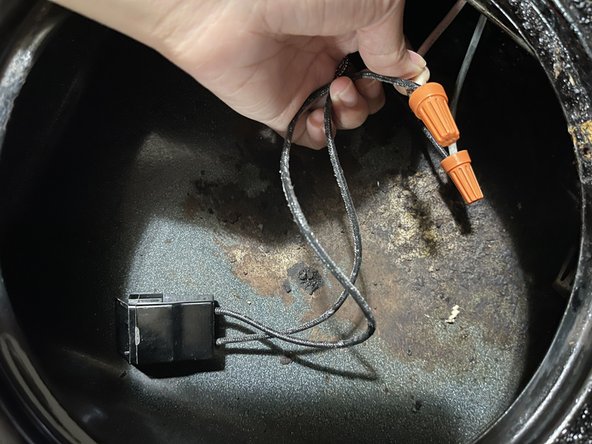
    • Pull the old receptacle block out and cut the receptacle block.

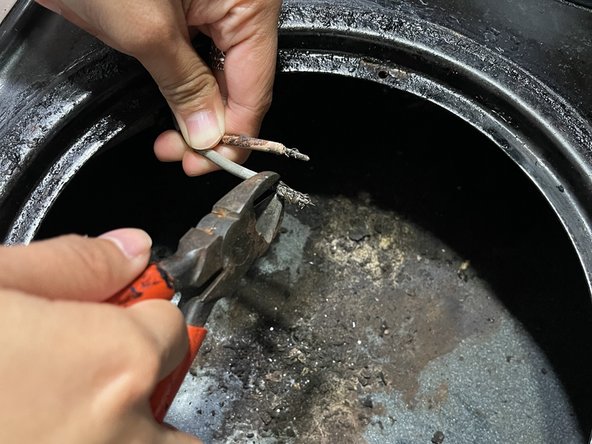
    • To strip the wires, place about an inch from the end of the wire into the mouth of the wire stripper. Carefully cut through the insulation without cutting through the copper wire.

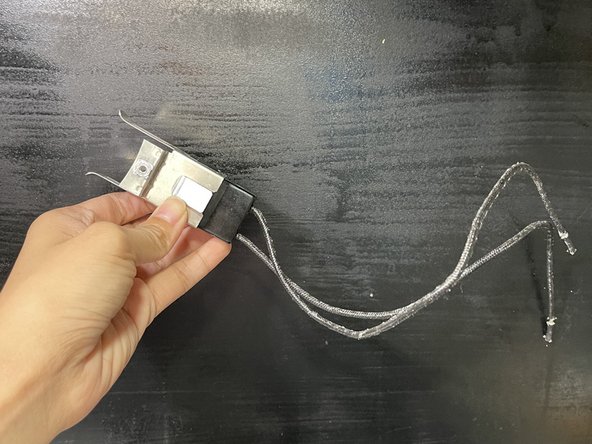
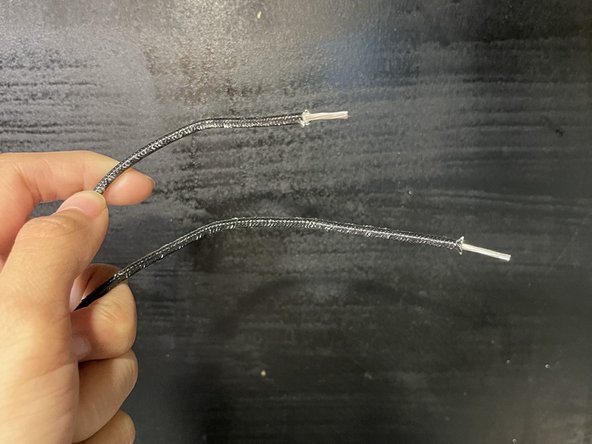
    • With the mouth of the wire strippers still closed, pull the sheathing off to the end of the wire.

  4. Stove Element Receptacle Replacement: stap 4, afbeelding 1 van 3 Stove Element Receptacle Replacement: stap 4, afbeelding 2 van 3 Stove Element Receptacle Replacement: stap 4, afbeelding 3 van 3
    • Assemble the new receptacle block by snapping the metal attachment to the terminal block.

    • Click the wires into the bottom opening of the terminal block.

    • Next, strip the end of the wires.

  5. Stove Element Receptacle Replacement: stap 5, afbeelding 1 van 2 Stove Element Receptacle Replacement: stap 5, afbeelding 2 van 2
    • Connect the new receptacle block to the wiring harness and secure it with twist connectors.

  6. Stove Element Receptacle Replacement: stap 6, afbeelding 1 van 3 Stove Element Receptacle Replacement: stap 6, afbeelding 2 van 3 Stove Element Receptacle Replacement: stap 6, afbeelding 3 van 3
    • Install the new receptacle block and tighten the mounting screw securely to ensure proper grounding.

    • Put the drip tray back.

    • Then, put the pitted scorched burner back.

  7. Stove Element Receptacle Replacement: stap 7, afbeelding 1 van 1
    • Turn on the power supply and check for proper operation.

Conclusie

To reassemble your device, follow these instructions in reverse order.

2 andere personen hebben deze handleiding voltooid.

My Danh

Lid sinds: 03/07/22

193 Reputatie

1 Handleiding geschreven

0 opmerkingen

Voeg opmerking toe

Weergavestatistieken:

Afgelopen 24 uren: 6

Afgelopen 7 dagen: 16

Afgelopen 30 dagen: 45

Altijd: 995