Wat je nodig hebt
-
-
Press down the release button on the bottom left corner of the face plate.
-
Then remove the face plate carefully.
-
-
-
Using the Phillips #0 Screwdriver, unscrew the 3 screws (length - 7.5mm) on the front of the device.
-
-
-
Using the Phillips #1 Screwdriver, unscrew the 2 thick screws (length - 7.69mm) located on both sides of the stereo.
-
Remove side-metal plates gently.
-
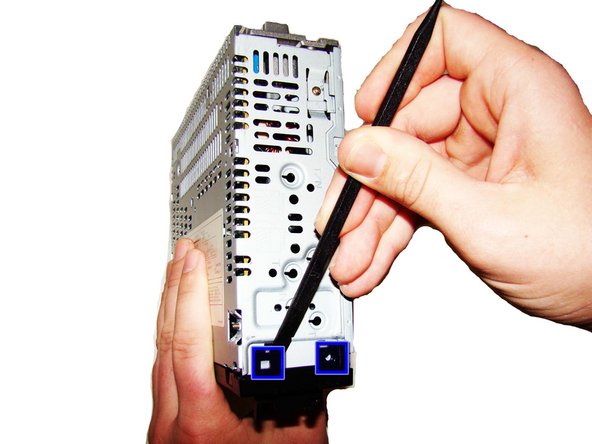
Use the Heavy-duty Spudger, insert the flat end under each of the black flaps indicated in the picture. Use leverage to pry and pop them loose.
-
-
-
Using the Phillips #0 Screwdriver, unscrew the 1 gold screw (height - 7.47mm) on the top of the stereo.
-
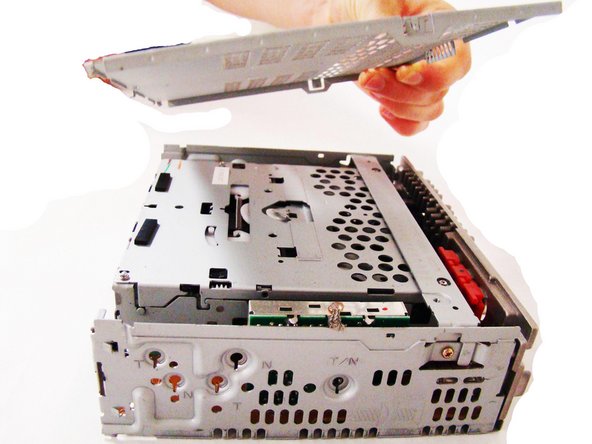
Lift off the top plate.
-
-
-
-
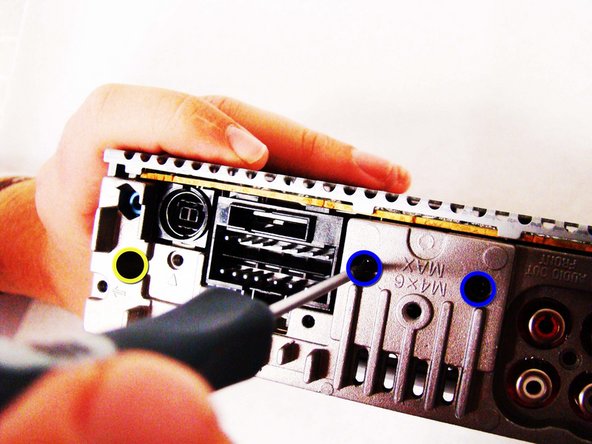
Using the Phillips #0 Screwdriver, unscrew the 8 gold screws (length - 9.26mm), located on the back side of the stereo.
-
Using the Phillips #0 Screwdriver, unscrew the 2 black screws (length - 13.27mm), also located on the back of the stereo.
-
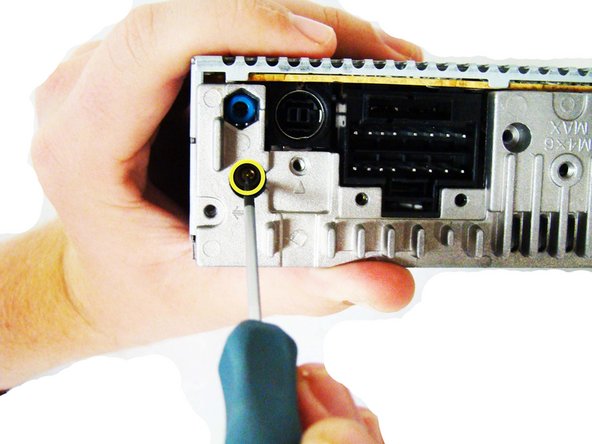
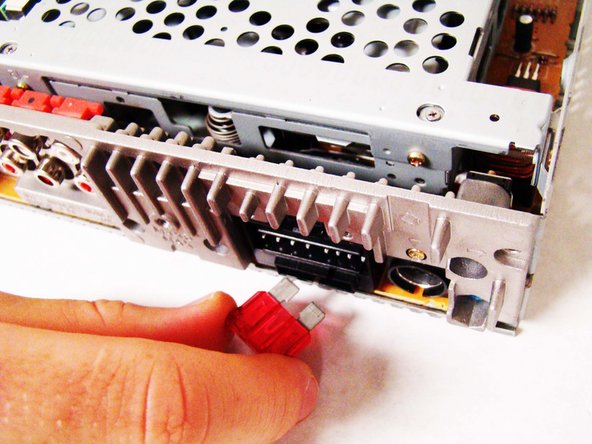
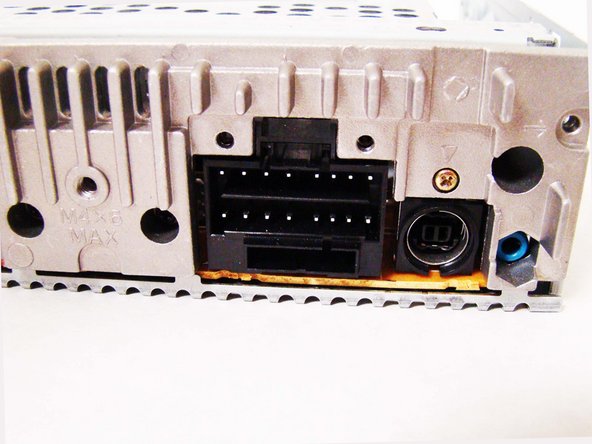
Using the Phillips #0 Screwdriver, unscrew the 1 gold screw (length - 9.3mm), located on the bottom of a hole as noted in pictures (2) and (3).
-
-
-
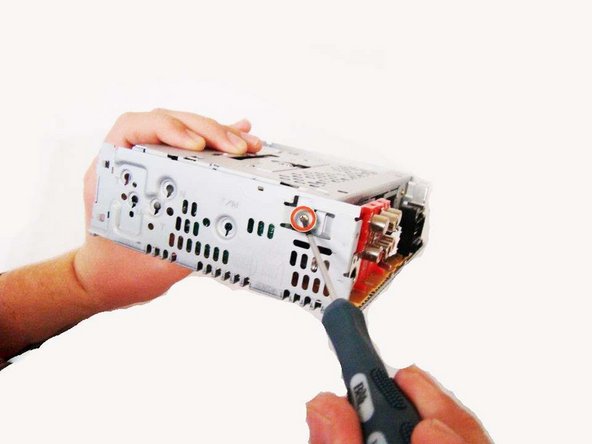
Using the Phillips #0 Screwdriver, unscrew the 4 dark-silver screws (length - 3.71mm).
-
-
-
Using the Phillips #0 Screwdriver, unscrew the 2 gold screws (length - 7.34mm) found on both sides of the stereo.
-
-
-
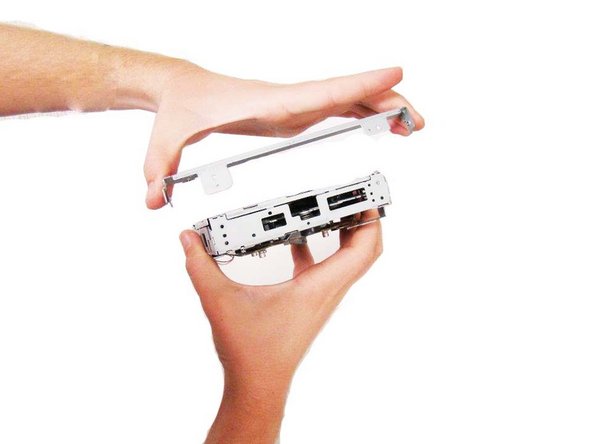
Using the Phillips #0 Screwdriver, unscrew the two gold screws (length - 7.37mm) found on top of the CD Tray.
-
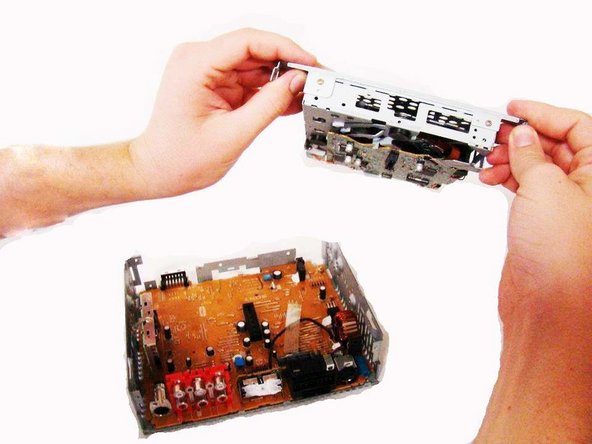
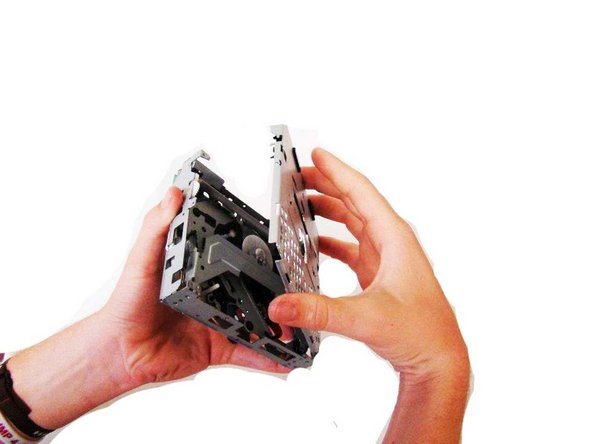
Remove the top cover.
-


To reassemble your device, follow these instructions in reverse order.
To reassemble your device, follow these instructions in reverse order.
Team

Cal Poly, Team 5-35, Amido Fall 2011 Lid van Cal Poly, Team 5-35, Amido Fall 2011
CPSU-AMIDO-F11S5G35
4 Leden
8 handleidingen geschreven