Inleiding
Sony XPERIA Z1 Compact / D5503 - Ho to replace broken touch screen glass and LCD Display.
Wat je nodig hebt
Video overzicht
-
-
Xperia Z1 Compact with a broken screen.
-
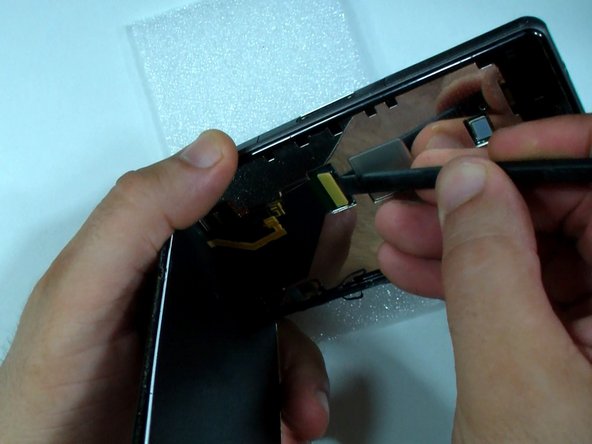
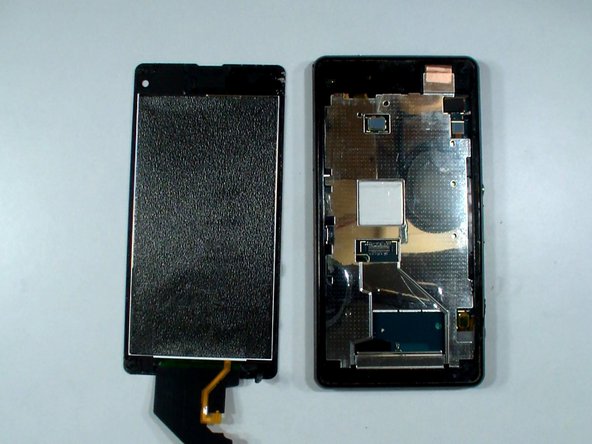
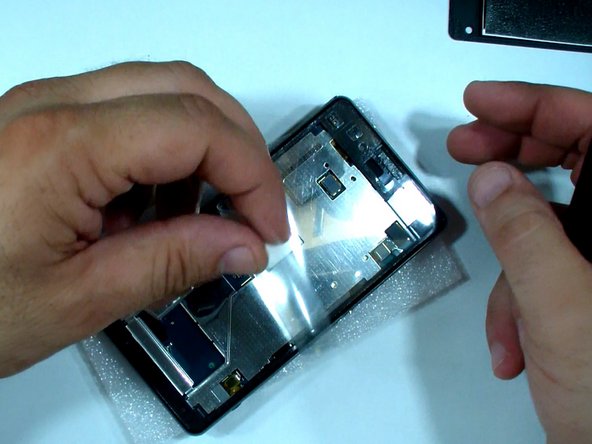
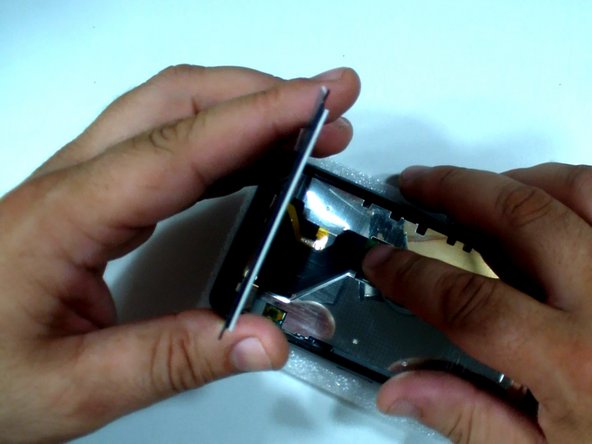
Replacement Display assembly and Adhesive stickers.
-
-


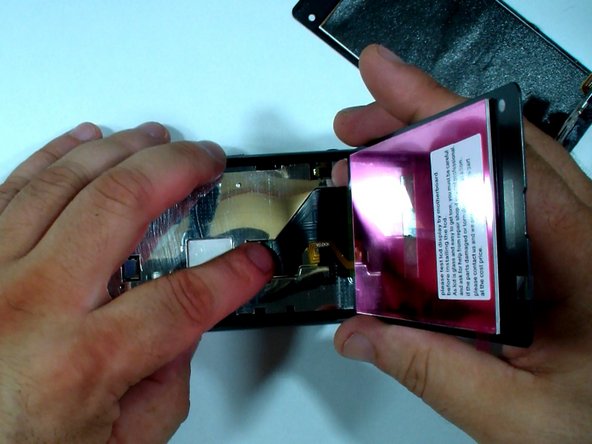


To reassemble your device, follow these instructions in reverse order.
To reassemble your device, follow these instructions in reverse order.
Annuleren: ik heb deze handleiding niet afgemaakt.
16 andere personen hebben deze handleiding voltooid.

Team

5 opmerkingen
Beware! There’s no mention of removing the battery door and taking out the 4 screws that hold the screen assembly in place. If you don’t do that and then pry to hard when trying to remove the screen I’m pretty sure you’ll end up breaking something ;)
Krister Turoy, I think you are wrong. I just removed the screen and there were no screws. Be careful not to mix um Z1 compact and XZ1 compact or something else.
There has a tips to remove screen directly and won’t break.
Let’s open the lower part first (that less of the sticker and it close to the edge). Heat can help here. (Do it carefully, if still feel hard to open it, try heat up again, don’t use just force).
When you success open lower part. Open it a little to see space that you can see through from right side of the phone to the left side.
Use needle and yarn. Send it through that space (becarefull it should be a space between pair cable and back of the screen). Now we have a yarn line that we will use to cut the glue until finish up to upper part of the screen. Still need a heat in process. But more safer and it won’t break your screen :)
Again. Needle and yarn method must send in a space between pair cable and back the of screen. NOT a space between pair cable and phone body. Because we will use it to cut sticker glue from near bottom-middle part to a top part of the screen and we don’t want it the cut the pair cable.
There had another risk in replace a screen.
If the new screen have defect in their circuit. When you put it to the phone, it will destroy an displaying interface of the phone.
If it happen, the phone it done for, replace a new screen couldn’t help anymore. It’s will always black. No backlight shining.
The phone still work if you see the notification LED and sound. But without screen. It’s done for. (You could call it half death).
I just experience it myself yesterday. The new screen kill my phone in that way. Now I’m looking for a way to fix, but still cannot find any hope.
Replace mother board could help but It would like buying a new phone (don’t forget that still need to find a new screen that not kill you phone again). If that so I will choose my phone to RIP instead. Sad but I must overcome this.