Wat je nodig hebt
-
Deze stap is niet vertaald. Help het te vertalen
-
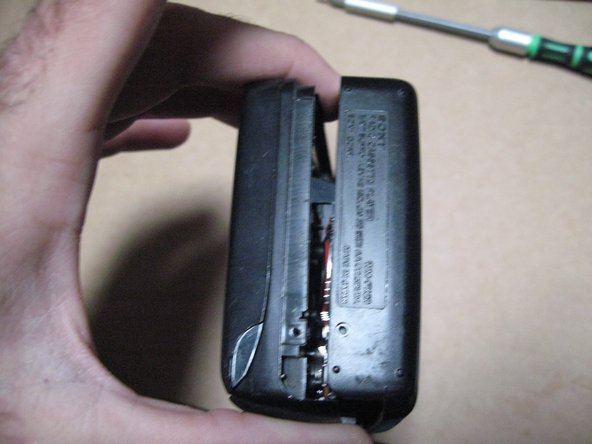
Start with removing the screw on the Underside. The screw on the Backside next. Then the two on the reverse side of the tape controls.
-
New line.
-
-
Deze stap is niet vertaald. Help het te vertalen
-
With a small Phillips head, Pry the sides carefully.
-
-
Deze stap is niet vertaald. Help het te vertalen
-
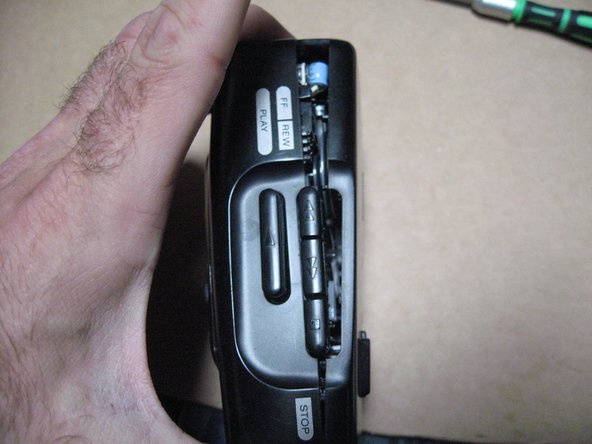
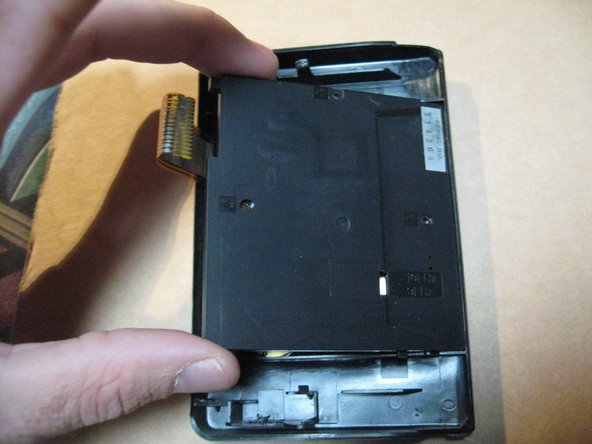
Take care not to jostle the Switches on the top of the unit while removing case. So now we have removed the underside casing from the device.
-
-
-
Deze stap is niet vertaald. Help het te vertalen
-
Find Ribbon Cable that connects to the board. Carefully Pry open either side of connector as shown, then remove ribbon cable from board.
-
-
Deze stap is niet vertaald. Help het te vertalen
-
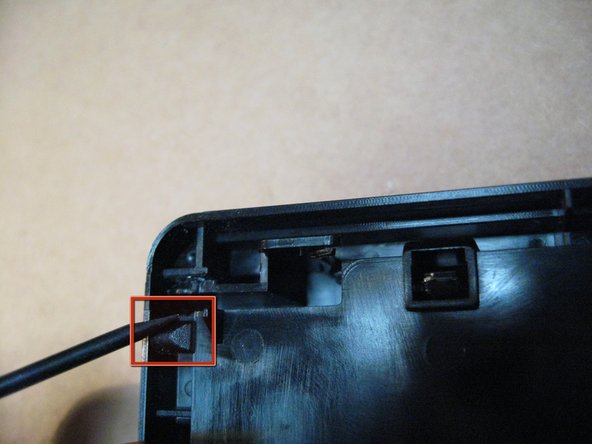
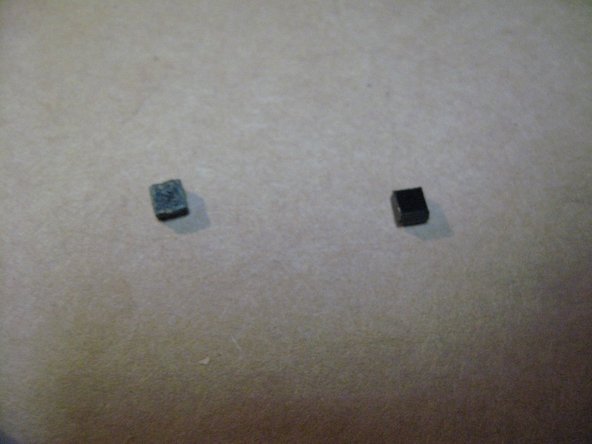
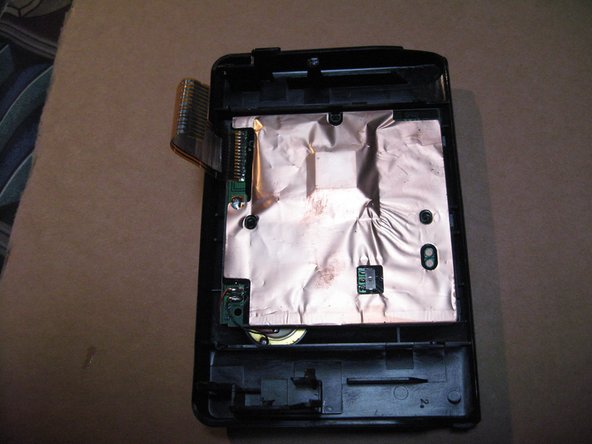
Find Door Spring and remove carefully. Then find and pry off (on either side) glued on bumpers- These limit the distance the door hinge can travel in order to be pulled off---
-
-
Deze stap is niet vertaald. Help het te vertalen
-
Now gently pry the door hinges on either side off of their pivot point, and remove the front door from the assembly
-
-
Deze stap is niet vertaald. Help het te vertalen
-
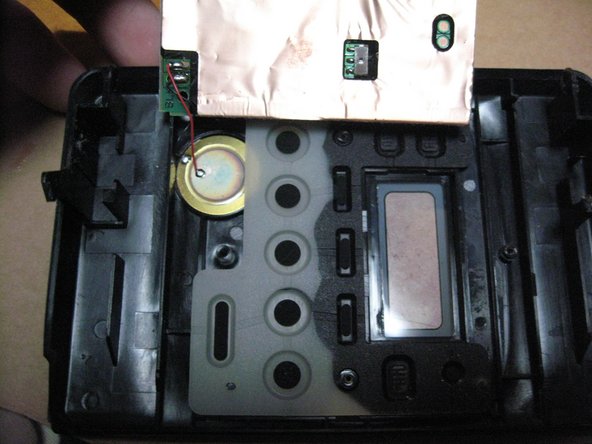
Remove three screws on backside of cassette door. Then remove panel.
-
-
Deze stap is niet vertaald. Help het te vertalen
-
There is your front mounted control board! It is attached to what appears to be a speaker i'm guessing. Possibly for the alarm clock. I found that to be interesting, the little speaker thing. Anyways , thats it.
-


5 opmerkingen
Please provide more info on how to put the spring back together again. I have a WM-FX435.
Hi, the casette operation has failed. Now I try to check. Really I do not the reason. Any suggestion?
Exactly what I needed to change the drive belts, which turned out to be super easy using these directions and excellent pictures. Thank you so much!