Ga door naar hoofdinhoud

Sony WH-CH720N Speaker Replacement

Wat je nodig hebt

  1. Sony WH-CH720N Speaker Replacement, Earmuff: stap 1, afbeelding 1 van 1
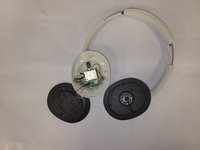
    • Place the headphones down on a table, and orient them in this way.

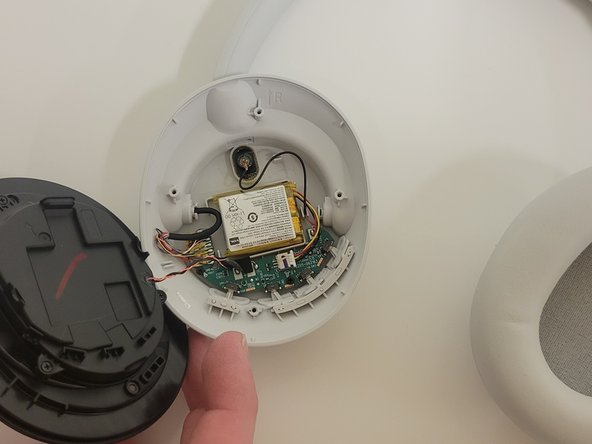
  2. Sony WH-CH720N Speaker Replacement: stap 2, afbeelding 1 van 3 Sony WH-CH720N Speaker Replacement: stap 2, afbeelding 2 van 3 Sony WH-CH720N Speaker Replacement: stap 2, afbeelding 3 van 3
    • Remove the earmuff.

    • Check introductions to ensure you remove the correct side earmuff for each repair guide!

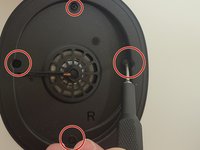
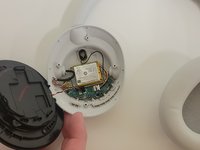
  3. Sony WH-CH720N Speaker Replacement, Speaker: stap 3, afbeelding 1 van 2 Sony WH-CH720N Speaker Replacement, Speaker: stap 3, afbeelding 2 van 2
    • Remove the four 5 mm screws holding the speaker housing onto the headphones.

    • Move the now detached speaker housing to the side, being careful of the wires.

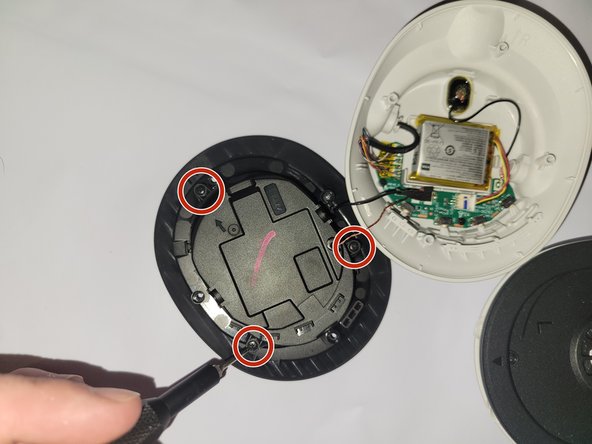
  4. Sony WH-CH720N Speaker Replacement: stap 4, afbeelding 1 van 2 Sony WH-CH720N Speaker Replacement: stap 4, afbeelding 2 van 2
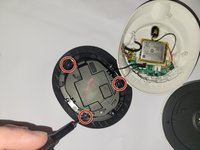
    • On the backside of the speaker housing, remove the four 3 mm screws to detach the panel.

  5. Sony WH-CH720N Speaker Replacement: stap 5, afbeelding 1 van 3 Sony WH-CH720N Speaker Replacement: stap 5, afbeelding 2 van 3 Sony WH-CH720N Speaker Replacement: stap 5, afbeelding 3 van 3
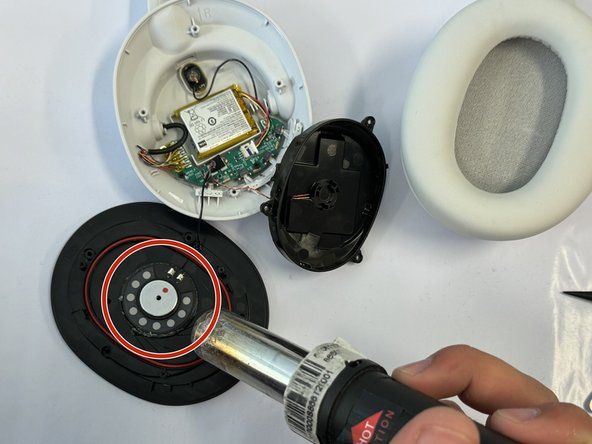
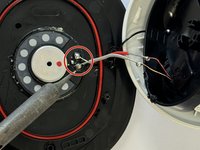
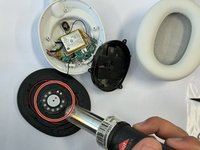
    • With the speaker panel removed, desolder the wires connecting the speaker.

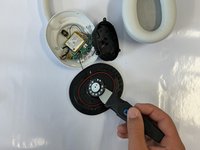
    • Use a heat gun to loosen the glue around the speaker inside the housing.

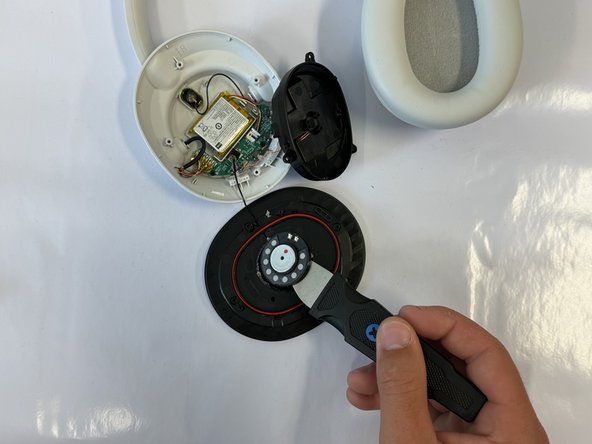
    • Finally, take the metal prying tool, and carefully remove the speaker.

Conclusie

To reassemble your device, follow these instructions in reverse order.

Één andere persoon heeft deze handleiding voltooid.

0Gids Commentaar

Voeg opmerking toe

Weergavestatistieken:

Afgelopen 24 uren: 0

Afgelopen 7 dagen: 12

Afgelopen 30 dagen: 59

Altijd: 571