Deze versie kan foutieve bewerkingen bevatten. Schakel over naar de recentste gecontroleerde momentopname.
Wat je nodig hebt
-
Deze stap is niet vertaald. Help het te vertalen
-
Flip the laptop over so the Vaio logo is facing down.
-
Locate the battery at the top and Find the release and unlock slides on the battery.
-
Slide the unlock tab to the unlock position.
-
Slide the release tab in the direction of the arrow, i.e. towards the unlock tab.
-
-
Deze stap is niet vertaald. Help het te vertalen
-
With the tabs still in the unlock position, slide the battery away from the main case.
-
-
Deze stap is niet vertaald. Help het te vertalen
-
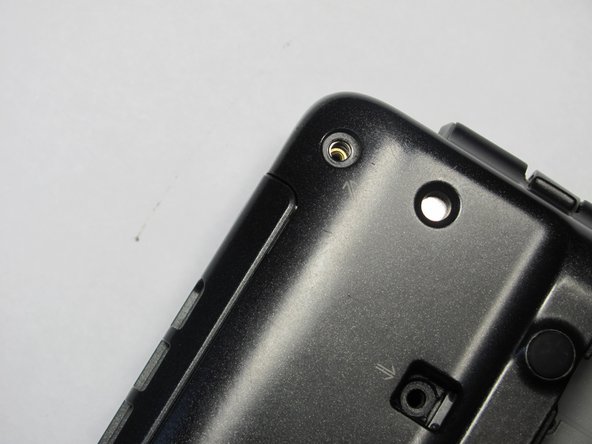
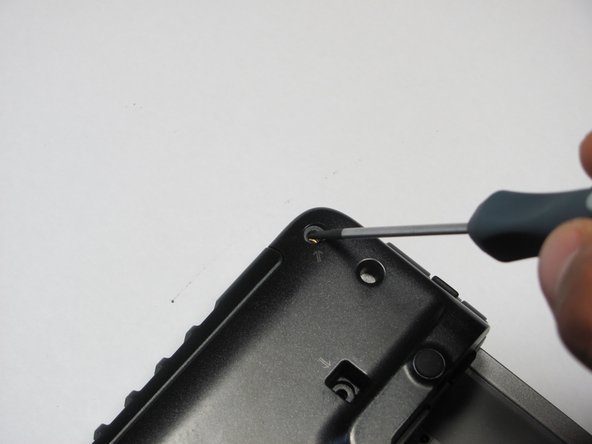
Flip the computer over so the Vaio logo is facedown.
-
Unscrew the 2 screws next to the battery.
-
-
Deze stap is niet vertaald. Help het te vertalen
-
Flip the computer over again so the Vaio logo is face up.
-
Open the lid.
-
-
Deze stap is niet vertaald. Help het te vertalen
-
Press down on the outer gray shell around the keyboard.
-
Use the spudger to gently lift keyboard.
-
-
-
Deze stap is niet vertaald. Help het te vertalen
-
Lift up lever underneath the ribbon to detach the keyboard.
-
-
Deze stap is niet vertaald. Help het te vertalen
-
Flip so the Vaio Logo is face down.
-
Locate and remove a total of 8 screws on the bottom.
-
-
Deze stap is niet vertaald. Help het te vertalen
-
Find and remove 5 screws (they all have arrows next to them) from cover.
-
-
Deze stap is niet vertaald. Help het te vertalen
-
Flip the laptop over so the Vaio logo is face up.
-
Use the spudger to pop up the upper casing.
-
Remove the wires that are attaching the upper casing to the motherboard.
-
-
Deze stap is niet vertaald. Help het te vertalen
-
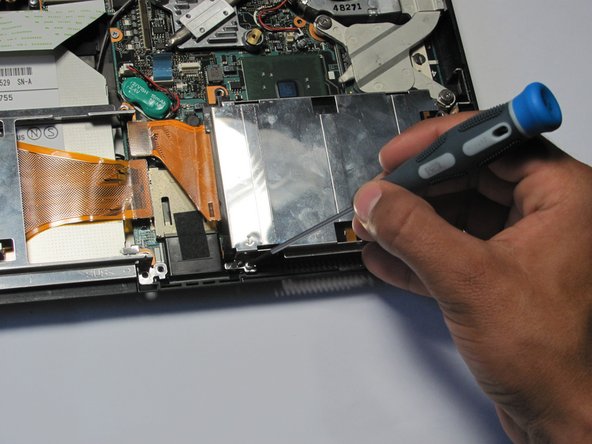
Remove the screws holding the hard drive casing in place.
-
-
Deze stap is niet vertaald. Help het te vertalen
-
Find orange ribbon that is connected to the hard drive.
-
Find the holder of the ribbon and pop the ribbon off from it.
-


Annuleren: ik heb deze handleiding niet afgemaakt.
3 andere personen hebben deze handleiding voltooid.

Team

Cal Poly, Team 16-4, Maness Spring 2010 Lid van Cal Poly, Team 16-4, Maness Spring 2010
CPSU-MANESS-S10S16G4
4 Leden
30 handleidingen geschreven