Inleiding
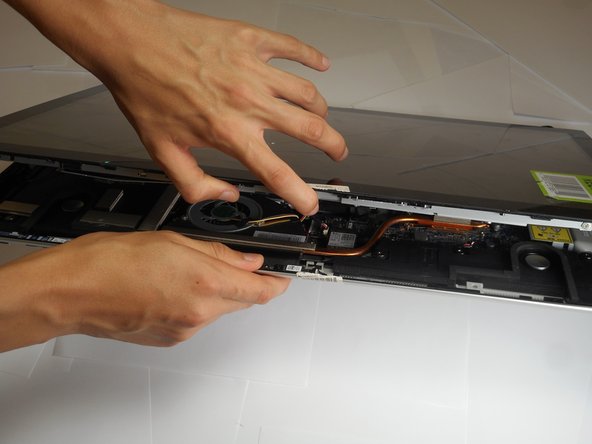
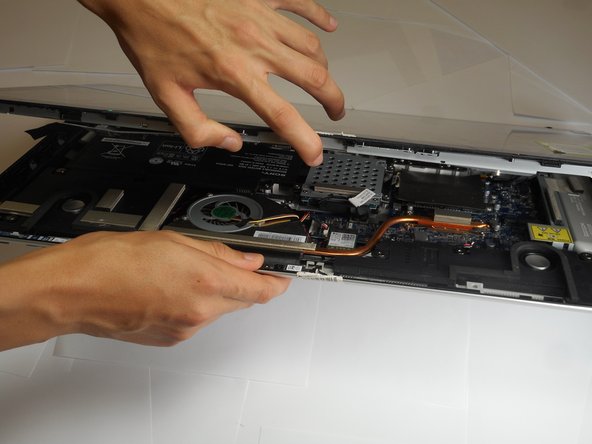
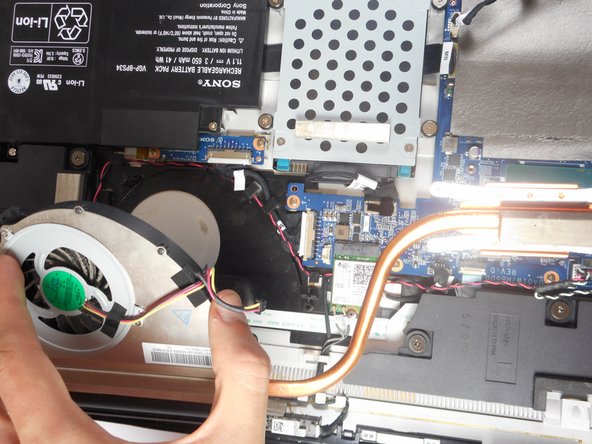
Use this guide to replace the fan on a Sony Vaio Tap 21 all-in-one desktop. The fan has a copper attachment on the motherboard . The actual fan itself is between the two speakers. The fan might need replacing if the device is overheating more than usual.
Wat je nodig hebt
-
-
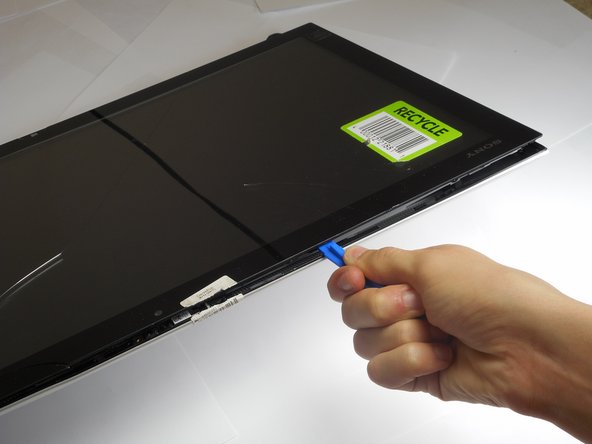
Insert the plastic opening tool at an angle into the grill and lift the tab by applying force down and to the left as you are lifting it out of place.
-
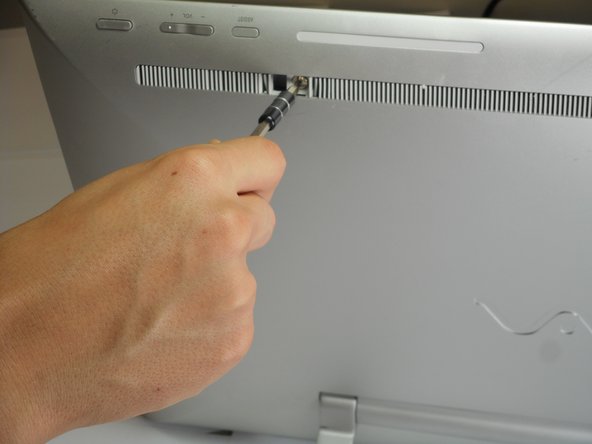
Use your plastic opening tool to remove the right plastic tab blocking the screw mounts behind the device.
-
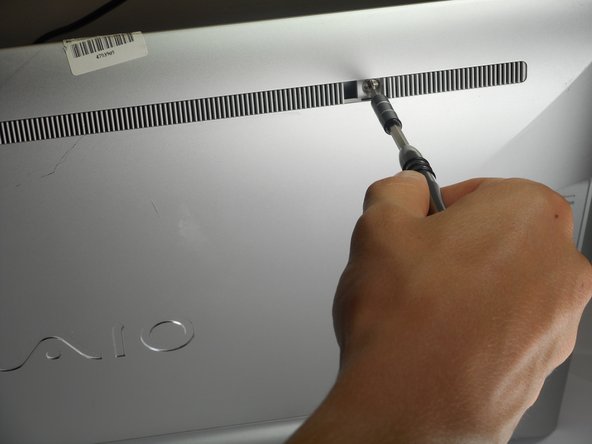
The plastic tab is located on a plastic stretch of grill running along the upper half of the back of the device.
-
-
-
Insert the plastic opening tool at an angle into the grill and lift the tab by applying force down and to the left as you are lifting it out of place.
-
Use your plastic opening tool to remove the right plastic tab blocking the screw mounts behind the device.
-
The plastic tab is located on a plastic stretch of grill running along the upper half of the back of the device.
-
-
-
-
Remove four 9mm screws from the fan attachment located on the motherboard with a Phillips #1 screwdriver.
-


To reassemble your device, follow these instructions in reverse order.
To reassemble your device, follow these instructions in reverse order.
Annuleren: ik heb deze handleiding niet afgemaakt.
Één andere persoon heeft deze handleiding voltooid.

Team

Cal Poly, Team S4-G4, Livingston Fall 2017 Lid van Cal Poly, Team S4-G4, Livingston Fall 2017
CPSU-LIVINGSTON-F17S4G4
4 Leden
12 handleidingen geschreven
Één opmerking
Very nice guide. Thank you. Have you replaced the CPU yet in this model?