Ga door naar hoofdinhoud

Sony Vaio PCG-61411L Keyboard Replacement

Gearchiveerde handleiding
Deze handleiding wordt enkel nog bijgehouden voor historische doeleinden. Gebruik de laatste versie van deze gids om uw reparatie uit te voeren.

Wat je nodig hebt

  1. Sony Vaio PCG-61411L Keyboard Replacement, Battery: stap 1, afbeelding 1 van 3 Sony Vaio PCG-61411L Keyboard Replacement, Battery: stap 1, afbeelding 2 van 3 Sony Vaio PCG-61411L Keyboard Replacement, Battery: stap 1, afbeelding 3 van 3
    • Be sure to disconnect the device charger and power down the device before beginning.

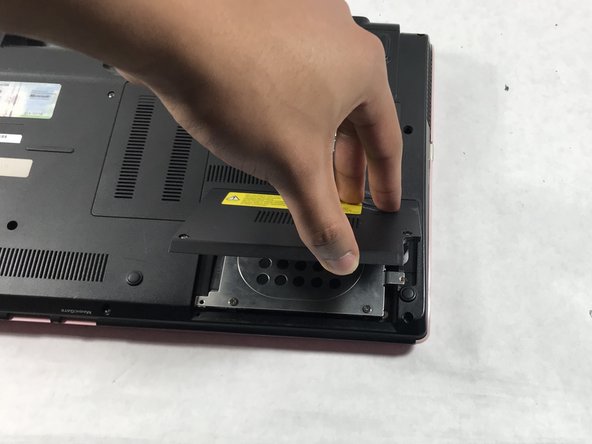
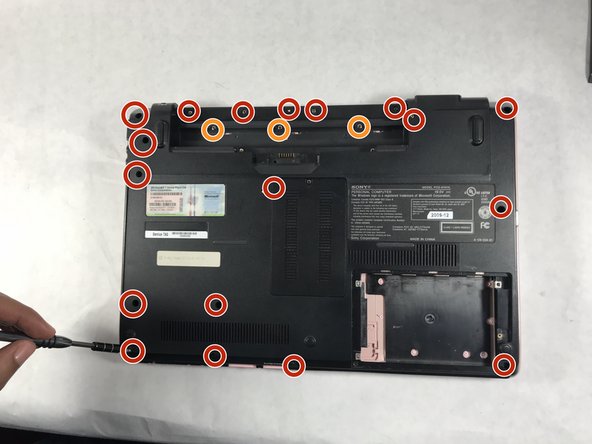
    • Turn the device over onto its back, where the battery is at the top of the device. Slide the "lock" switch to the right.

  2. Sony Vaio PCG-61411L Keyboard Replacement: stap 2, afbeelding 1 van 3 Sony Vaio PCG-61411L Keyboard Replacement: stap 2, afbeelding 2 van 3 Sony Vaio PCG-61411L Keyboard Replacement: stap 2, afbeelding 3 van 3
    • Slide the "release" switch to the left and gently lift the battery up to remove it.

    • Completely remove the battery from the device.

  3. Sony Vaio PCG-61411L Keyboard Replacement, Hard Drive: stap 3, afbeelding 1 van 1
    • The hard drive panel is located in the bottom right corner of the device.

  4. Sony Vaio PCG-61411L Keyboard Replacement: stap 4, afbeelding 1 van 2 Sony Vaio PCG-61411L Keyboard Replacement: stap 4, afbeelding 2 van 2
    • Using the PH #0 screwdriver, unscrew the two 6.5mm screws located in the bottom left and middle right of the panel. The screws remain in the panels.

    • Remove the panel by pulling it up towards yourself.

  5. Sony Vaio PCG-61411L Keyboard Replacement: stap 5, afbeelding 1 van 3 Sony Vaio PCG-61411L Keyboard Replacement: stap 5, afbeelding 2 van 3 Sony Vaio PCG-61411L Keyboard Replacement: stap 5, afbeelding 3 van 3
    • Using a PH0 screwdriver, remove the four 3mm silver screws located in the external hard drive cover.

    • Using a PH00 screwdriver, remove the final 3mm black screw located in the top right section of the hard drive cover.

    • Carefully remove the silver hard drive cover.

  6. Sony Vaio PCG-61411L Keyboard Replacement: stap 6, afbeelding 1 van 3 Sony Vaio PCG-61411L Keyboard Replacement: stap 6, afbeelding 2 van 3 Sony Vaio PCG-61411L Keyboard Replacement: stap 6, afbeelding 3 van 3
    • Detach the hard drive by disconnecting it from the motherboard, pulling it gently from left to right.

  7. Sony Vaio PCG-61411L Keyboard Replacement, Optical Disc Drive: stap 7, afbeelding 1 van 2 Sony Vaio PCG-61411L Keyboard Replacement, Optical Disc Drive: stap 7, afbeelding 2 van 2
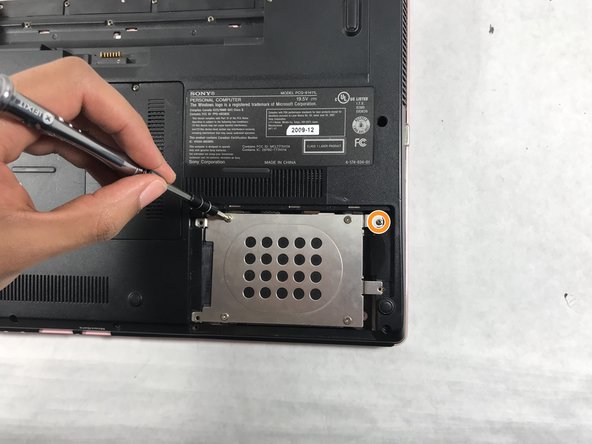
    • Remove the 5mm screws with the PH0 screwdriver.

    • Remove the 3mm screws with the PH0 screwdriver.

  8. Sony Vaio PCG-61411L Keyboard Replacement: stap 8, afbeelding 1 van 2 Sony Vaio PCG-61411L Keyboard Replacement: stap 8, afbeelding 2 van 2
    • Lift the backplate from bottom right and left corner and remove it from the laptop.

  9. Sony Vaio PCG-61411L Keyboard Replacement: stap 9, afbeelding 1 van 2 Sony Vaio PCG-61411L Keyboard Replacement: stap 9, afbeelding 2 van 2
    • Slide your finger from the right of the optical disc and pull the optical disc from right to left.

  10. Sony Vaio PCG-61411L Keyboard Replacement, Keyboard: stap 10, afbeelding 1 van 2 Sony Vaio PCG-61411L Keyboard Replacement, Keyboard: stap 10, afbeelding 2 van 2
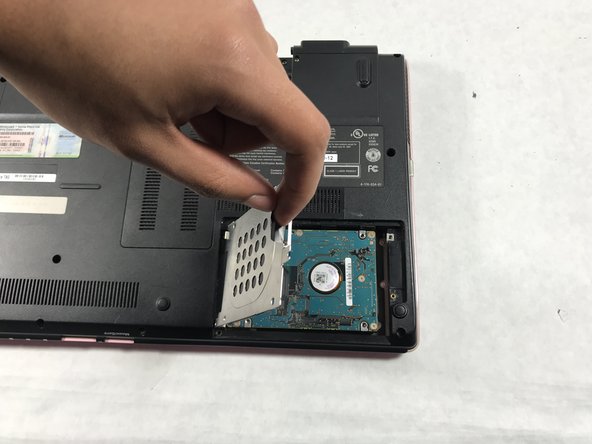
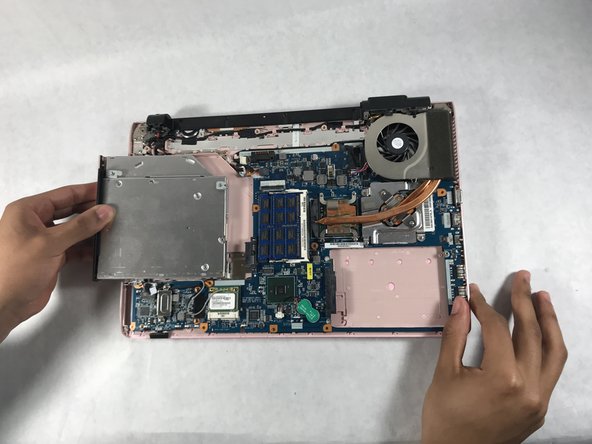
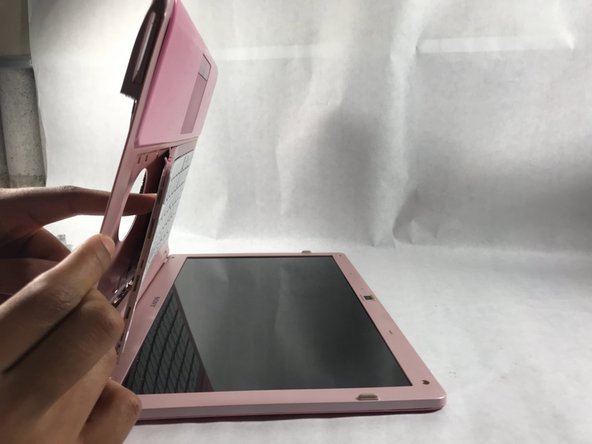
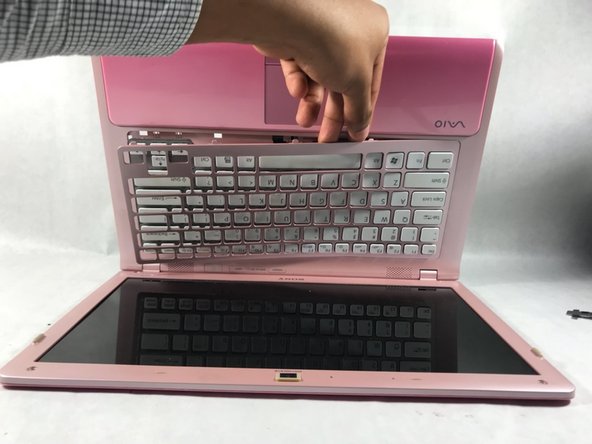
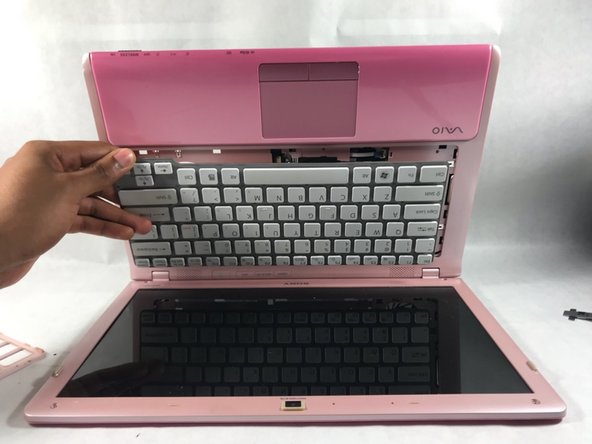
    • Push keyboard out from the hole located in the optical drives original location.

  11. Sony Vaio PCG-61411L Keyboard Replacement: stap 11, afbeelding 1 van 3 Sony Vaio PCG-61411L Keyboard Replacement: stap 11, afbeelding 2 van 3 Sony Vaio PCG-61411L Keyboard Replacement: stap 11, afbeelding 3 van 3
    • Remove the keyboard cover by gently pulling along the sides until it is removed completely.

  12. Sony Vaio PCG-61411L Keyboard Replacement: stap 12, afbeelding 1 van 2 Sony Vaio PCG-61411L Keyboard Replacement: stap 12, afbeelding 2 van 2
    • Disconnect the keyboard by pulling the connection wire in the opposite direction of where it's connected.

Conclusie

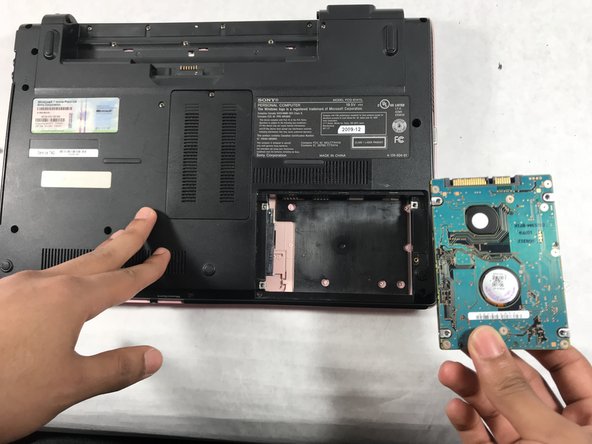
To reassemble your device, follow these instructions in reverse order.

Één andere persoon heeft deze handleiding voltooid.

Patrick Jean Baptiste

Lid sinds: 03/01/18

214 Reputatie

2 handleidingen geschreven

Team

UMass Dartmouth, Team S2-G1, Simcock Spring 2018 Lid van UMass Dartmouth, Team S2-G1, Simcock Spring 2018

UMASSD-SIMCOCK-S18S2G1

3 Leden

5 handleidingen geschreven

0 opmerkingen

Voeg opmerking toe

Weergavestatistieken:

Afgelopen 24 uren: 0

Afgelopen 7 dagen: 0

Afgelopen 30 dagen: 7

Altijd: 1,387